Einleitung
The Amazon Echo Look's primary function as a fashion assistance can be affected if the front panel is cracked or if the lens is smudged on the inside or otherwise damaged.
Some steps are time-sensitive and may need to be repeated- the time estimate reflects this.
Was du brauchst
-
-
Ensure the device is completely powered off and disconnected from any power source by removing the charger adapter point from the back of the device.
-
-
-
If the device stand is attached, remove it by twisting the device's base toward yourself until detached.
-
-
-
-
Heat the front panel with an iOpener.
-
Heat the device for 5-10 minutes to loosen the glue.
-
-
-
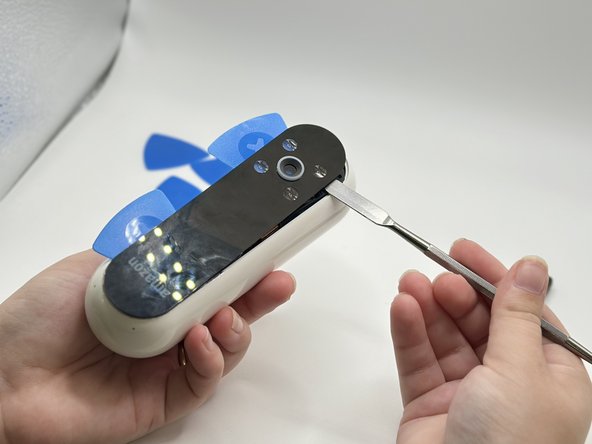
Lever the Jimmy between the screen and the device until an opening is formed.
-
Insert opening picks to hold the opening as needed.
-
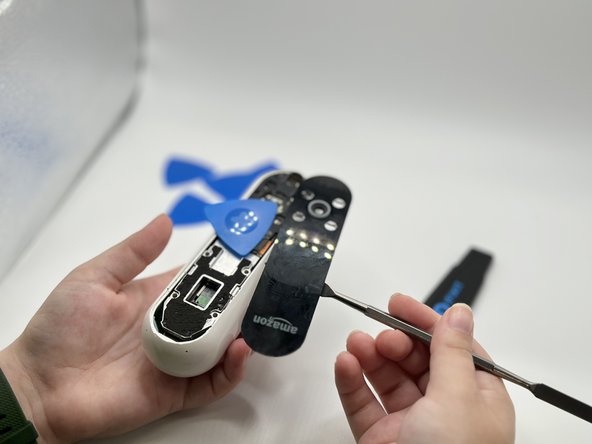
Use a spudger to circle the border of the front panel and disconnect any lingering glue.
-


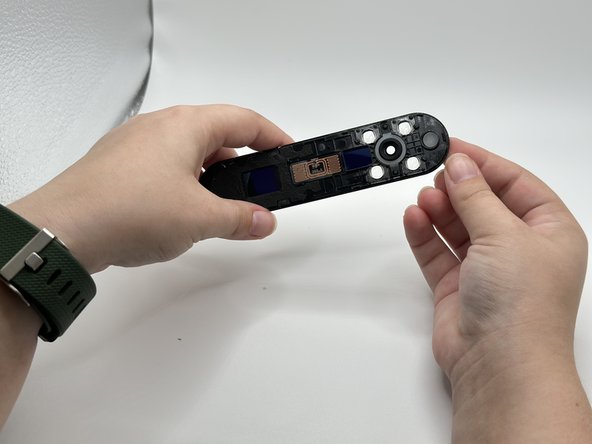
To reassemble your device, follow these instructions in reverse order.
To reassemble your device, follow these instructions in reverse order.
Rückgängig: Ich habe diese Anleitung nicht absolviert.
Ein:e weitere:r Nutzer:in hat diese Anleitung absolviert.

Team

University of North Texas, Team 2-5, Harold Fall 2023 Mitglied von University of North Texas, Team 2-5, Harold Fall 2023
UNT-HAROLD-F23S2G5
4 Mitglieder
4 Anleitungen geschrieben