Einleitung
If your Speaker is experiencing poor sound quality or distortion it may be time to replace the speaker components. Note that if you do not wish to purchase new speaker components removing a single one may fix the sound quality issues.
Was du brauchst
-
-
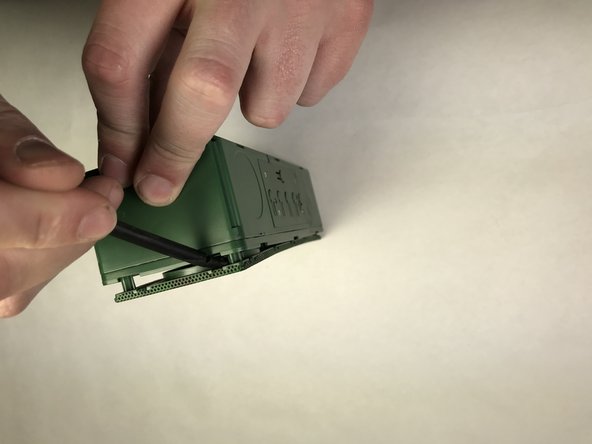
Run your hand around the device where the sleeve connects, lifting lightly up until the edges detach from the device case.
-
-
-
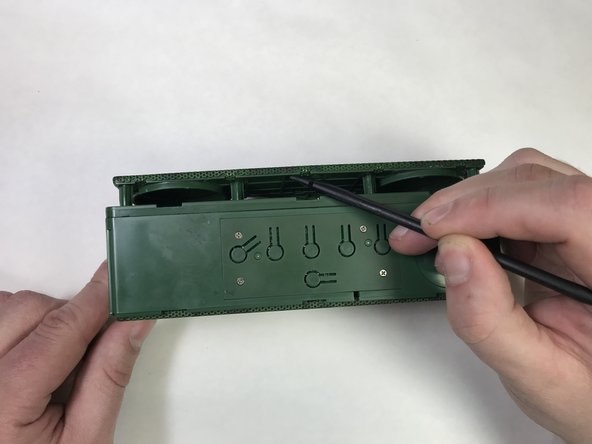
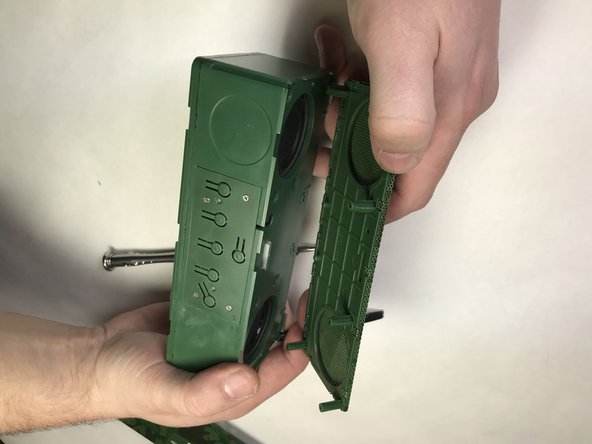
Turn the device around and gently push the speaker through until it separates from the sleeve.
-
-
-
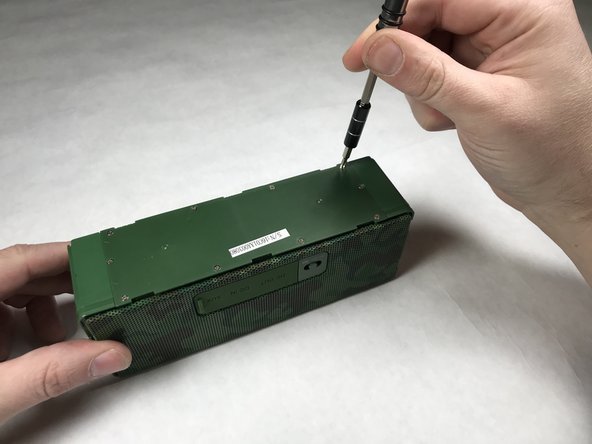
Using a Phillips #0 screwdriver, remove the the ten 5.1mm screws that hold down the battery panel on the bottom of the speaker unit.
-
-
-
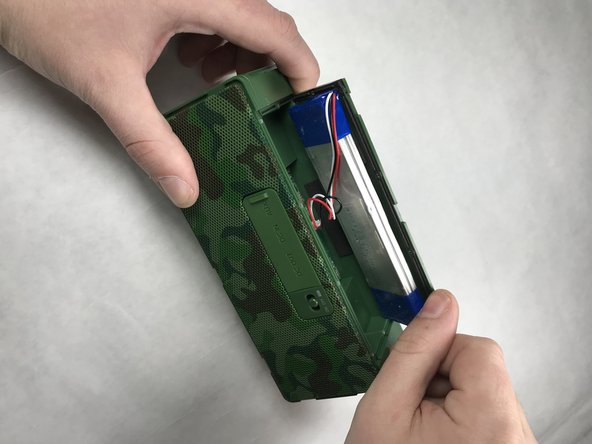
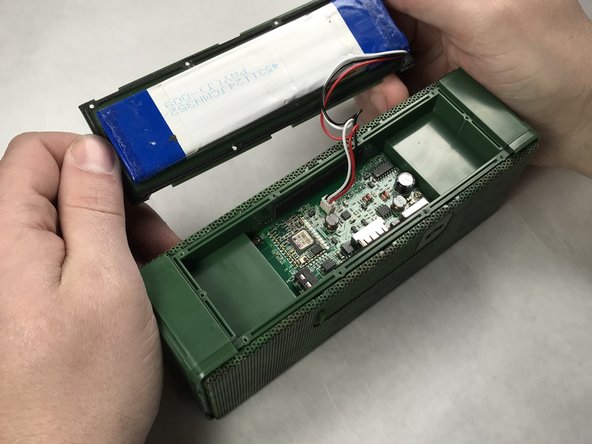
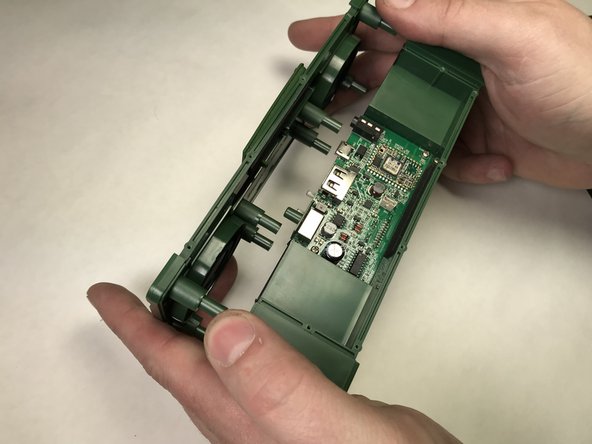
Using your hands, pry the panel off of the top of the device to reveal the device circuit board and the battery attached to the inner side of the panel.
-
-
-
-
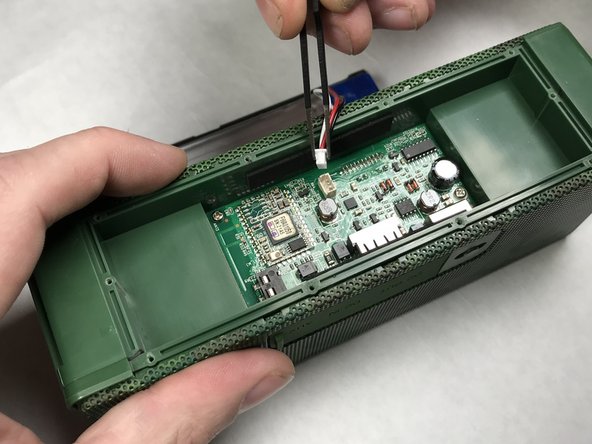
Using tweezers, carefully detach the battery wire from the circuit board and lift out the panel with the attached battery.
-
-
-
Using hands or a spudger, pry the front side of the plastic shielding (side opposite of power, control, and auxiliary port cover) from the device.
-
-
-
Using a Phillips #1 screwdriver, remove the eight 10mm screws on the revealed front panel.
-
-
-
Turn the device around and remove the rear panel from the device to reveal the device’s speaker units.
-
-
-
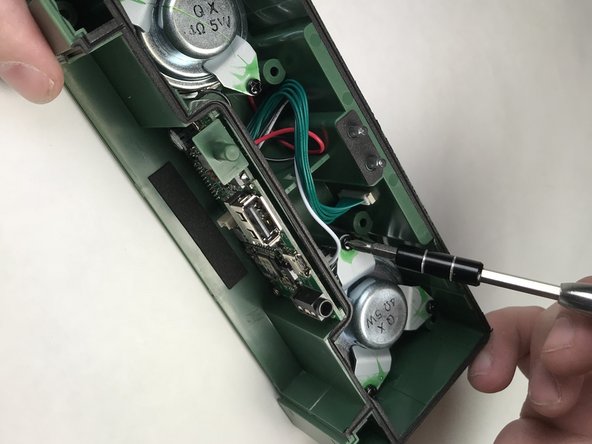
Remove the speaker brackets of the speaker to be replaced by unscrewing the three 7.5mm screws holding them in place with the Phillips #1 screwdriver.
-
-
-
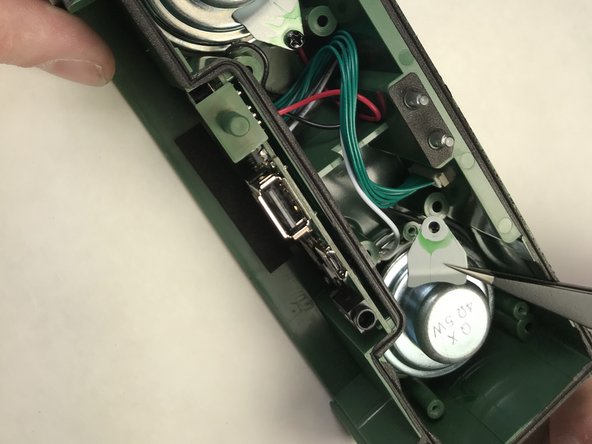
Using tweezers, detach the cord connecting the speaker to the device and lift out the speaker.
-


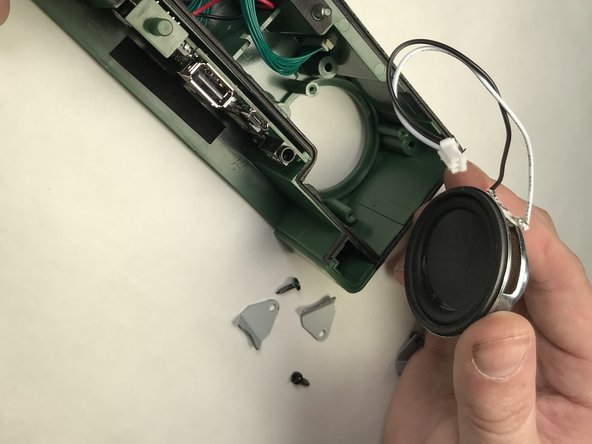
If desired, repeat steps 10 and 11 to replace the other speaker within the device. Follow the steps of this guide and the battery replacement guide in reverse order to reassemble the device.
If desired, repeat steps 10 and 11 to replace the other speaker within the device. Follow the steps of this guide and the battery replacement guide in reverse order to reassemble the device.
Rückgängig: Ich habe diese Anleitung nicht absolviert.
Ein:e weitere:r Nutzer:in hat diese Anleitung absolviert.
Team

IUPUI, Team S2-G6, Harley Spring 2018 Mitglied von IUPUI, Team S2-G6, Harley Spring 2018
IUPUI-HARLEY-S18S2G6
3 Mitglieder
2 Anleitungen geschrieben