Einleitung
This replacement guide will show you how to safely and properly remove the screen on your LG G Pad X 8.3.
Was du brauchst
-
-
Remove the cover of the SD card. Find it on the right side of the back of the tablet.
-
Press the SD card in to make it pop out.
-
-
-
Start at a corner and pry the screen up with a plastic opening tool.
-
Slide the tool in the seam at the edge of the screen.
-
Wedge additional plastic opening tools in the seam to help lift the screen.
-
Slide both wedged plastic opening tools towards the bottom to pop the screen loose.
-
-
-
With a Phillips #000 screwdriver, unscrew the six 4.0 mm screws that hold down the battery.
-
With the Phillips #000 screwdriver, unscrew the two 4.0 mm screws that hold down the battery ribbon connector.
-
Use a magnetic mat to keep track of these tiny screws for later reassembly.
-
-
-
-
With a Phillips #000 screwdriver, unscrew the one 4.0 mm screw that is holding down the speaker.
-
Use the magnetic mat to keep track of the tiny screw(s).
-
-
-
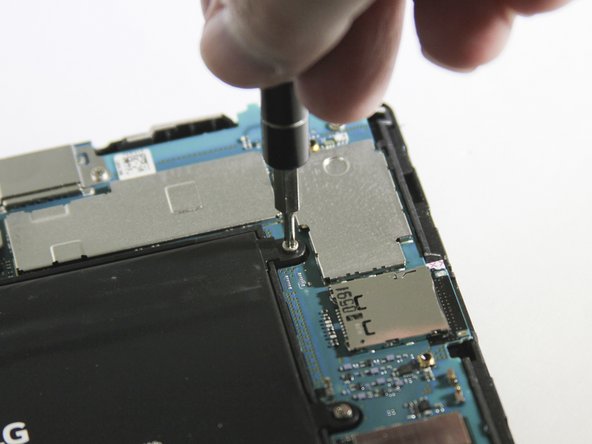
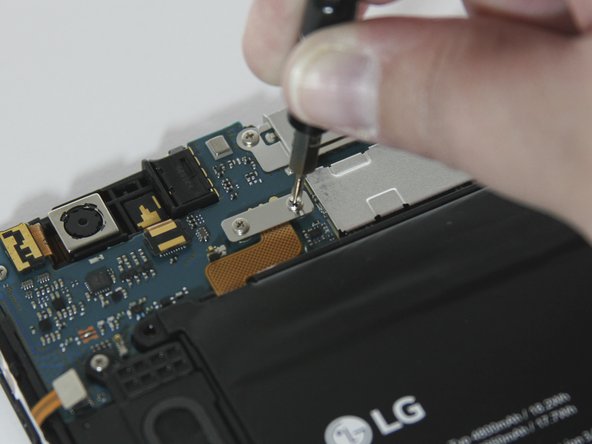
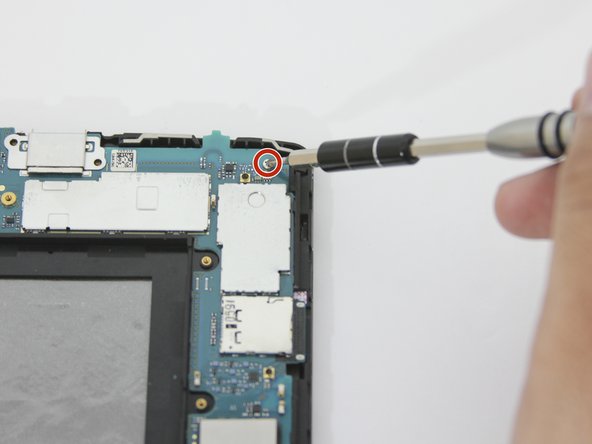
With the Phillips #000 screwdriver, unscrew the four 4.0 mm screw that are holding down the motherboard.
-
-
-
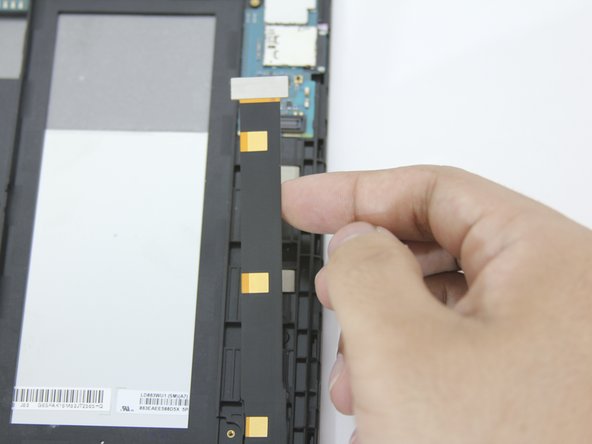
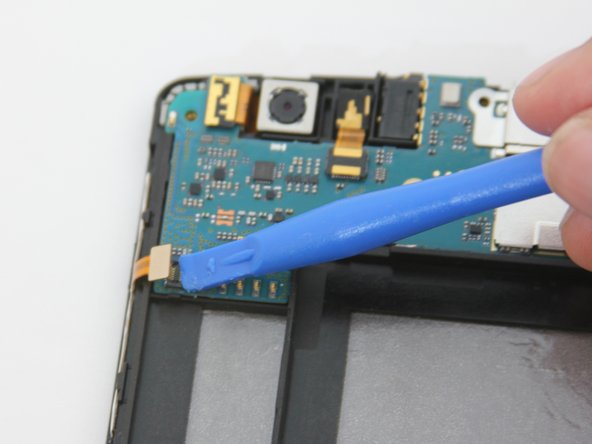
Use a plastic opening tool to lift up the ribbon connector at the bottom of the motherboard.
-
-
-
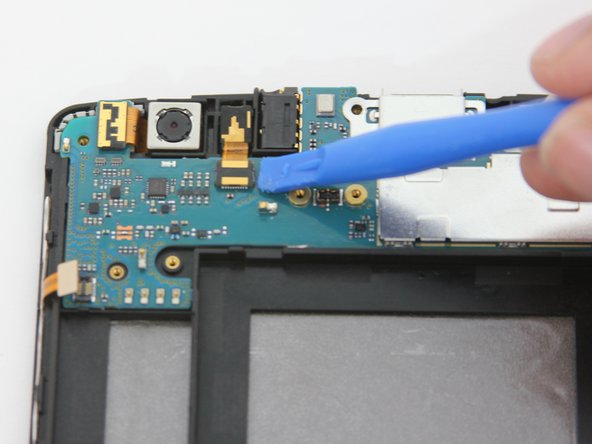
Lift and release the remaining ribbon connectors in the upper left corner of the motherboard with a plastic opening tool.
-
-
-
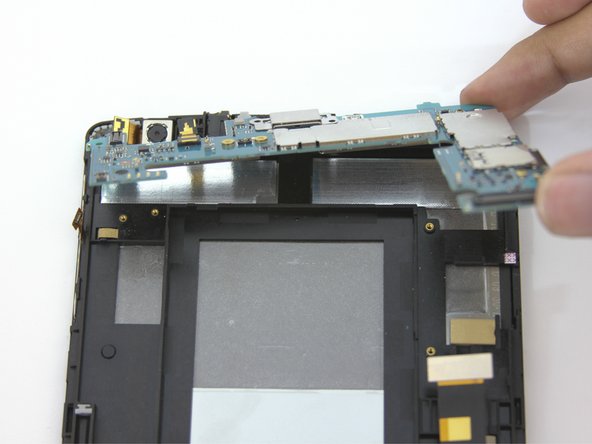
With your fingers, lift up the motherboard from the upper right corner.
-
Carefully remove the fragile motherboard from the device.
-
-
-
Insert the plastic opening tool under the ribbon connector that is holding the rear-facing camera down and lift it up.
-
-
-
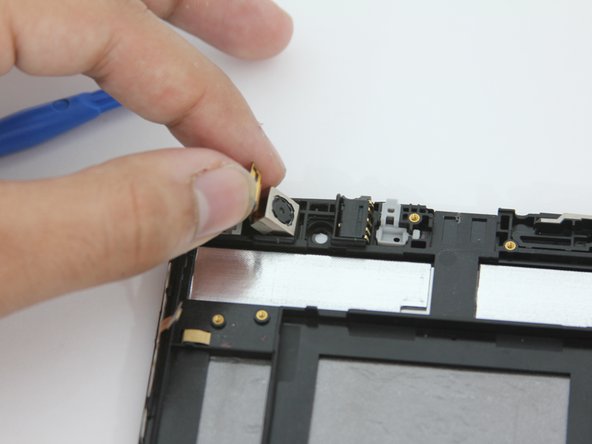
After prying ribbon connector, the rear-facing camera should be ready for removal.
-
Gently lift the rear-facing camera with your fingers and remove.
-
-
-
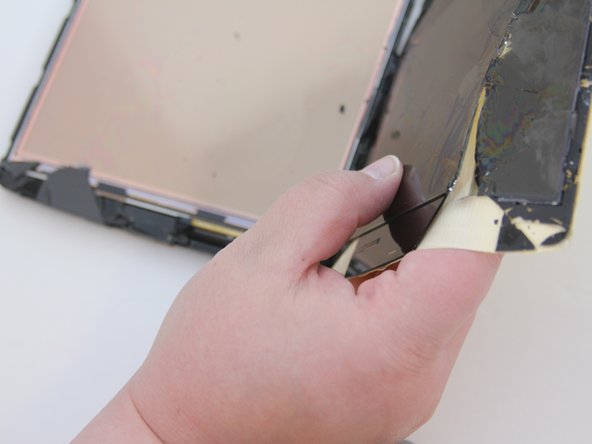
Insert the plastic opening tool on one of the corners of the device.
-
Slowly go around the edge of the tablet with the plastic opening tool and pry upward.
-
Use multiple plastic opening tools underneath areas that have been pried open. This will prevent the screen from sticking back to the adhesive and it will make removal easier.
-


To reassemble your device, follow these instructions in reverse order.
To reassemble your device, follow these instructions in reverse order.
Rückgängig: Ich habe diese Anleitung nicht absolviert.
3 weitere Nutzer:innen haben diese Anleitung absolviert.
Team

Eastern Washington University, Team S3-G4, Rowley Spring 2018 Mitglied von Eastern Washington University, Team S3-G4, Rowley Spring 2018
EWU-ROWLEY-S18S3G4
4 Mitglieder
10 Anleitungen geschrieben
2 Kommentare
I have a question. Mine was dropped and has a crack across the screen - I’d keep using it with a glass screen protector on it if I could, it’s not that bad. HOWEVER, when it dropped and broke the screen, the digitizer stopped working.
Does anybody know if the digitizer is integrated with the back light or if it’s closer to the screen? I don’t see any ribbon cables being removed in this guide so I’m assuming that it’s deeper than just the screen.
Any help would be wonderful I’m trying to decide if I want to fix this thing or just recycle it, I love the pen and the size, but it’s fairly outdated now and not the fastest thing in the world. I have another tablet and a nice phone, but was going to give this to my brother.
Nice guide, I’ve used iFixIt guides a few times in the past to fix friend’s devices… my phone/tablet/laptop repair tool, screw driver, and screw kit collection is pretty massive and impressive now LOL.
Thanks!