Einleitung
Use this guide to replace your optical drive.
Was du brauchst
-
-
Flip the ThinkPad upside down with the bottom facing you.
-
Slide the latch to the right into the unlock position.
-
While holding the latch in the unlock position, lift the battery out with your other hand.
-
-
-
Locate the 4.8mm Phillips #0 screw on the far left of the ThinkPad, closest to the edge and above the battery, and unscrew it with a Phillips #0 screwdriver.
-
-
-
-
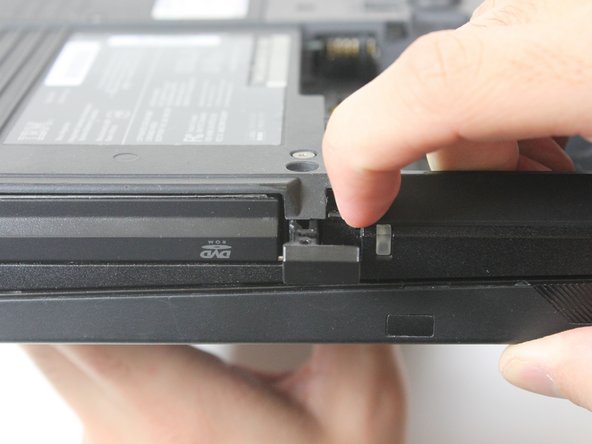
On the side of the ThinkPad, locate a lock next to the optical drive. Use your fingernail to slide the lock to the right.
-
-
-
Once it is unlocked, a small tab will pop out. Pull on the tab with your fingers.
-
The optical drive will easily slide out. Remove the optical drive.
-
To reassemble your device, follow these instructions in reverse order.
To reassemble your device, follow these instructions in reverse order.
Rückgängig: Ich habe diese Anleitung nicht absolviert.
Ein:e weitere:r Nutzer:in hat diese Anleitung absolviert.


