Was du brauchst
-
-
Remove the back panel by using the plastic opening tool to carefully pry around the panel's edges.
-
-
-
-
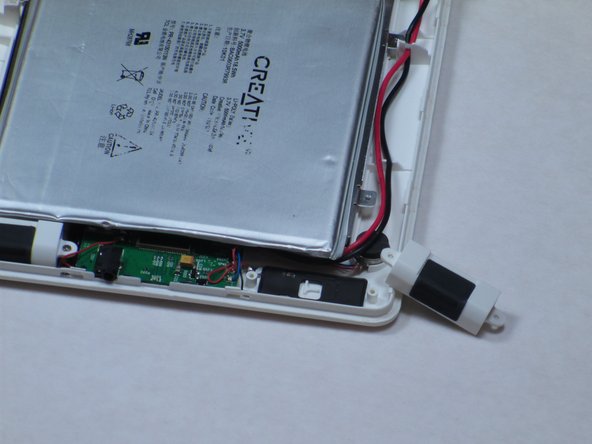
The left speaker is directly below the battery and on the side with the main red and black wires.
-
Unscrew the two 4mm Philips #00 screws using a Philips Screwdriver.
-
-
-
Once the screws are removed, discard the broken speaker.
-
Replace the broken speaker with new left speaker.
-


To reassemble your device, follow these instructions in reverse order.
To reassemble your device, follow these instructions in reverse order.
Rückgängig: Ich habe diese Anleitung nicht absolviert.
Ein:e weitere:r Nutzer:in hat diese Anleitung absolviert.
Team

Cal Poly, Team 14-10, Maness Spring 2013 Mitglied von Cal Poly, Team 14-10, Maness Spring 2013
CPSU-MANESS-S13S14G10
4 Mitglieder
13 Anleitungen geschrieben