Einleitung
This guide contains photos that do not include pictures of the back cover or battery. However, the instructions have been adjusted to reflect this lack of visual aid.
Was du brauchst
-
-
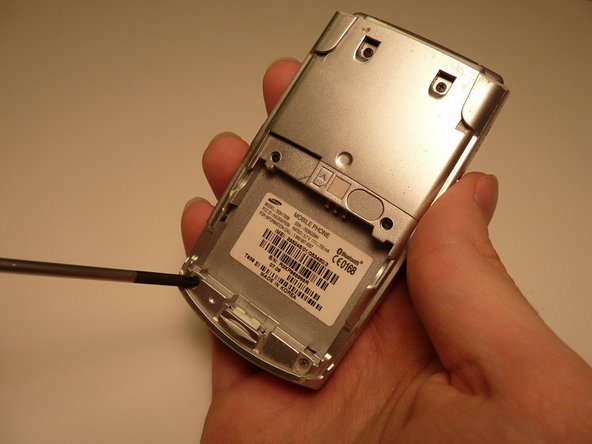
Locate the six (4mm) screws on the back casing of the phone.
-
Unscrew each one using a phillips head #000 screwdriver.
-
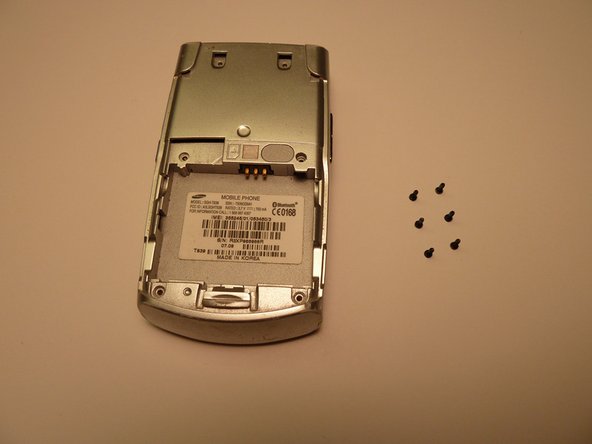
Place screws on magnetic mat.
-
-
-
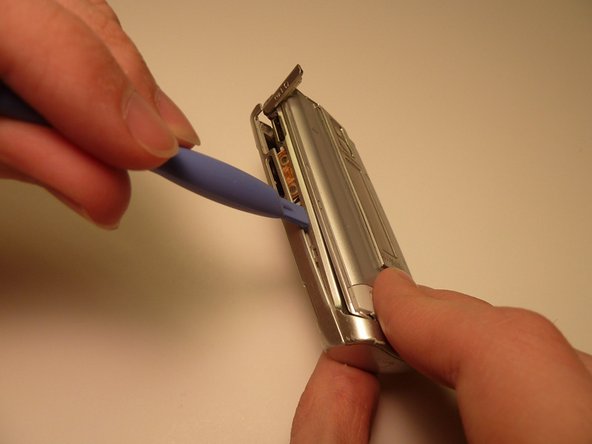
Starting at the top of the phone, carefully insert plastic opening device into the seam.
-
Carefully slide device along the seam and around the corners of the phone until the back is separated from the front.
-
-
-
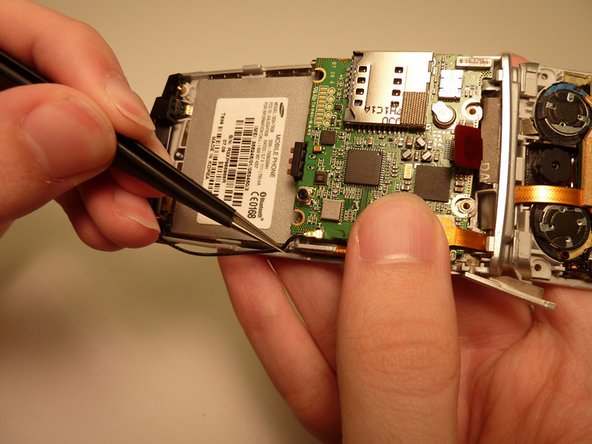
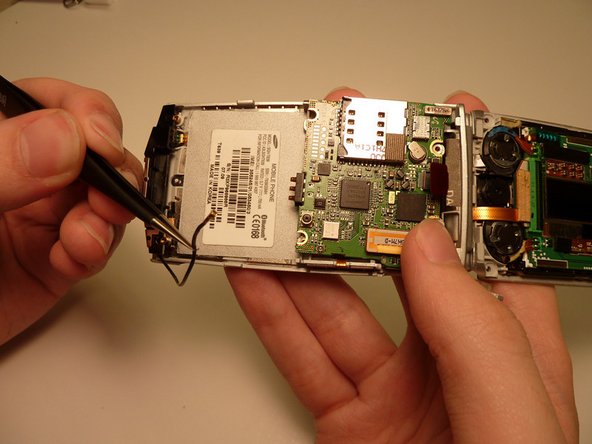
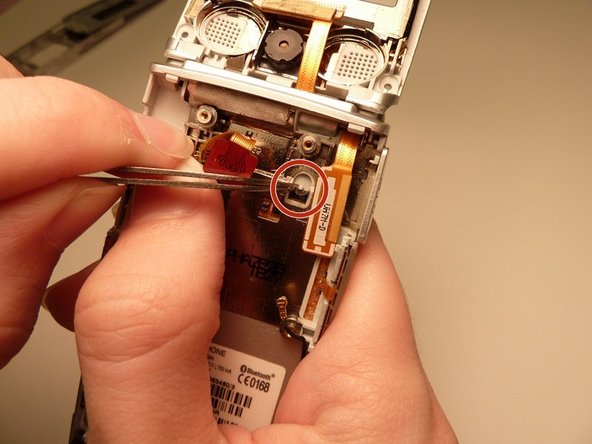
Locate the connection point of black wire running from the microphone to the motherboard.
-
Carefully disconnect the gold connector from the motherboard using tweezers.
-
-
-
-
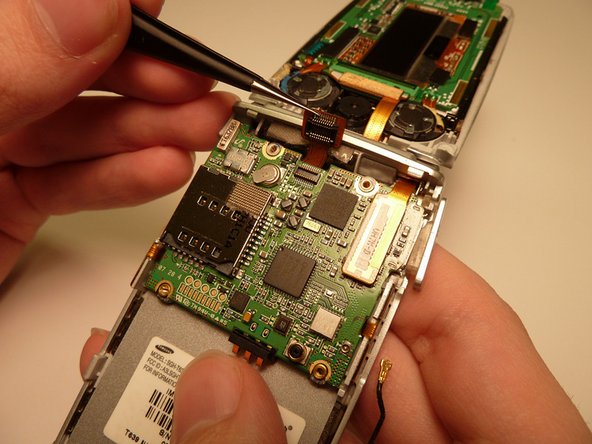
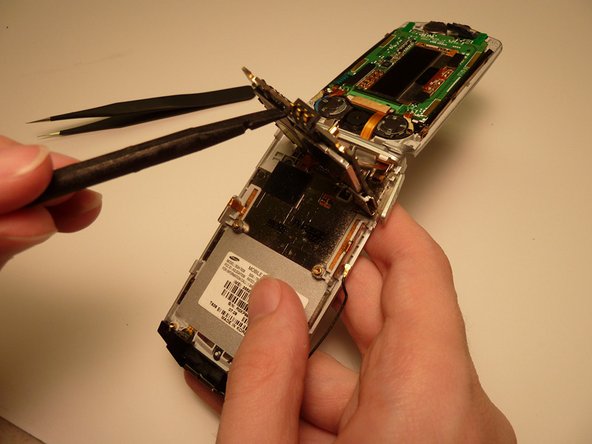
Locate the red connector at the top of the motherboard.
-
Carefully lift and remove the connector from the motherboard using tweezers.
-
-
-
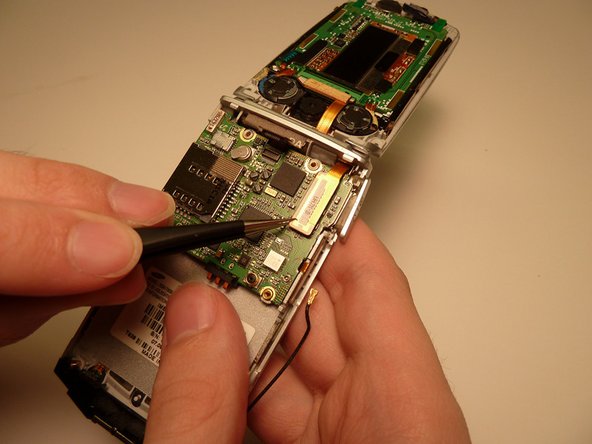
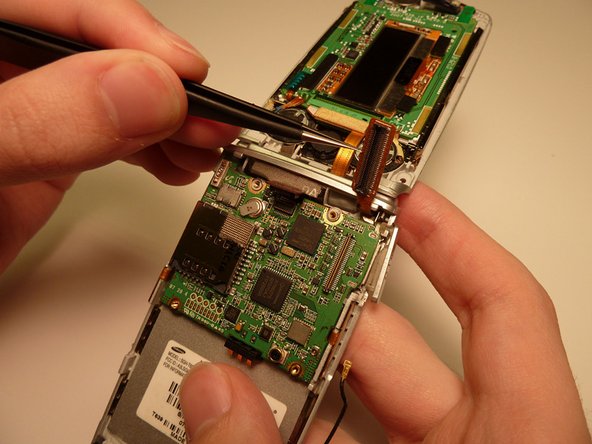
Locate the gold connector that connects the screen to the motherboard.
-
Carefully disconnect the connector from the motherboard using tweezers.
-
-
-
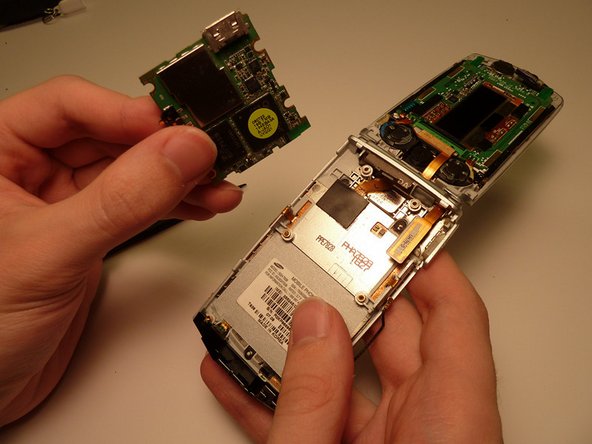
Start at the bottom of the motherboard and gently pry it from the back of the cell phone using the plastic opening tool.
-
Lift the motherboard from the cell phone.
-
-
-
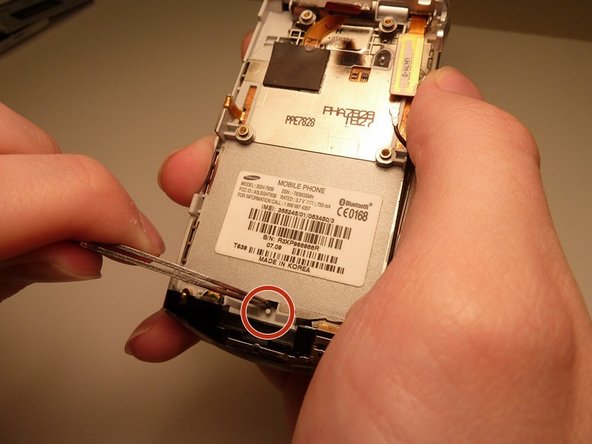
Locate the two black, rubber tabs near the top of the back of the phone.
-
Locate the one black, rubber tab near the base of the phone.
-
-
-
Using tweezers, pry each of the tabs open.
-
Tuck each tab behind the white notch.
-
-
-
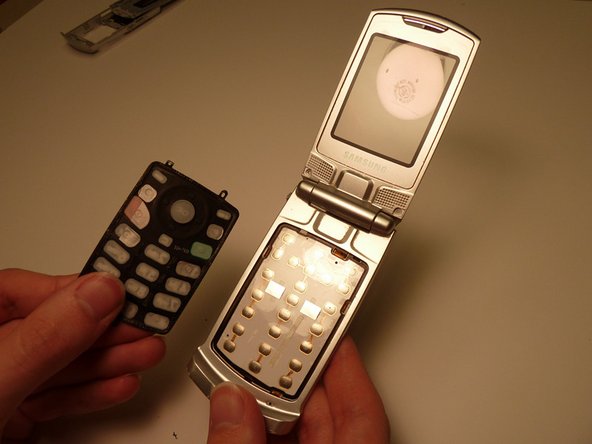
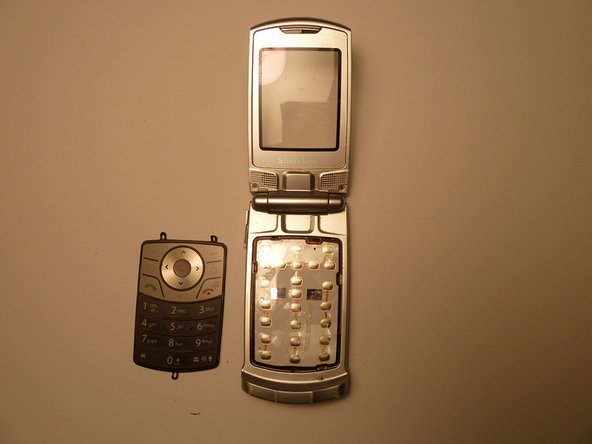
Flip phone over to make the keypad visable.
-
Carefully lift keypad around the edges.
-
Remove keypad from the cell phone.
-
-
-
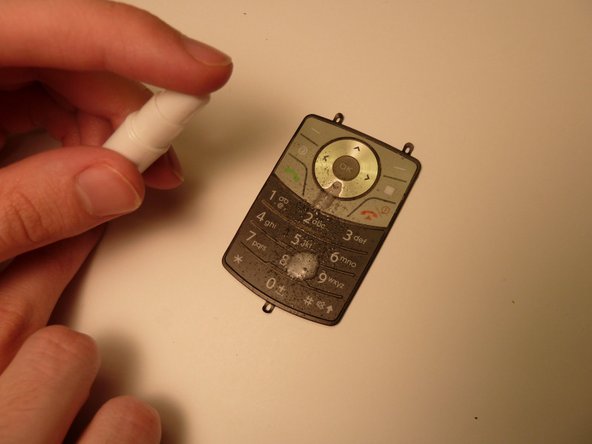
Obtain device cleaner and a cleaning pad.
-
-
-
Spray the front of the keypad with device cleaner.
-
Clean front of keypad using cleaning cloth.
-
-
-
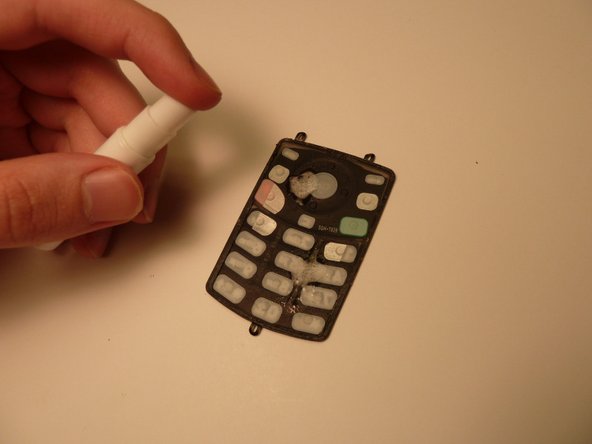
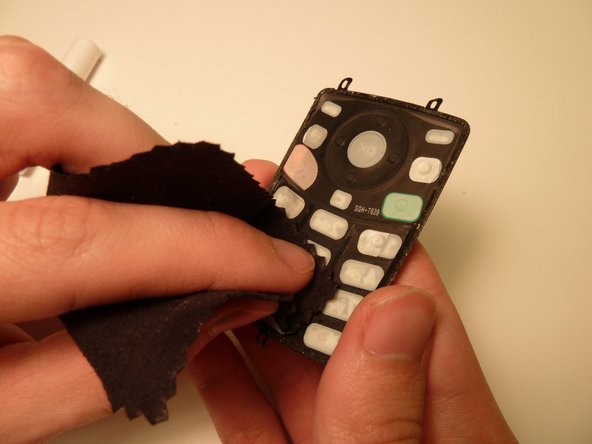
Flip keypad over.
-
Spray back of keypad with device cleaner.
-
Clean back of keypad with cleaning cloth.
-


To reassemble your device, follow these instructions in reverse order.
To reassemble your device, follow these instructions in reverse order.
Team

Clemson, Team 1-4, Benson Spring 2014 Mitglied von Clemson, Team 1-4, Benson Spring 2014
CLEM-BENSON-S14S1G4
3 Mitglieder
16 Anleitungen geschrieben