Einleitung
To replace the refresh button, you will need to open the router's outer casings. This replacement is simple and will not take much time to complete.
Was du brauchst
-
-
Insert the plastic-opening tool under the silver labeled casing.
-
Carefully pry at different intervals around the silver labeled casing to separate the silver casing from the top and bottom casing.
-
-
-
-
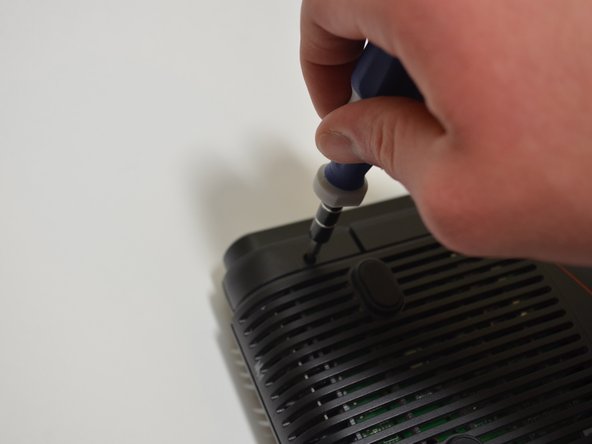
Unscrew the five 10-mm screws on the bottom of the router using a Phillips #0 screwdriver.
-
-
-
Use a plastic-opening tool and pry the top casing from the bottom casing to expose the circuit board in the bottom half of the device.
-
-
-
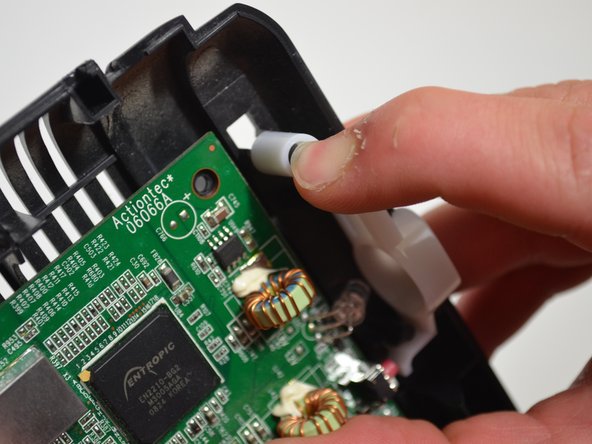
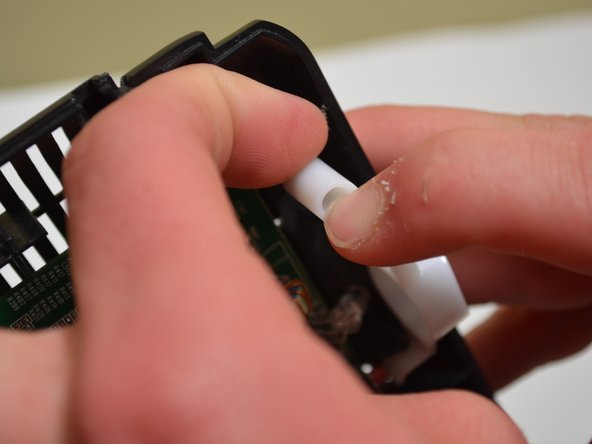
Apply pressure with your finger to the black tab that retains the refresh button while using your other hand to pull the bottom of the refresh button from the post.
-


To reassemble your device, follow these instructions in reverse order.
To reassemble your device, follow these instructions in reverse order.
Team

University of Kentucky Louisville, Team 1-3, Mathis Fall 2014 Mitglied von University of Kentucky Louisville, Team 1-3, Mathis Fall 2014
LOUISVILLE-MATHIS-F14S1G3
3 Mitglieder
8 Anleitungen geschrieben