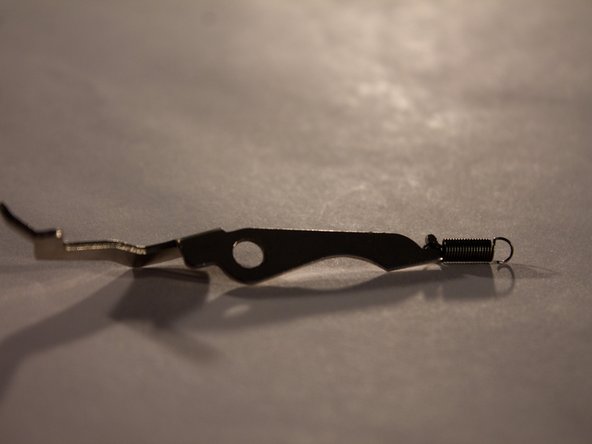
Zum Hauptinhalt wechseln

Greist Buttonholer Fork Arm Spring Replacement

Was du brauchst

  1. Greist Buttonholer Fork Arm Spring Replacement, Unscrew the Lower Hook Holding the Spring: Schritt 1, Bild 1 von 3 Greist Buttonholer Fork Arm Spring Replacement, Unscrew the Lower Hook Holding the Spring: Schritt 1, Bild 2 von 3 Greist Buttonholer Fork Arm Spring Replacement, Unscrew the Lower Hook Holding the Spring: Schritt 1, Bild 3 von 3
    • Unscrew the screw located underneath fork arm using a Flathead screwdriver.

  2. Greist Buttonholer Fork Arm Spring Replacement, Remove the Lower Hook: Schritt 2, Bild 1 von 3 Greist Buttonholer Fork Arm Spring Replacement, Remove the Lower Hook: Schritt 2, Bild 2 von 3 Greist Buttonholer Fork Arm Spring Replacement, Remove the Lower Hook: Schritt 2, Bild 3 von 3
    • Raise the fork arm so that it is parallel with the upper hook.

    • Turn the lower hook towards you from the bottom, and remove.

  3. Greist Buttonholer Fork Arm Spring Replacement, Replace the Spring: Schritt 3, Bild 1 von 2 Greist Buttonholer Fork Arm Spring Replacement, Replace the Spring: Schritt 3, Bild 2 von 2
    • Remove the old spring from the hook.

    • Add the new spring to the hook.

Abschluss

To reassemble your device, follow these instructions in reverse order.

Michael Sykes

Mitglied seit: 10/06/14

552 Reputation

5 Anleitungen geschrieben

Team

USF Tampa, Team 3-6, Brown Fall 2014 Mitglied von USF Tampa, Team 3-6, Brown Fall 2014

USFT-BROWN-F14S3G6

5 Mitglieder

8 Anleitungen geschrieben

Ein Kommentar

Will the spring look distorted if it needs replacing?

Sarah Turnbull - Antwort

Kommentar hinzufügen

Seitenaufrufe:

Letzte 24 Stunden: 0

Letzte 7 Tage: 1

Letzte 30 Tage: 1

Insgesamt: 248