Einleitung
The encoder strip is the thin plastic ribbon that runs across the printer. It is crucial for the movement of the ink cartridges during the printing process. This guide will show you how to replace the encoder strip in your Dell Photo Printer 720.
Was du brauchst
-
-
Use a Phillips head #2 screwdriver to remove the 4 screws located on the bottom of the Dell Photo Printer 720.
-
-
-
Use a spudger to wedge between the cover and base of the printer (where the light grey and black portions meet).
-
Pry apart the light grey cover from the black base.
-
Gently flip the printer upright to its standard position and carefully lift off the cover.
-
-
-
-
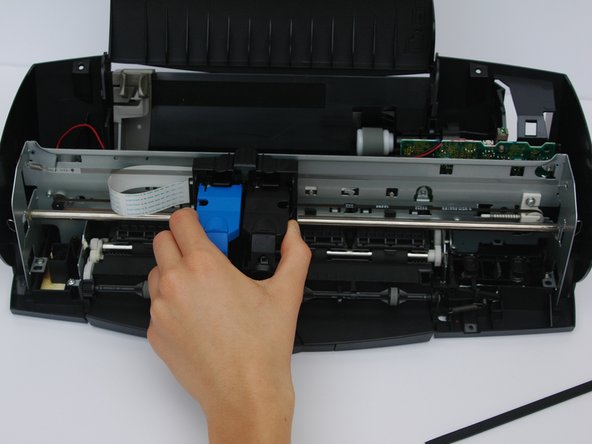
Slide the ink cartridge from the right side to the middle left so it is out of the way.
-
-
-
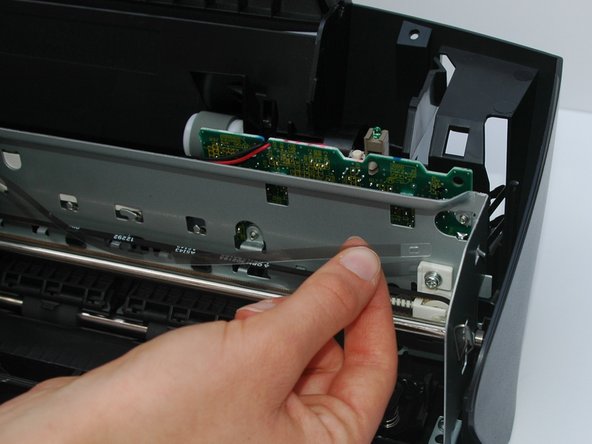
Grab ahold of the encoder strip on the right side. Gently tug the strip outward and swing the end piece towards you to unhook the encoder from the prong.
-
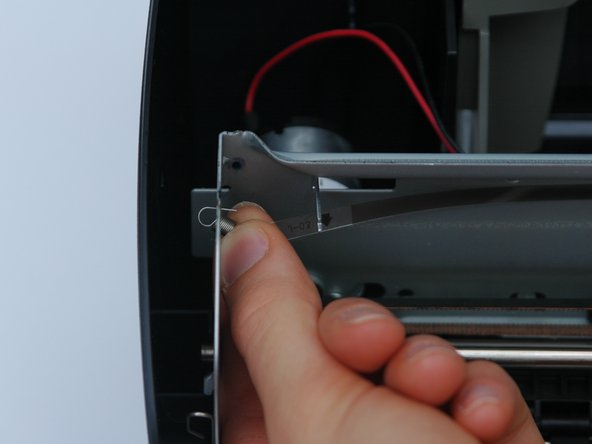
Carefully unhook the opposite end of the encoder strip to full disconnect the part.
-
To replace new encoder strip, reattach each end to the hooks by reversing previous steps.
-


To reassemble your device, follow these instructions in reverse order.
To reassemble your device, follow these instructions in reverse order.
Rückgängig: Ich habe diese Anleitung nicht absolviert.
Ein:e weitere:r Nutzer:in hat diese Anleitung absolviert.
Team

USF Sarasota-Manatee, Team 1-3, Stewart Winter 2015 Mitglied von USF Sarasota-Manatee, Team 1-3, Stewart Winter 2015
USFSM-STEWART-W15S1G3
4 Mitglieder
14 Anleitungen geschrieben