Zum Hauptinhalt wechseln

2013 Subaru Impreza WRX Mud Flaps Replacement

Was du brauchst

  1. 2013 Subaru Impreza WRX Mud Flaps Replacement, Mud Flaps: Schritt 1, Bild 1 von 1
    • Always make sure your car is off, the parking break is applied, and you are in a safe area free from other passing cars.

  2. 2013 Subaru Impreza WRX Mud Flaps Replacement: Schritt 2, Bild 1 von 1
    • Turn the wheels all the way towards the side you will be working on.

    • This will create easier access to the inside of the wheel well when you are replacing the mud flap.

  3. 2013 Subaru Impreza WRX Mud Flaps Replacement: Schritt 3, Bild 1 von 3 2013 Subaru Impreza WRX Mud Flaps Replacement: Schritt 3, Bild 2 von 3 2013 Subaru Impreza WRX Mud Flaps Replacement: Schritt 3, Bild 3 von 3
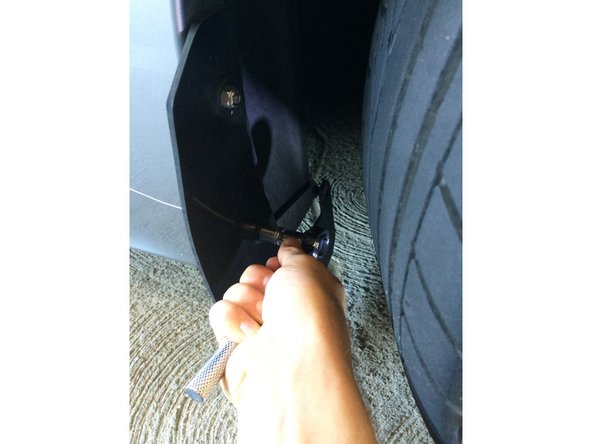
    • Start with the front mud flaps.

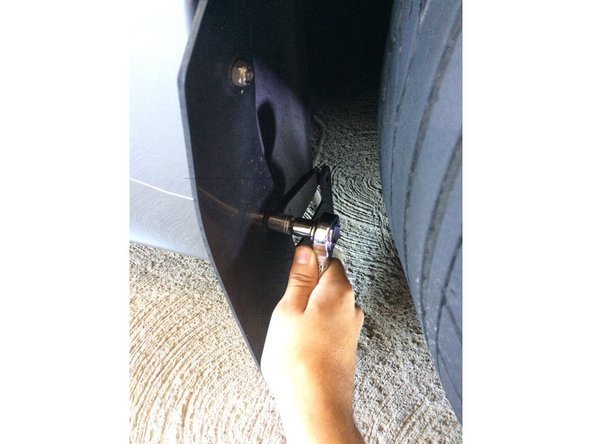
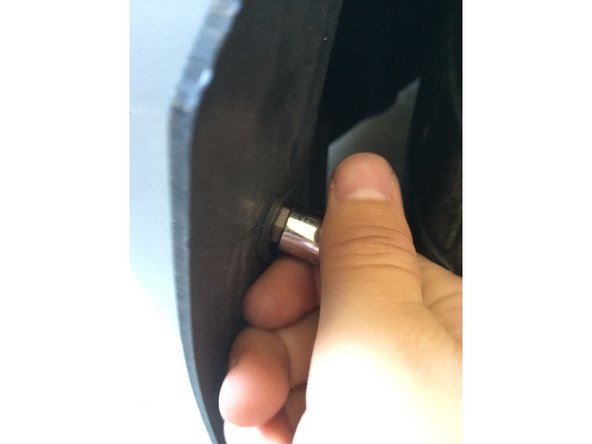
    • Attach the 7/16th size socket piece to the wrench and begin removing the 7/16th diameter nuts.

  4. 2013 Subaru Impreza WRX Mud Flaps Replacement: Schritt 4, Bild 1 von 3 2013 Subaru Impreza WRX Mud Flaps Replacement: Schritt 4, Bild 2 von 3 2013 Subaru Impreza WRX Mud Flaps Replacement: Schritt 4, Bild 3 von 3
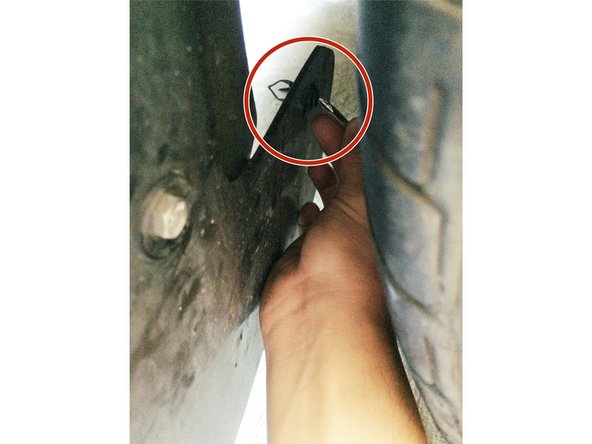
    • Use your Philips Head screwdriver to unscrew the farthest #6 3/4" Stainless Philips Screw.

    • Be careful not to loose the rubber gasket attached to the screw.

  5. 2013 Subaru Impreza WRX Mud Flaps Replacement: Schritt 5, Bild 1 von 3 2013 Subaru Impreza WRX Mud Flaps Replacement: Schritt 5, Bild 2 von 3 2013 Subaru Impreza WRX Mud Flaps Replacement: Schritt 5, Bild 3 von 3
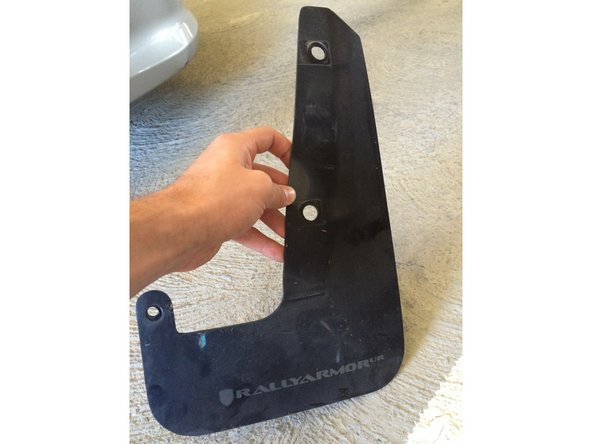
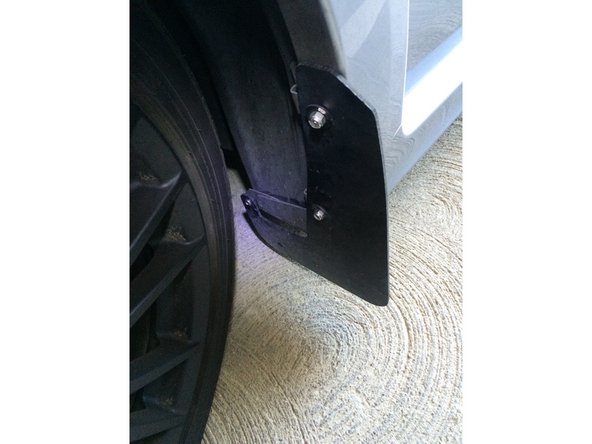
    • Once the old mud flap is removed, grab your new mud flap and reattach it in the same manner as how you removed the old or broken one.

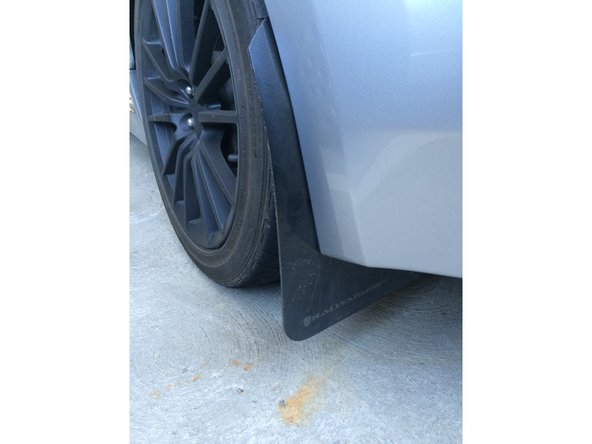
    • Repeat for opposite front mud flap.

  6. 2013 Subaru Impreza WRX Mud Flaps Replacement: Schritt 6, Bild 1 von 3 2013 Subaru Impreza WRX Mud Flaps Replacement: Schritt 6, Bild 2 von 3 2013 Subaru Impreza WRX Mud Flaps Replacement: Schritt 6, Bild 3 von 3
    • For the back two mud flaps you will need to use a slightly different technique due to the limited space you will be working in.

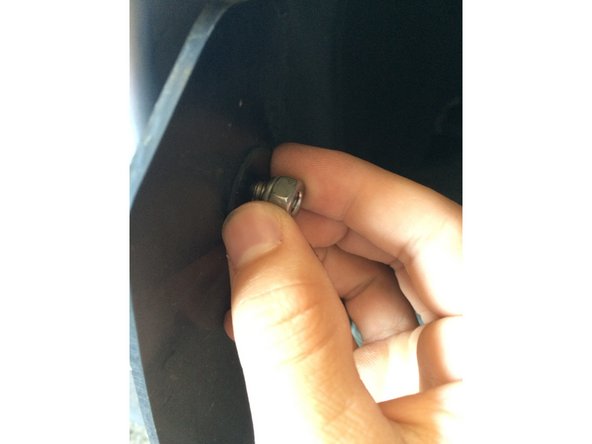
    • Use your hands and the 10mm wrench piece to unbolt the mud flap.

    • Once you have removed the nuts, you can move on to the #6 3/4" Philips Head Screw.

    • This step will be aided by the use of an extra small Philips screwdriver.

  7. 2013 Subaru Impreza WRX Mud Flaps Replacement: Schritt 7, Bild 1 von 2 2013 Subaru Impreza WRX Mud Flaps Replacement: Schritt 7, Bild 2 von 2
    • Replace both back mud flaps and fasten all pieces back in place.

  8. 2013 Subaru Impreza WRX Mud Flaps Replacement: Schritt 8, Bild 1 von 2 2013 Subaru Impreza WRX Mud Flaps Replacement: Schritt 8, Bild 2 von 2
    • Make sure the mud flaps are all properly tightened and positioned before driving your car again.

    • Enjoy your brand new mud flaps.

Abschluss

To reassemble your device, follow these instructions in reverse order.

Alex Davis

Mitglied seit: 09/29/15

101 Reputation

1 Anleitung geschrieben

Team

Cal Poly, Team 14-3, Green Fall 2015 Mitglied von Cal Poly, Team 14-3, Green Fall 2015

CPSU-GREEN-F15S14G3

4 Mitglieder

5 Anleitungen geschrieben

0 Kommentare

Kommentar hinzufügen

Seitenaufrufe:

Letzte 24 Stunden: 2

Letzte 7 Tage: 2

Letzte 30 Tage: 5

Insgesamt: 920