Einleitung
The power button is located at the top of your device, by the camera. This button can deteriorate over time or by rough handling, preventing the device from powering on and off or entering sleep mode. To fix this, the power button must be replaced.
Was du brauchst
-
-
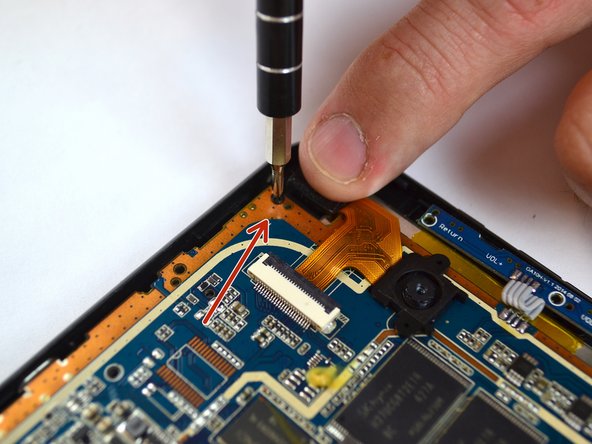
Remove the two 4 mm Phillips head screws at the top of the tablet.
-
-
-
Carefully remove the back cover by using a plastic opening tool, moving all the way around the perimeter of the tablet.
-
Set the back cover aside.
-
-
-
Remove all of the 4mm screws that attach the display screen to the back of the touch screen with brackets.
-
-
-
-
Remove all of the 4mm screws that attach the motherboard to the rest of the device.
-
-
-
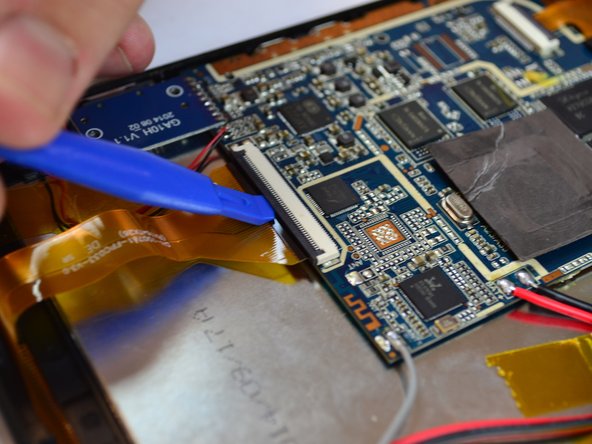
Locate the 2 ZIF connectors.
-
Flip up the black tab to release the two filaments, so that they are no longer connected to the motherboard.
-
-
-
Locate the notification light on the upper corner of the device.
-
Gently pull on the wires to remove the light from it's housing.
-
-
-
Push the power button towards the interior of the device to free it from its slot, using tweezers.
-


To reassemble your device, follow these instructions in reverse order.
To reassemble your device, follow these instructions in reverse order.
Rückgängig: Ich habe diese Anleitung nicht absolviert.
2 weitere Nutzer:innen haben diese Anleitung absolviert.

Team

USF Tampa, Team 14-5, Eyestone Fall 2016 Mitglied von USF Tampa, Team 14-5, Eyestone Fall 2016
USFT-EYESTONE-F16S14G5
4 Mitglieder
10 Anleitungen geschrieben