Zum Hauptinhalt wechseln

LG VX8700 Motherboard Replacement

Was du brauchst

  1. LG VX8700 Motherboard Replacement, Battery: Schritt 1, Bild 1 von 2 LG VX8700 Motherboard Replacement, Battery: Schritt 1, Bild 2 von 2
    • Make sure the phone is completely off.

    • Remove the back cover by sliding the tab away from the phone using one finger.

  2. LG VX8700 Motherboard Replacement: Schritt 2, Bild 1 von 2 LG VX8700 Motherboard Replacement: Schritt 2, Bild 2 von 2
    • Lift one side of the battery using a plastic opening tool or your fingers.

    • Carefully remove the battery and set it aside.

    • When installing the new battery, make sure to align the metal pins with those of the phone.

  3. LG VX8700 Motherboard Replacement, Keypad: Schritt 3, Bild 1 von 2 LG VX8700 Motherboard Replacement, Keypad: Schritt 3, Bild 2 von 2
    • Remove the nine 4 mm screws from the back cover with a Phillips #0 screwdriver.

  4. LG VX8700 Motherboard Replacement: Schritt 4, Bild 1 von 2 LG VX8700 Motherboard Replacement: Schritt 4, Bild 2 von 2
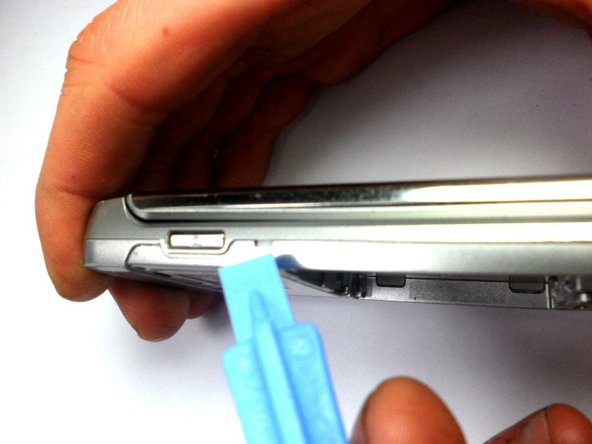
    • Insert the tip of the iFixit opening tool into the small notch on the side of the case.

    • Slide the opening tool along the seam and around the edge of the phone to separate the case.

  5. LG VX8700 Motherboard Replacement: Schritt 5, Bild 1 von 1
    • Separate the two halves of the phone.

    • The back of the phone, which houses the motherboard and keypad, is displayed on the left.

    • The plastic casing is displayed on the right.

  6. LG VX8700 Motherboard Replacement: Schritt 6, Bild 1 von 3 LG VX8700 Motherboard Replacement: Schritt 6, Bild 2 von 3 LG VX8700 Motherboard Replacement: Schritt 6, Bild 3 von 3
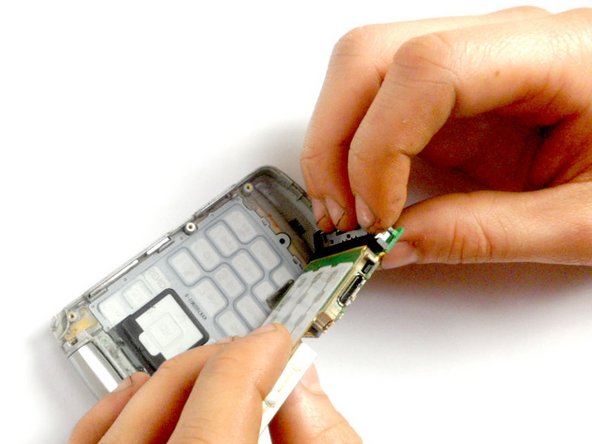
    • Hold the phone casing with one hand and the keypad assembly with the other.

    • Separate the phone casing from the keypad/motherboard.

  7. LG VX8700 Motherboard Replacement: Schritt 7, Bild 1 von 2 LG VX8700 Motherboard Replacement: Schritt 7, Bild 2 von 2
    • Pull the two boards apart to separate the keypad from the motherboard.

  8. LG VX8700 Motherboard Replacement, Motherboard: Schritt 8, Bild 1 von 1
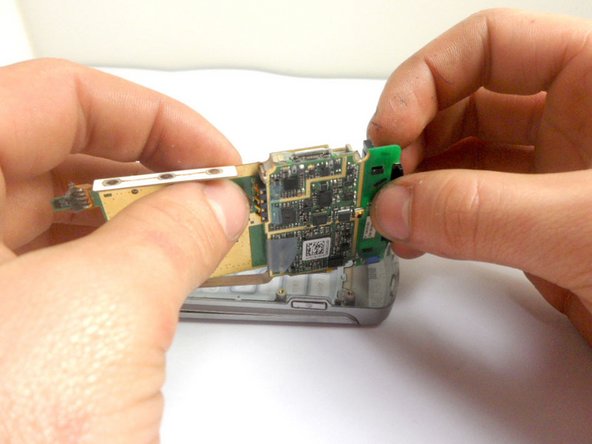
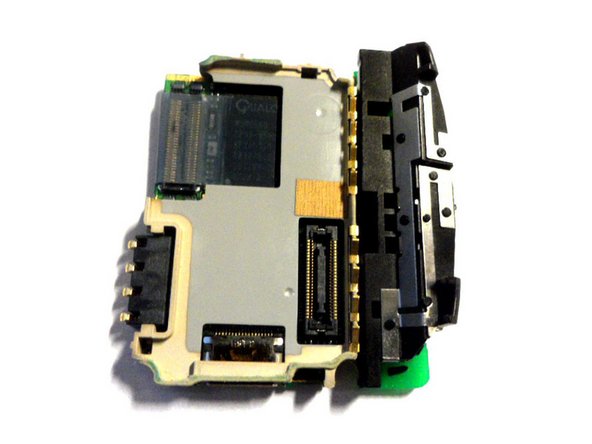
    • First, pull back the tape covering the connection between the motherboard and the ribbon cable.

    • Separate the connection, using the plastic opening tool.

  9. LG VX8700 Motherboard Replacement: Schritt 9, Bild 1 von 2 LG VX8700 Motherboard Replacement: Schritt 9, Bild 2 von 2
    • After the connection is removed, the motherboard is successfully removed.

Abschluss

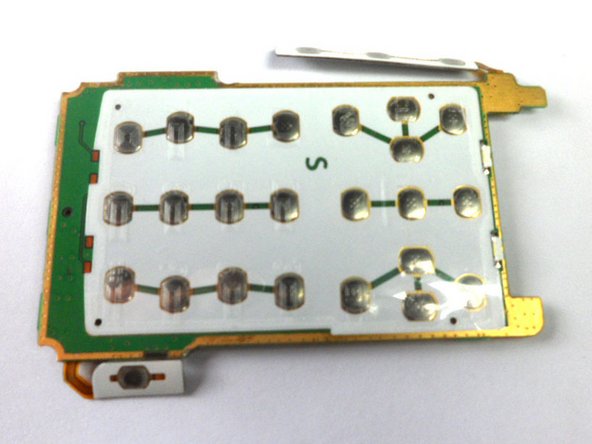
To reassemble your device, follow these instructions in reverse order.

Team

Cal Poly, Team 8-16, Maness Winter 2012 Mitglied von Cal Poly, Team 8-16, Maness Winter 2012

CPSU-MANESS-W12S8G16

4 Mitglieder

14 Anleitungen geschrieben

0 Kommentare

Kommentar hinzufügen

Seitenaufrufe:

Letzte 24 Stunden: 1

Letzte 7 Tage: 1

Letzte 30 Tage: 3

Insgesamt: 1,298