Einleitung
If the LCD Display Screen is black, cracked, or has colored lines running through it when the computer is on, the screen is broken. Follow these instructions on how to install a screen
Was du brauchst
-
-
Place the computer on a flat surface with the top facing up.
-
Open the screen.
-
-
-
Locate the rubber screw caps at the two bottom corners of the screen.
-
Use your finger to remove the rubber screw caps.
-
-
-
-
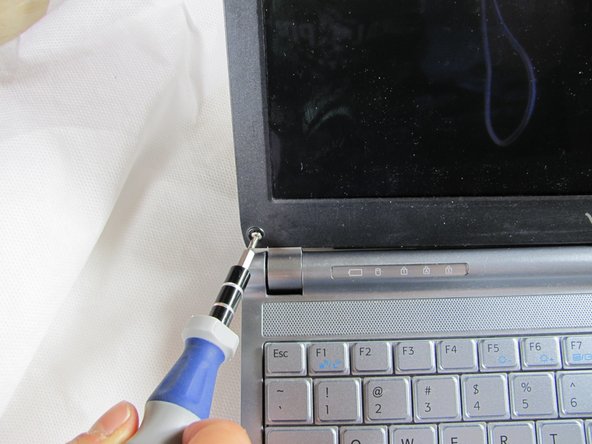
Locate the two screws, one on each bottom corner.
-
Unscrew the screws with a Phillips head size #0 screwdriver.
-
-
-
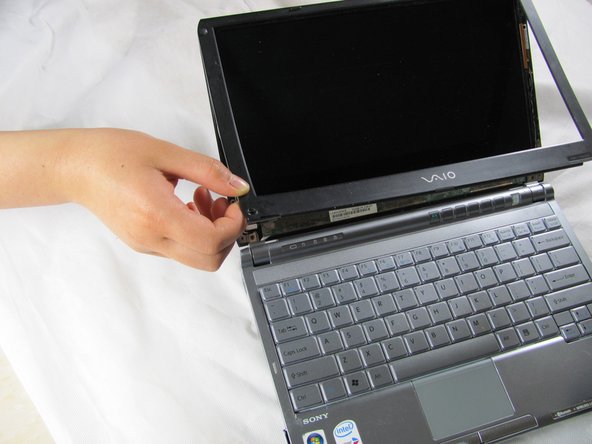
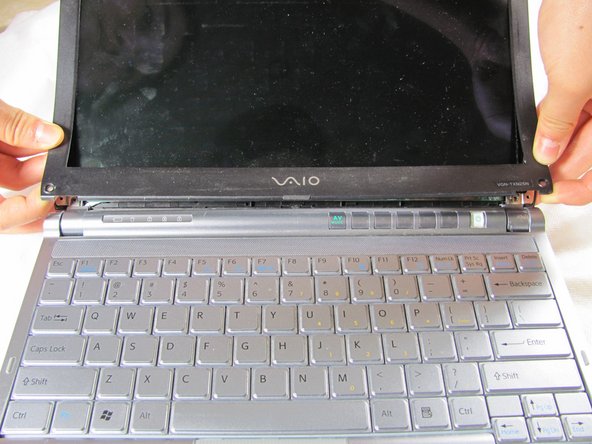
Use a plastic opening tool to gently lift the plastic casing that borders the screen.
-
Pop off the casing by working the tool around the outside of it.
-
-
-
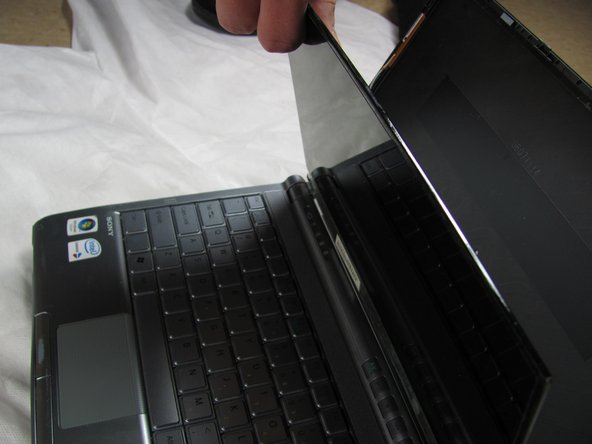
Carefully flip down the screen so it rests on the keyboard.
-
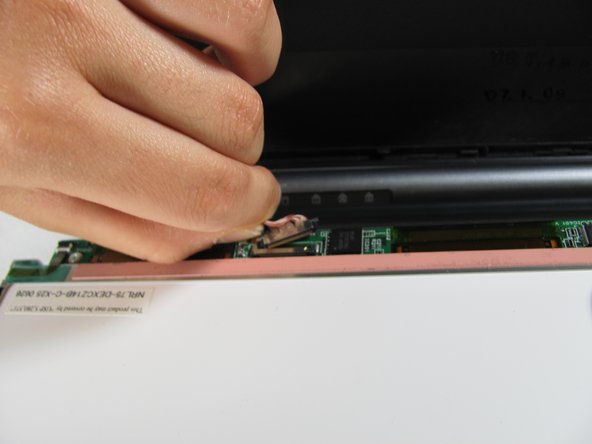
Locate the wire connector on the back of the screen and use a plastic opening tool to gently loosen the wire connection.
-


To reassemble your device, follow these instructions in reverse order.
To reassemble your device, follow these instructions in reverse order.
Rückgängig: Ich habe diese Anleitung nicht absolviert.
Ein:e weitere:r Nutzer:in hat diese Anleitung absolviert.
Team

Cal Poly, Team 5-3, Forte Spring 2012 Mitglied von Cal Poly, Team 5-3, Forte Spring 2012
CPSU-FORTE-S12S5G3
5 Mitglieder
12 Anleitungen geschrieben