Einleitung
The following steps will teach you how to disassemble your headset and install a new speaker.
Was du brauchst
-
-
Flip the headset face down.
-
Squeeze both sides of the battery cover.
-
While squeezing, pull the cover up slowly to remove it.
-
-
-
Locate and detatch the white connector that connects the wires of the battery to the wires of the headset.
-
-
-
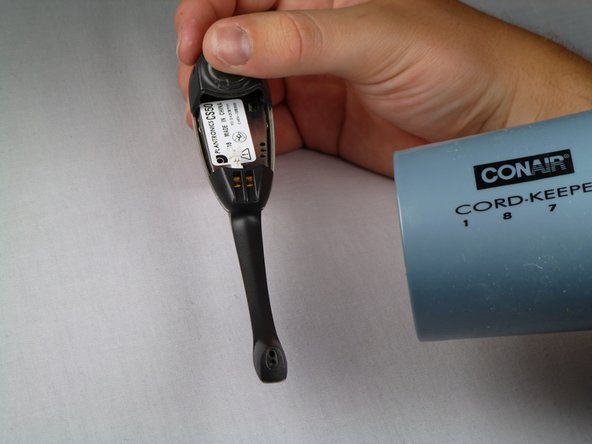
Use a hairdryer or heat gun to melt the adhesive along the crevice that joins the black and silver components.
-
Apply additional heat at the tip of the microphone.
-
-
-
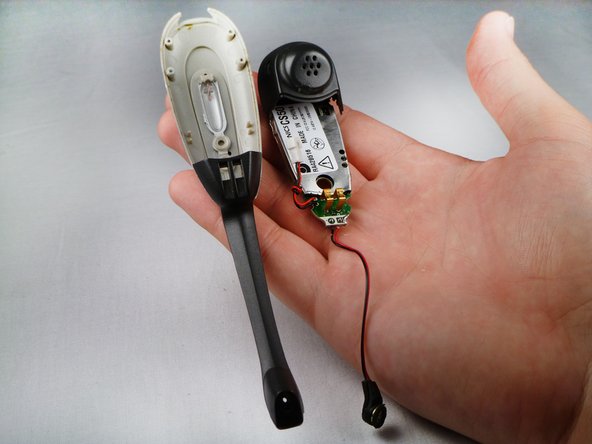
After heating the headset, use the plastic opening tool to carefully pry the black cover from the headset.
-
-
-
-
Use the heat gun to melt the adhesive connecting the headset face to the speaker casing.
-
Use the plastic opening tool to separate the speaker casing from the headset face.
-
-
-
Flip the device over.
-
Use a soldering iron to remove the solder that holds the wires to the motherboard.
-
-
-
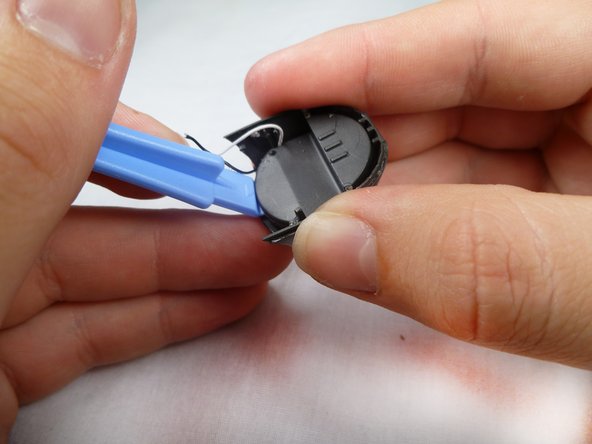
Using a blow dryer or a heat gun, heat the crevice to melt the adhesive between the plastic covers.
-
Using a plastic opening tool, prop open the edges.
-
Gently pull the black speaker casing up to remove it.
-
-
-
Use the heat gun or blow dryer to melt the glue that connects the wires to the headset's motherboard.
-
-
-
Use the heat gun to melt the adhesive that holds the bottom of the casing.
-
Use the plastic opening tool to remove the bottom of the casing.
-
-
-
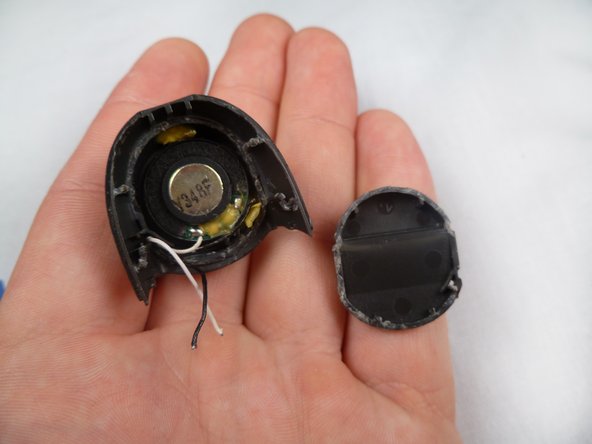
Use the blow dryer or heat gun to melt the glue that holds the speaker.
-
Use the plastic opening tool to carefully remove the speaker from its casing.
-


To reassemble your device, follow these instructions in reverse order. Replace the glue and solder where they are needed.
To reassemble your device, follow these instructions in reverse order. Replace the glue and solder where they are needed.
Team

Cal Poly, Team 17-29, Amido Spring 2012 Mitglied von Cal Poly, Team 17-29, Amido Spring 2012
CPSU-AMIDO-S12S17G29
4 Mitglieder
7 Anleitungen geschrieben