Einleitung
This guide will show you how to remove the back cover and replace the battery in the radio. There will be several small screws and rubber covers so make sure you have a container to keep them in so that they are not lost.
Was du brauchst
-
-
Remove the four 6.0 mm Phillips screws located below the rubber caps using the PH00 bit installed in the driver.
-
-
-
-
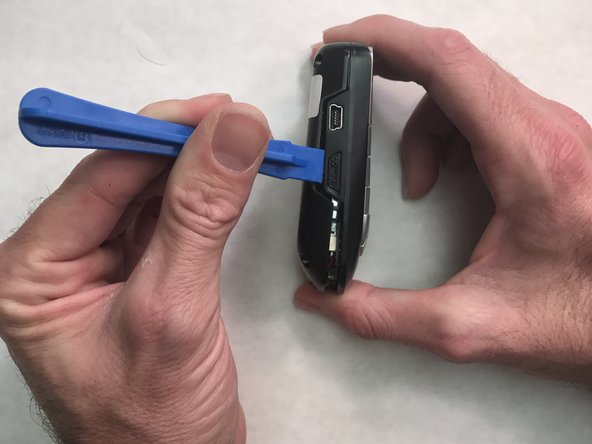
Use the plastic opening tool to pry open the back cover.
-
Slide the tool around the sides of the radio to gradually pry the back cover off. Do not remove the cover completely as there is still a cable connecting it to radio.
-
-
-
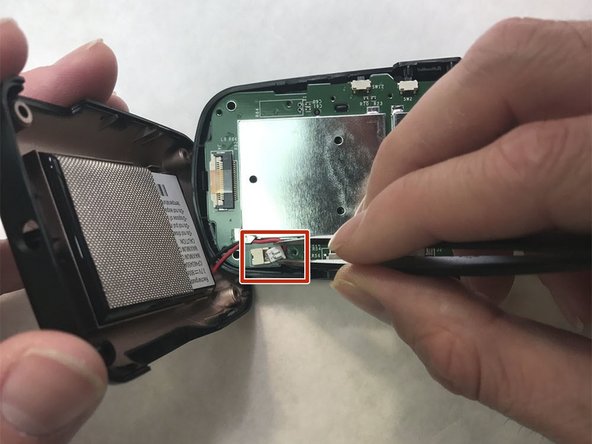
Use the blunt tweezers to unplug the battery cable from the PCB board. Grab the battery cable plug from the sides.
-
-
-
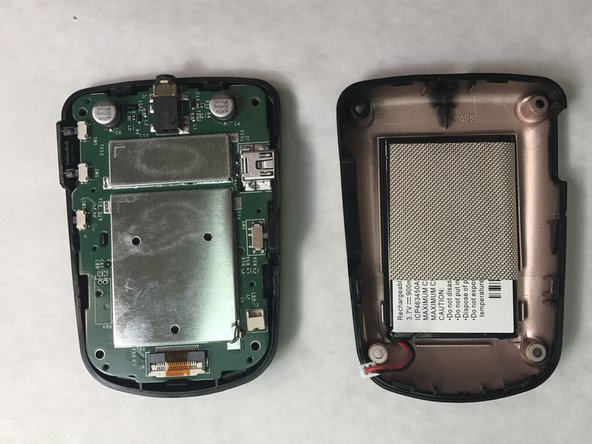
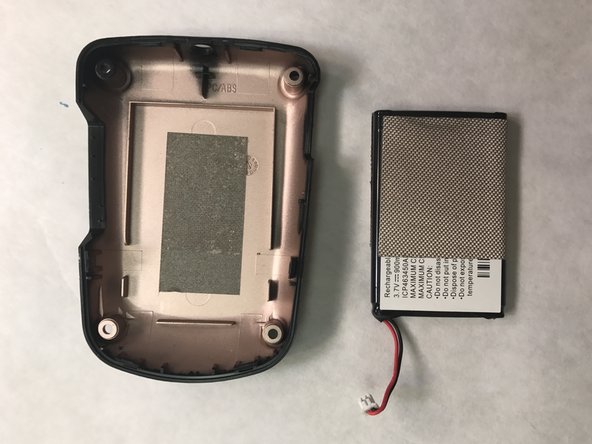
Use the flat side of the Spudger to pry the battery out of the back cover.
-
Insert the replacement battery into the back cover.
-
Reassemble the radio, making sure to reconnect the battery cable.
-


To reassemble your device, follow these instructions in reverse order.
To reassemble your device, follow these instructions in reverse order.
Rückgängig: Ich habe diese Anleitung nicht absolviert.
2 weitere Nutzer:innen haben diese Anleitung absolviert.
Team

IUPUI, Team 2-2, Wilson Fall 2016 Mitglied von IUPUI, Team 2-2, Wilson Fall 2016
IUPUI-WILSON-F16S2G2
5 Mitglieder
1 Anleitung geschrieben