Einleitung
If Ollie's wheels are moving slower than you think it should, then you are going to want to change the motors that control the wheels. This guide will walk you through how to replace the motors. All you need is a Phillips #1 Screwdriver and Ollie will be up and running in no time.
Was du brauchst
-
-
Firmly grasp Ollie in one hand.
-
Remove the blue rubber tire in a peeling motion with your opposite hand.
-
-
-
Continue to firmly hold Ollie in one hand.
-
Use a Plastic Opening Tool to gently pry off the hubcap.
-
-
-
Loosen and remove the 10mm screw on each side of the device using a JIS 1 screwdriver tip.
-
Remove the plastic tire frame from the device
-
-
-
-
Loosen and remove the four 10mm Screws on the underside of the device using a JIS 1 tip.
-
Firmly grasp the bottom of the device and pull the top half of the outer case off of the bottom.
-
-
-
Loosen and remove the 10mm screws holding the blue tooth connector as well as the two 1 10 screws holding the motherboard to the case using the JIS #1 screwdriver
-
Loosen and remove the 10mm screws holding the antenna to the case.
-
Gently remove mother board from the case with an upward motion.
-
-
-
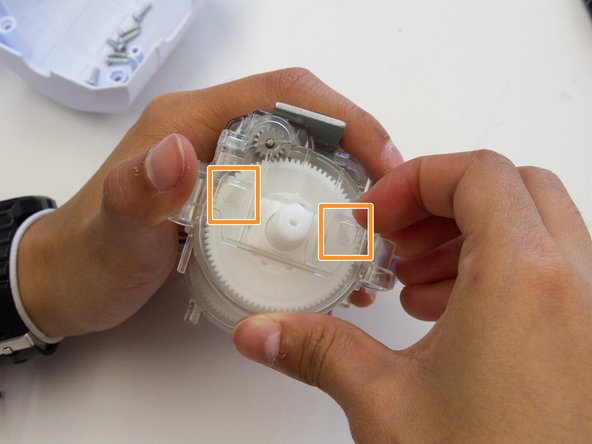
After you have removed the motherboard, use a JIS #1 screwdriver to remove the four 10mm screws holding in the cog shields.
-
Next, you want to pull apart the clips (two on each side) holding the top piece of the shield to the frame.
-
Then, once you have freed the cogs, you can lift the cog and remove it from the frame.
-
Then, gently remove the wheels from the case
-
-
-
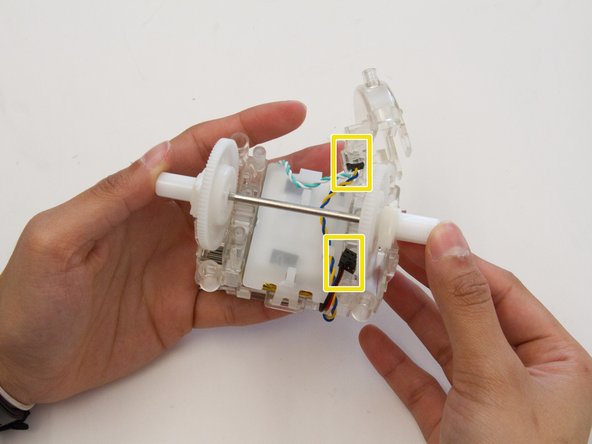
Once you have removed the cog out of the way, you can then pinch the clip on both sides to remove the cover protecting the battery
-
-
-
After you have removed the battery cover, flip the device around to view the motors
-
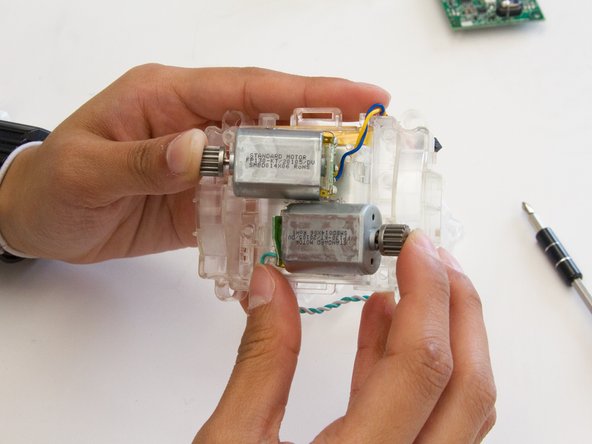
Loosen and use a JIS #1 screwdriver to remove the two 10mm Screws holding the clear case of the motors
-
Next, gently push the clip (on both sides) with a screwdriver to release the clear case
-
To remove the motors, simply pull on it with slight force
-


To reassemble your device, follow these instructions in reverse order.
To reassemble your device, follow these instructions in reverse order.
Rückgängig: Ich habe diese Anleitung nicht absolviert.
Ein:e weitere:r Nutzer:in hat diese Anleitung absolviert.
Team

UW Tacoma, Team S1-G3, Rose Fall 2017 Mitglied von UW Tacoma, Team S1-G3, Rose Fall 2017
UWT-ROSE-F17S1G3
4 Mitglieder
10 Anleitungen geschrieben