Was du brauchst
Einführungsvideo
-
-
2 X axis member
-
2 Y axis member
-
4 L bracket (Printed or Laser cut)
-
4 Rubber feet
-
4 M8 x 40mm socket screws
-
8 M6 x 12mm socket screws
-
4 M6 x 20mm socket screws
-
12 T-slot nuts
-
-
-
-
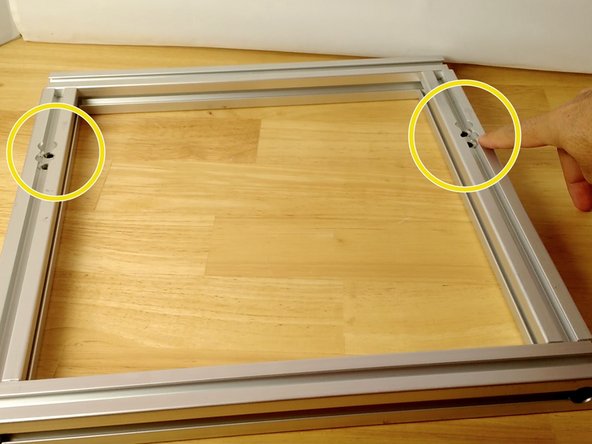
Make sure the sockets for the screws are aligned and in the same side.
-
Using the M8 x 40 screws, join the X and Y members
-
Tighten just enough to keep the frame assemble together.
-
-
-
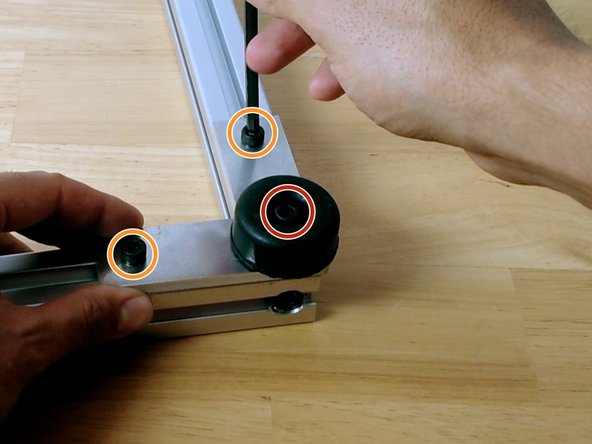
Locate the bottom of the frame, where the socket for the head of the screw is drilled.
-
On the L bracket place
-
2 M6 x 12mm screws
-
1 M6 x 20mm screw
-
Align on the extrusion and tighten the screws
-


To reassemble your device, follow these instructions in reverse order.
To reassemble your device, follow these instructions in reverse order.
Rückgängig: Ich habe diese Anleitung nicht absolviert.
Ein:e weitere:r Nutzer:in hat diese Anleitung absolviert.