Einleitung
In this guide, you will need very few tools to replace your header panel. This is a fast, and safe way to replace your header panel. Out of caution, before completing make sure your vehicle is shut off, and your emergency break is applied.
Was du brauchst
-
-
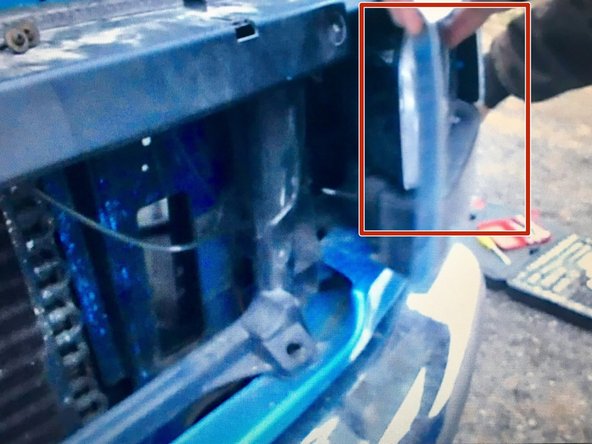
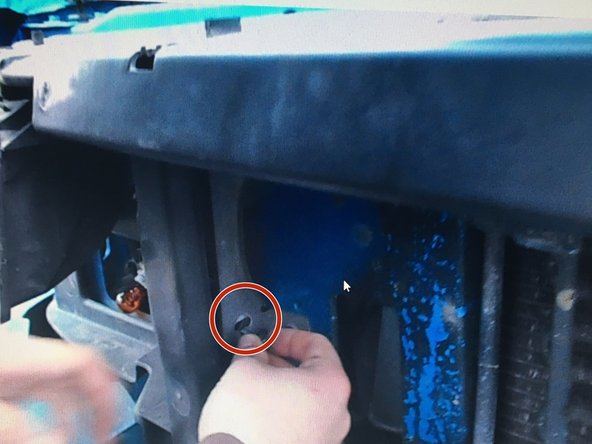
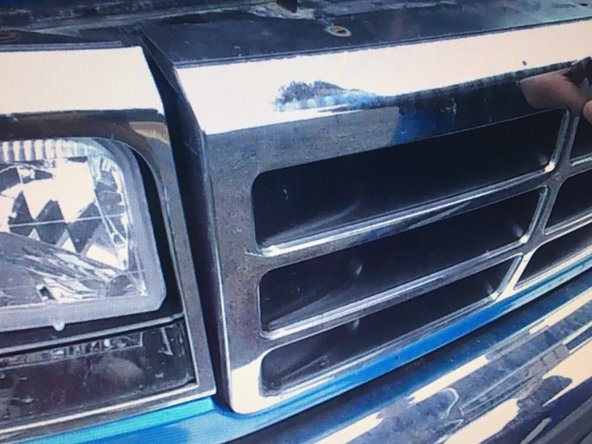
Remove the two screws on top of the headlight bezel, and the two 11mm bolts on the back of the bezel.
-
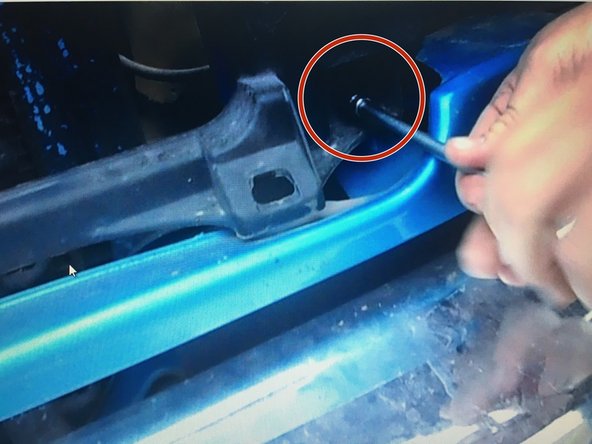
Then, remove the bolts from the housing. Repeat this step for the other headlight.
-
-
-
-
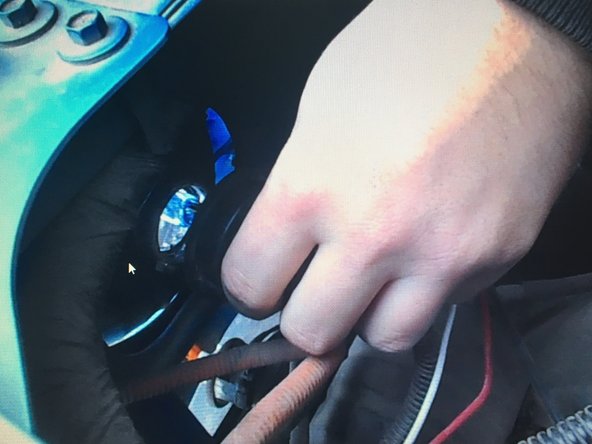
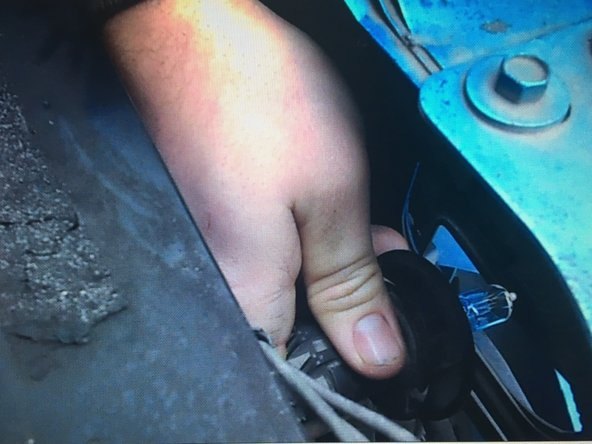
Remove the headlight bulbs from the headlight housing by turning them counterclockwise on the retaining clip.
-
-
-
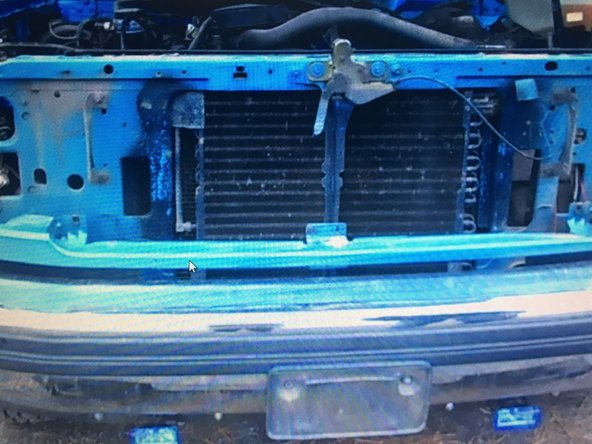
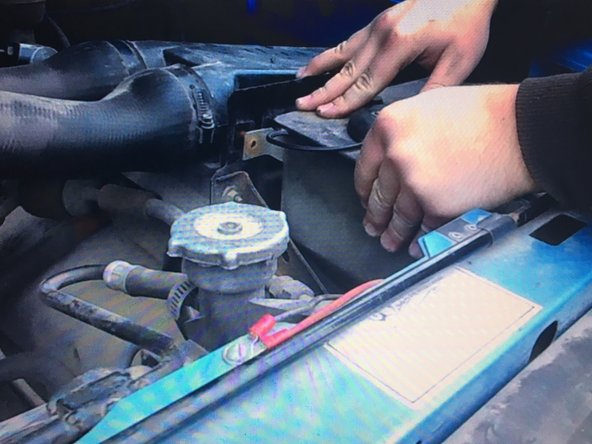
Reinstall the headlight bezels after reinserting the marker lights with the two screws, and two 11mm bolts.
-


Rückgängig: Ich habe diese Anleitung nicht absolviert.
Eine weitere Person hat diese Anleitung absolviert.

Team

Eastern Washington University, Team S3-G3, Crane Fall 2018 Mitglied von Eastern Washington University, Team S3-G3, Crane Fall 2018
EWU-CRANE-F18S3G3
3 Mitglieder
3 Anleitungen geschrieben
Ein Kommentar
My header panel was broke. Into like 5 pieces. I had everything pulled off my front end before realizing that I had not mapped out my process. This really helped me put it all back together.
I would love a parts source guide for all of the clips, fasteners and screws for all of this as some of mine were beyond reuse.