Was du brauchst
-
-
Fold up your center console and take a seat with a good view of your stereo.
-
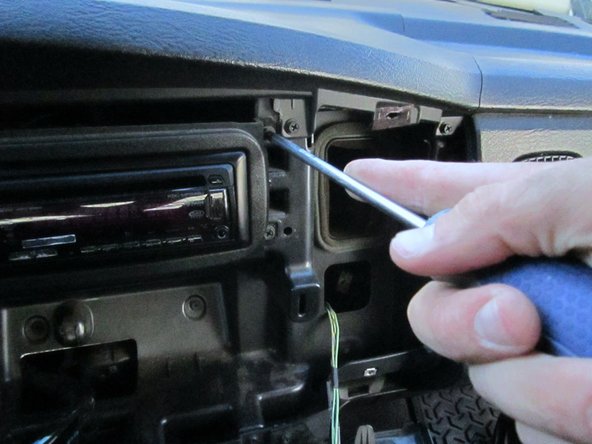
Locate the screw in the bottom right hand side of the console, just above the coat hanger hook.
-
Remove the 12mm long #2 Phillips screw with a #2 screwdriver.
-
-
-
Lower the cup holder and trash receptacle to allow better access to the bottom lip of the console trim.
-
Grasp the bottom right hand corner of the console trim and slowly pull toward you. Gradually increase your force until the you feel the right side clips pop off.
-
Repeat again on the bottom left side of the clips to fully remove the anchoring clips.
-
Once the clips are popped out, slowly lower the face plate and lay it down, supported by the wires coming out the back side.
-
-
-
-
Locate and remove the four anchoring 12mm long #2 Phillips screws for the head unit using the #2 screwdriver.
-
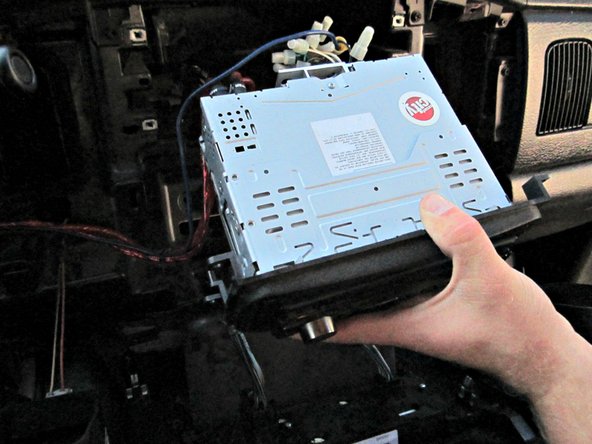
It is now safe to pull out the head unit. Support it in one hand to reduce tension in the cables.
-
-
-
Support the unit in one hand to remove tension from the wiring harness.
-
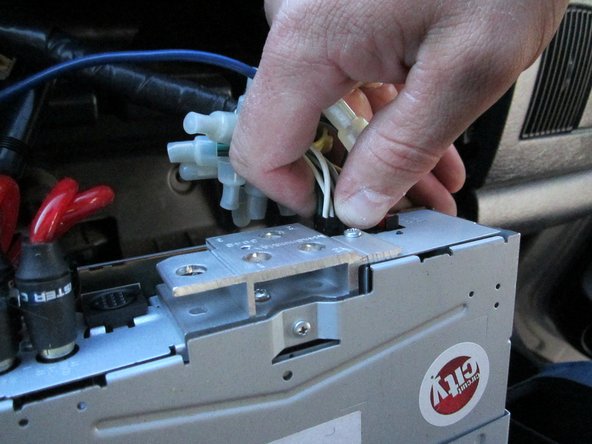
Pinch the multi-wire connector and pull away from the unit to disconnect.
-
Remove the 4 RCA cords by simply pulling them out of each jack.
-


To reassemble your device, follow these instructions in reverse order.
To reassemble your device, follow these instructions in reverse order.
Rückgängig: Ich habe diese Anleitung nicht absolviert.
9 weitere Nutzer:innen haben diese Anleitung absolviert.
Team

Cal Poly, Team 3-24, Amido Fall 2012 Mitglied von Cal Poly, Team 3-24, Amido Fall 2012
CPSU-AMIDO-F12S3G24
4 Mitglieder
11 Anleitungen geschrieben
7 Kommentare
This should be listed for Ram 1500 2002-2005 years. The 2500/3500 kept this dash longer, until 2006.
It looks exactly like my 2002 Dodge Ram 1500 SLT Quad Cab 4.7 Liter V8.
I have a radio that turns on, has power because the blue light turns on, but nothing comes on the screen, there is no sound and nothing will play. Any ideas?
It is exactly like my 2004 Quad cab ST and the instructions were impeccable.
Thanks! Not even 5 minutes of time from beginning to end.