Diese Version enthält möglicherweise inkorrekte Änderungen. Wechsle zur letzten geprüften Version.
Was du brauchst
-
-
Suche die grauen Schnappverschlüsse auf beiden Seiten der Haube in der Nähe der Scheinwerfer.
-
Ziehe die Verschlüsse von der Motorhaube weg, um sie zu entriegeln.
-
-
-
Lange unter die Haube und drücke den vorne mittig positionierten Hebel unter der Motorhaube nach oben.
-
Halte die Haube offen, indem du die Haltestange in die korrespondierende Aussparung an der Unterseite der Haube einsetzt.
-
-
Dieser Schritt ist noch nicht übersetzt. Hilf mit, ihn zu übersetzen!
-
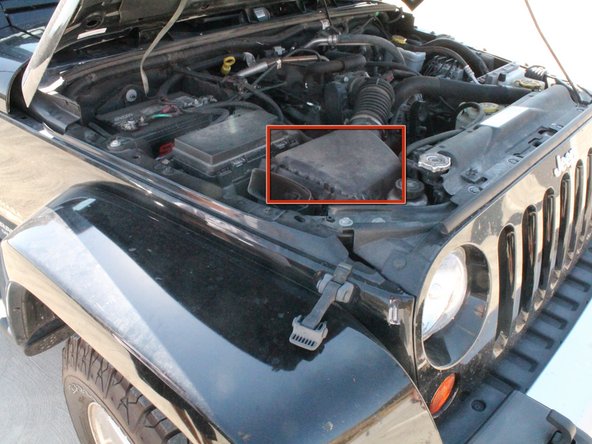
Locate the air filter box in front of the car battery. It will have a 4-inch diameter hose coming out of one side (towards the center of the vehicle) and an air release coming out of the other side. It should have four clamps keeping it sealed.
-
-
-
Dieser Schritt ist noch nicht übersetzt. Hilf mit, ihn zu übersetzen!
-
Locate the four clips keeping the air filter box sealed. Their locations are as follows:
-
Back Left Corner (near the outer edge of the hood) [picture 1]
-
Front Left Corner (near the outer edge of the hood) [picture 1]
-
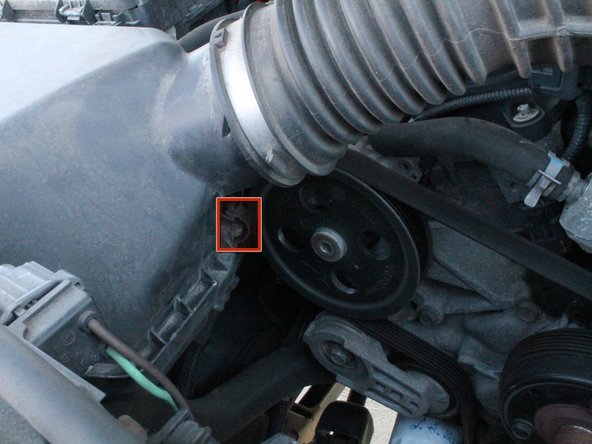
Back Right Corner (underneath the four-inch diameter hose) [picture 2]
-
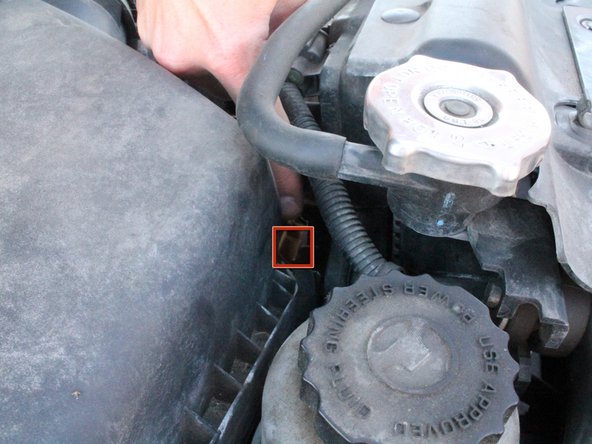
Bottom Right Corner (near the steering fluid container in the front) [picture 3]
-
-
Dieser Schritt ist noch nicht übersetzt. Hilf mit, ihn zu übersetzen!
-
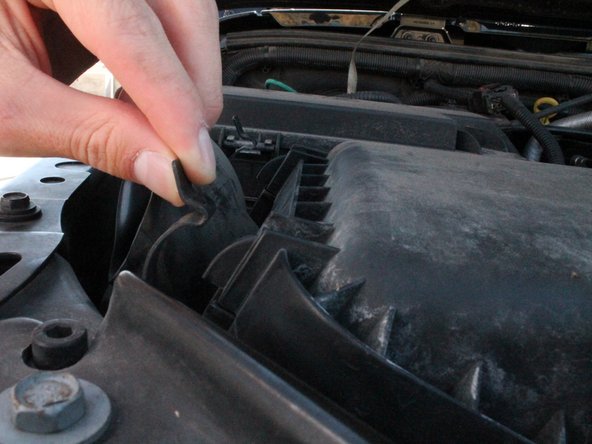
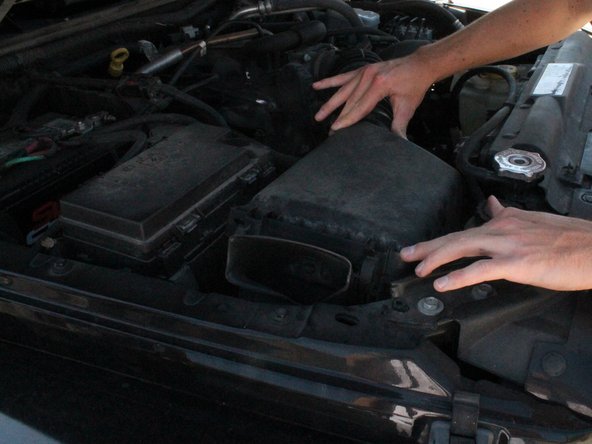
To unlock the air filter box, grasp each clip and pull the clip away from the air filter box.
-
-
Dieser Schritt ist noch nicht übersetzt. Hilf mit, ihn zu übersetzen!
-
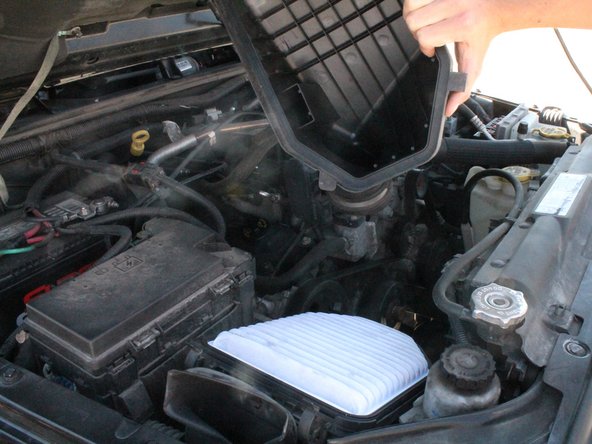
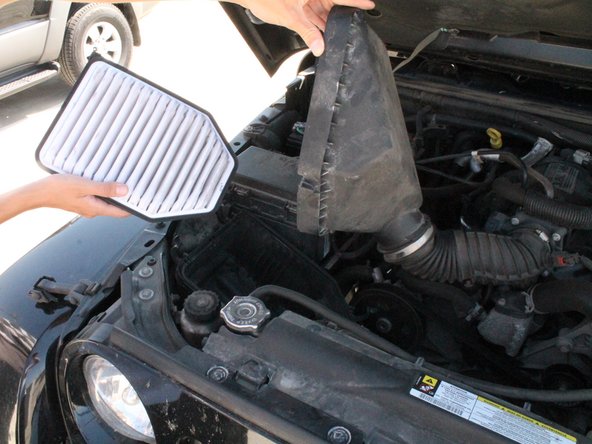
After you have removed the 4 clips, carefully pull and twist the cover off. You now have access to the air filter.
-
-
Dieser Schritt ist noch nicht übersetzt. Hilf mit, ihn zu übersetzen!
-
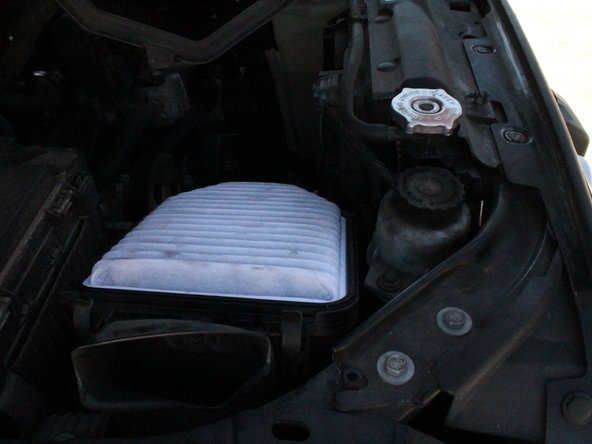
Remove the dirty air filter by pulling the air filter straight up. Place the new replacement filter in the empty slot.
-


Rückgängig: Ich habe diese Anleitung nicht absolviert.
2 weitere Nutzer:innen haben diese Anleitung absolviert.
Team

Cal Poly, Team 7-51, Forte Fall 2012 Mitglied von Cal Poly, Team 7-51, Forte Fall 2012
CPSU-FORTE-F12S7G51
5 Mitglieder
9 Anleitungen geschrieben