Zum Hauptinhalt wechseln

2011-2015 Kia Optima Interior Map Light Replacement

Was du brauchst

  1. 2011-2015 Kia Optima Interior Map Light Replacement, Interior Map Light: Schritt 1, Bild 1 von 1
    • Wedge the tip of the prying tool between the lens and the console.

    • Gently pry the lens off of the console.

  2. 2011-2015 Kia Optima Interior Map Light Replacement: Schritt 2, Bild 1 von 1
    • Separate the lens from the clips connecting the lens and the console.

  3. 2011-2015 Kia Optima Interior Map Light Replacement: Schritt 3, Bild 1 von 2 2011-2015 Kia Optima Interior Map Light Replacement: Schritt 3, Bild 2 von 2
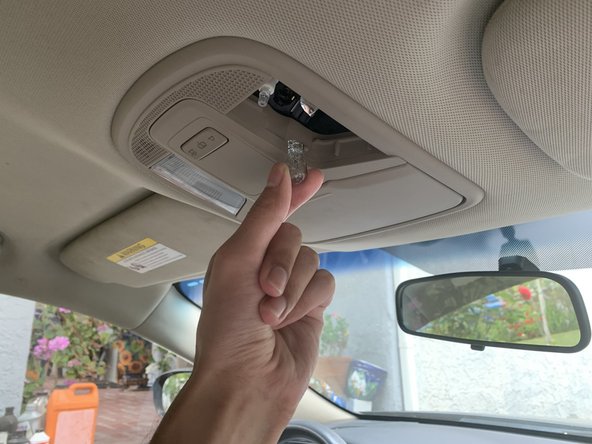
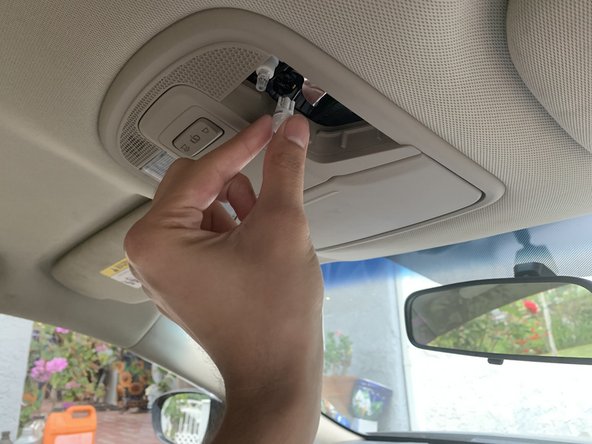
    • Gently twist or pull away the bulb from the connection.

  4. 2011-2015 Kia Optima Interior Map Light Replacement: Schritt 4, Bild 1 von 2 2011-2015 Kia Optima Interior Map Light Replacement: Schritt 4, Bild 2 von 2
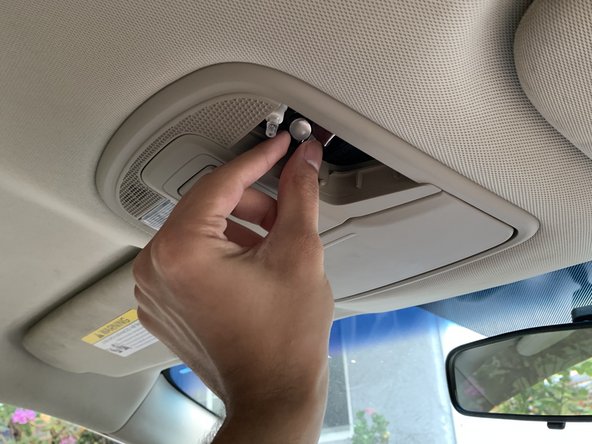
    • Insert the new bulb into the connection.

    • Some bulbs are polarity specific, so if at first the bulb does not work, try flipping it 180 degrees and connect it again.

  5. 2011-2015 Kia Optima Interior Map Light Replacement: Schritt 5, Bild 1 von 1
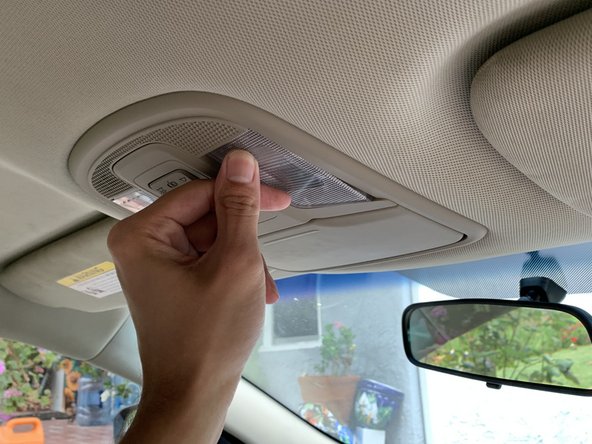
    • Reattach the lens back onto the console by clipping it back into place.

  6. 2011-2015 Kia Optima Interior Map Light Replacement: Schritt 6, Bild 1 von 1
    • Push the lens into the console. When you hear a click, the lens has been attached properly.

Ziellinie

2 weitere Nutzer:innen haben diese Anleitung absolviert.

Team

CSU Los Angeles, Team S1-G120, Harris Spring 2021 Mitglied von CSU Los Angeles, Team S1-G120, Harris Spring 2021

CSULA-HARRIS-S21S1G120

1 Mitglied

1 Anleitung geschrieben

0 Kommentare

Kommentar hinzufügen

Seitenaufrufe:

Letzte 24 Stunden: 0

Letzte 7 Tage: 12

Letzte 30 Tage: 36

Insgesamt: 1,508