Was du brauchst
-
-
Begin by opening the hood of the car and locating the battery on the front of the driver side in the engine compartment
-
-
-
Using a socket wrench, loosen the 2 (5/16 inch) nuts on the top of the battery support bracket
-
Remove the bracket by lifting up
-
-
-
-
After removing the bracket, locate the supporting rod behind the battery
-
The rod is hooked on a hole in the metal behind the battery. Unhook the rod and remove it
-
-
-
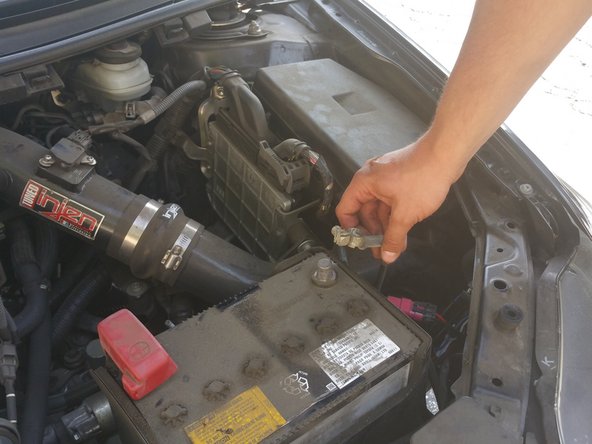
Start with the negative terminal of the battery
-
Loosen the nut on the negative terminal with a 10mm socket wrench
-
Remove the wire by slightly twisting and pulling up
-
-
-
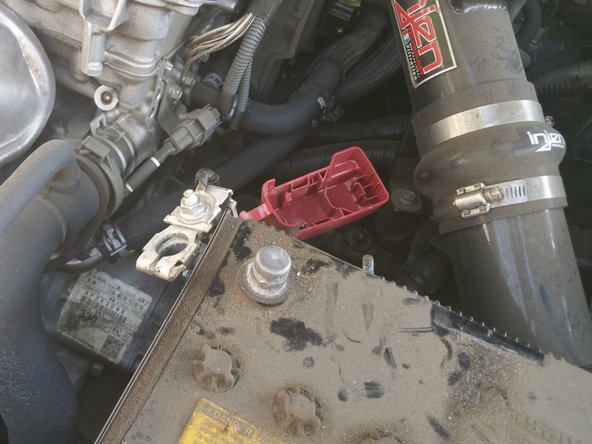
Remove the cap from the positive terminal of the battery
-
Using a 10mm socket wrench, loosen the nut on the positive terminal
-
Remove the wire from the positive terminal by slightly twisting and pulling up
-
Remove the battery by lifting it out of the engine compartment
-


To reassemble your device, follow these instructions in reverse order.
To reassemble your device, follow these instructions in reverse order.
Rückgängig: Ich habe diese Anleitung nicht absolviert.
Eine weitere Person hat diese Anleitung absolviert.
Team

Cal Poly, Team 8-2, Regan Spring 2015 Mitglied von Cal Poly, Team 8-2, Regan Spring 2015
CPSU-REGAN-S15S8G2
5 Mitglieder
7 Anleitungen geschrieben