Einleitung
This guide is inspired by a YouTube Video that I watched to show how to perform this process. If you prefer a step by step guide with nice photos, then this guide is for you. This shows the rear passenger side door power lock actuator unit which, for some reason, is slightly different from all other three doors. However, I include some photos of the other type actuator and include tips for that unit as well.
Was du brauchst
-
-
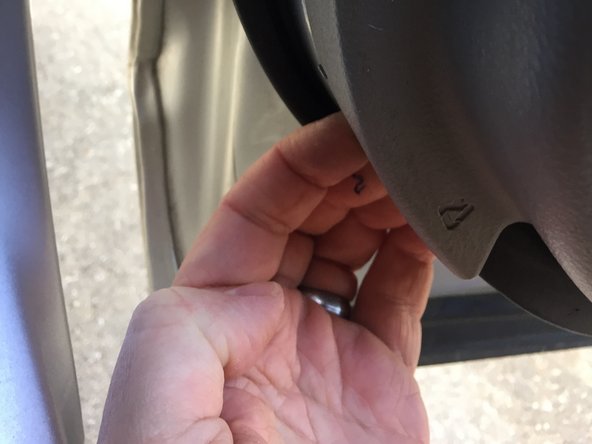
This is the rear passenger door
-
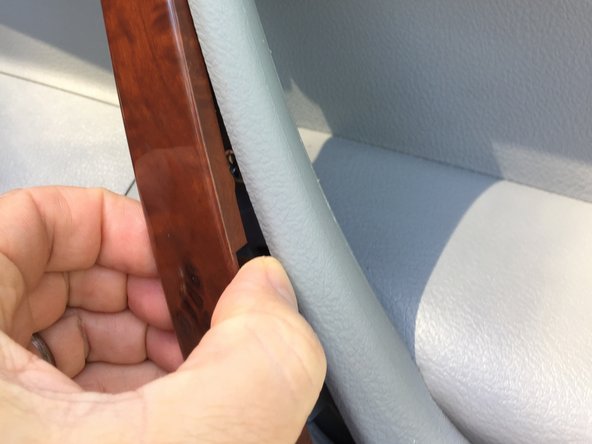
There are only two trim pieces to remove to access the door panel fasteners. The first is the smooth wood-look door hold.
-
The second is behind the metal door opening handle, adjacent to the lock.
-
-
-
Remove the black plastic cover "plate" behind the door handle. I pulled open the door handle and used a metal spudger in the lower right corner to pop out this cover plate.
-
-
-
Grip the brown plastic trim at the bottom and carefully pull outward. I have small fingers and prefer slipping them into the crevices to pop the trim at the edges. It might not be the safest option but it gives me precise control.
-
If you prefer to use a plastic or metal spudger or another type of plastic auto trim removal tool you could carefully slip that tool in the crevice and pop the trim.
-
-
-
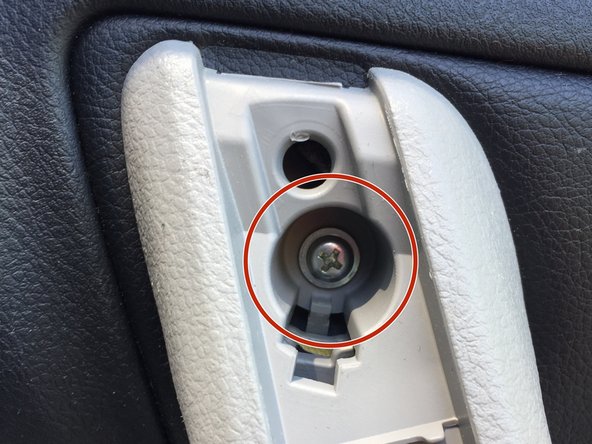
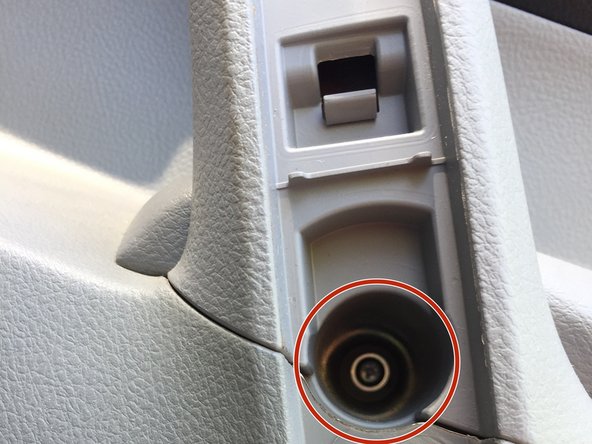
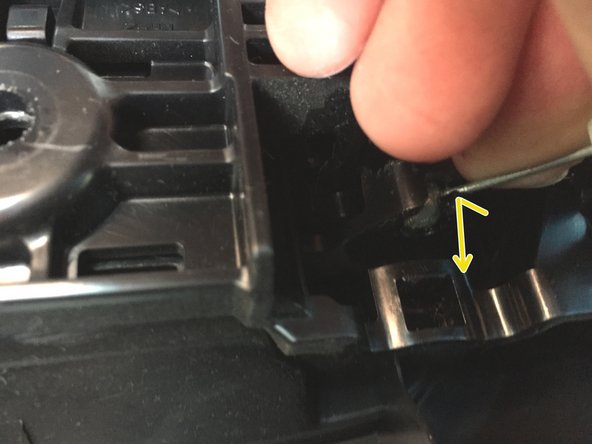
Remove the 3 Phillips head screws from the door handle (1) and from the door pull (2).
-
The two door pull screws are in a somewhat deep cylinder so you'll need a few inches and a slim enough screwdriver to reach.
-
Also, for some reason the door pull screws wanted to stick in the cylinder after I backed them all of the way out...in that case I used long nose or tweezers to pull the screws out.
-
-
-
I don't own a door panel removal tool. I used my hands again. WARNING: The door panel fasteners are tight. Slipping your fingers between the door panel and the door frame might cause pain or injury. Use your hands, preferably with gloves, at your own risk.
-
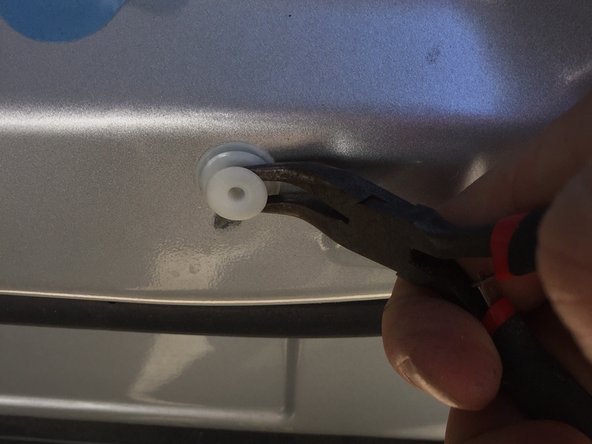
Locate an area to start pulling the panel away from the frame (I chose the lower right corner. I wedged my fingers inside the panel and pulled outward - this will take a bit of force to pop the first couple of fasteners.
-
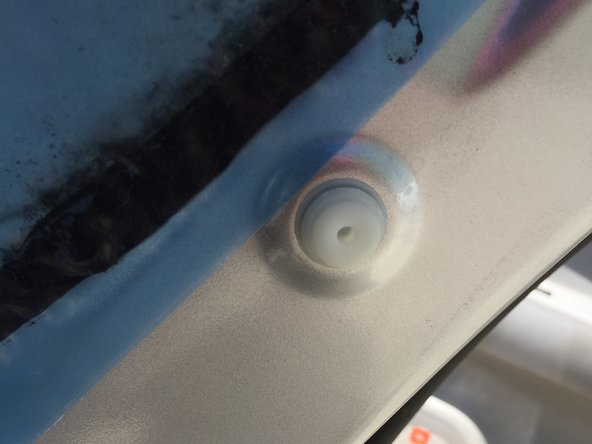
At the very bottom of the door I noticed a recessed spot (see picture) that could be a useful starting point for a panel removal tool.
-
When each fastener releases you will hear quite a POP but don't be alarmed. Continue moving from the starting location up to the top and then from the starting corner back around to the left and up again until you have all of the fasteners released.
-
Do not try to pull the panel off yet! We have a few things connected that need to be removed first...
-
-
-
There is one electrical connector for the door light that need to be removed in the panel. From the bottom of the door, with the panel opened up, I pressed in on the tab in the middle of the harness connector will release the harness and simultaneously then we need to pull the harness down, away and out of the mating connector
-
-
-
With the electrical connector released, work the top of the door panel out of the clips along the top at the window slot. This took me way longer than it should have and I'm sure that there was something I eventually did which was the "trick".
-
I tried angling the door at about a 45 angle and carefully pushed upward but that did not release the clips. Don't force the panel upwards/outwards too hard but there is a certain position (that I can't exactly recall...sorry!) that will allow the clips to more easily release with light upward / outward force.
-
At this point you may want to use one of your knees to press the bottom portion of the 'almost free' door panel up against the door frame for the next step. This will keep the door panel from dangling by the two cables.
-
-
-
At this point the door panel is only held by the door lock and handle cables that run through the blue plastic and into the door frame cavity and on to the door actuator.
-
First lift the cables out from from the opposing large grey plastic standoffs at the top of the door panel.
-
Next lift up on the white and green plastic cable pieces at their entrance into their respective slots in the black plastic door handle mechanism housing.
-
Finally, remove each cable end ("ball") from its respective captive slot. This is fairly easy by just moving the end leader around until the open portion of the slot is accessible and then pushing the end downward and out of its captive slot.
-
-
-
Remove door panel from frame and set aside
-
Upon inspecting the inside of the door I noticed two plastic panel fasteners that stayed in the door. I removed these with small bent needle nose pliers and placed them back in the door panel. I have removed all of the door panels on the Highlander to do this repair but this is the first time the clips came out of the panel!
-
-
-
-
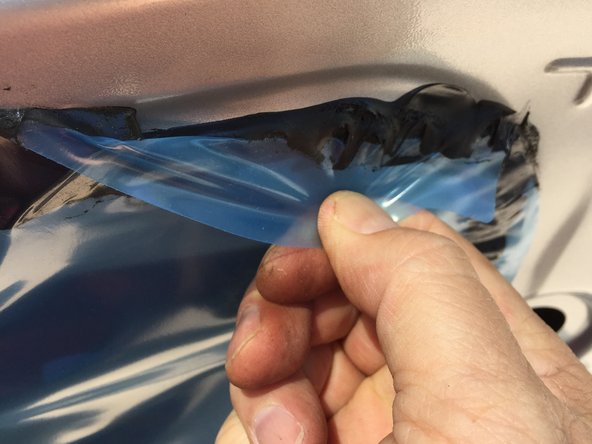
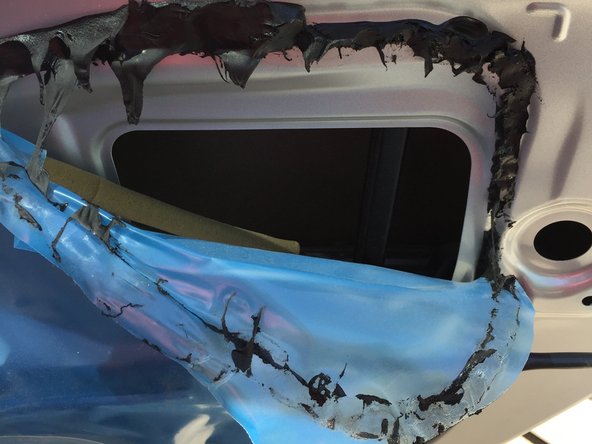
Carefully pull the right side corner of the blue plastic covering the large rectangular opening in the door frame.
-
The actuator is located in the large cavity on the upper right part of the door frame. This is where the two cables are emerging from the blue plastic covering.
-
-
-
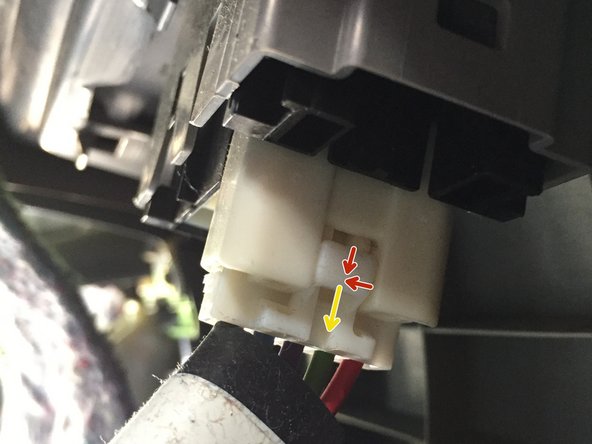
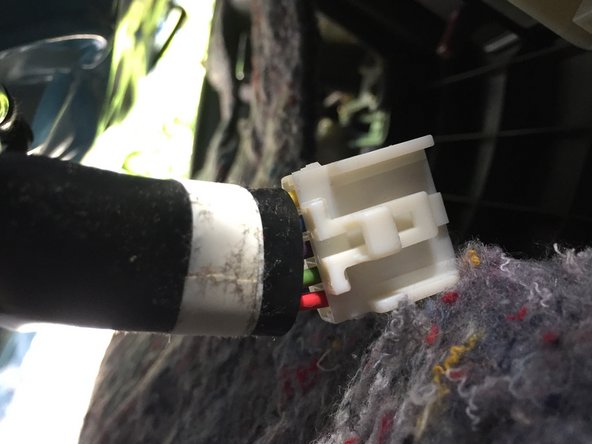
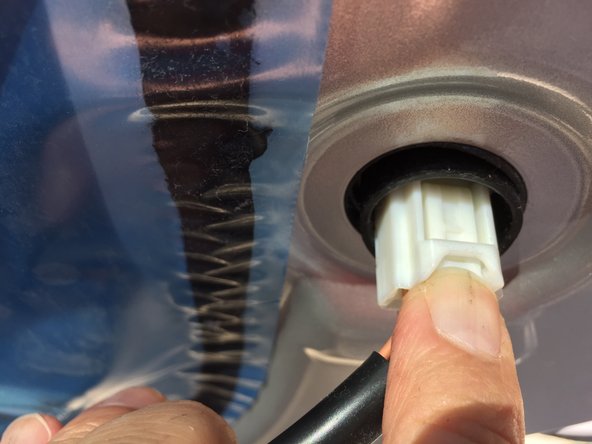
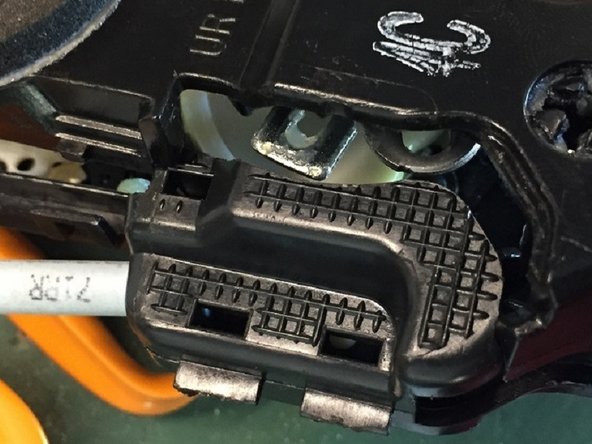
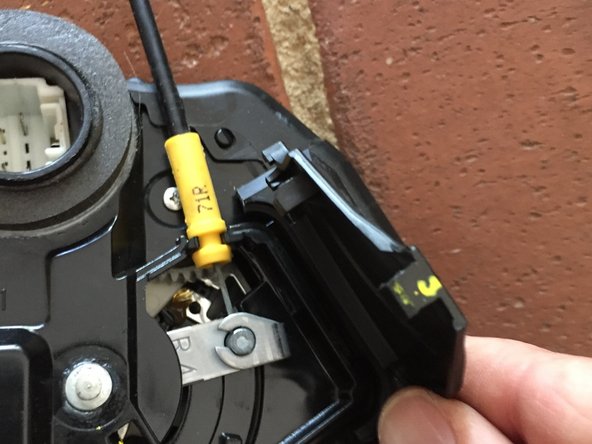
Remove the door lock actuator wiring harness by pressing the harness tab and simultaneously pulling it back and out of the connector housing.
-
-
-
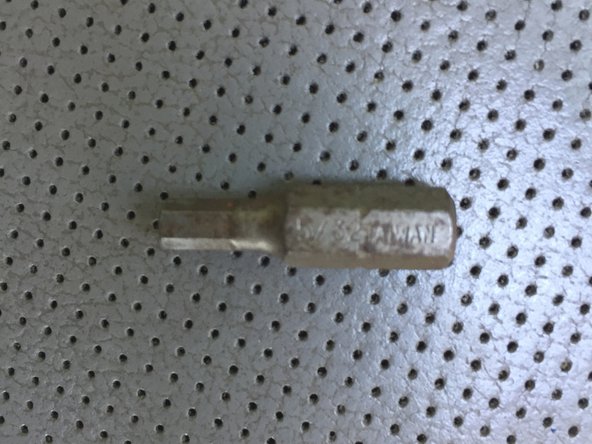
The three bolts to remove are Torx type and I think they are T20. My pitiful old bit set was missing or never came with the necessary T-20 bit.
-
Although I wouldn't recommend this, being a little lazy, I decided to use a 5/32 " hex bit which was obviously imperfect but a nonetheless tight fit without slipping and it easily removed the bolts without any stripping.
-
-
-
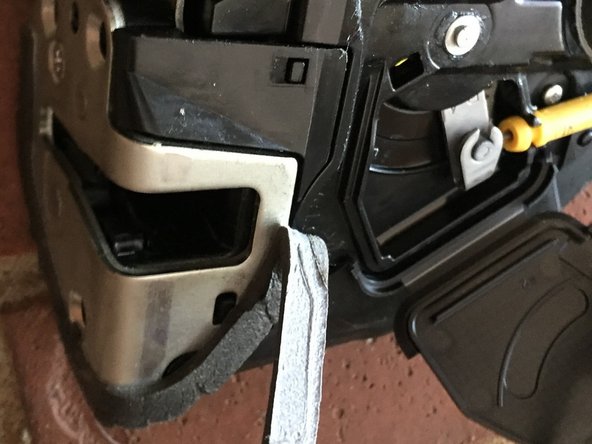
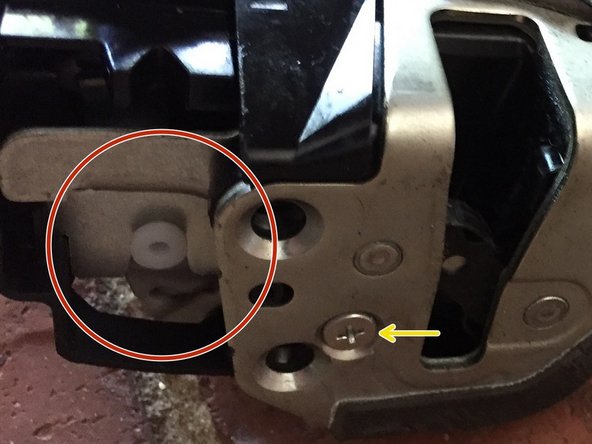
With the actuator unbolted reach inside the opening in the door frame and grasp the actuator assembly.
-
This rear passenger door uses a plastic fork extension for the outside handle instead of the metal rod type in the other doors. The back side of the door lock actuator has a short horizontal bar that gets engaged by the outside handle fork extension.
-
Inside of the opening there is a vertical metal strip interfering with the easy removal of the actuator. Therefore, some maneuvering of the door lock actuator is required for the metal bar on the back of the actuator to clear around the vertical metal strip inside the door frame opening.
-
Be patient as it is a bit frustrating but rest assured, the bulky assembly will come out of the hole eventually!
-
-
-
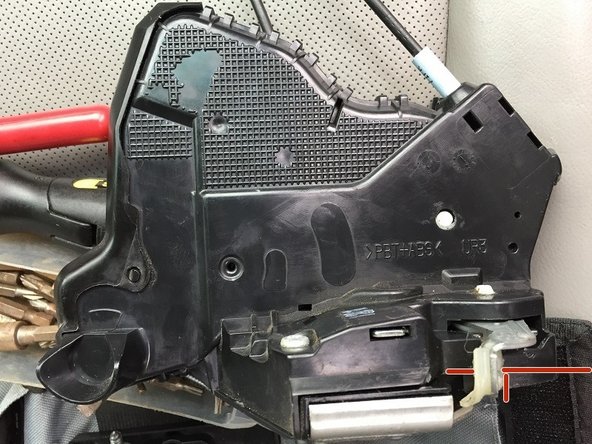
Carefully remove the weatherstrip and set aside. I reused this but if you prefer you can get some new weatherstrip.
-
-
-
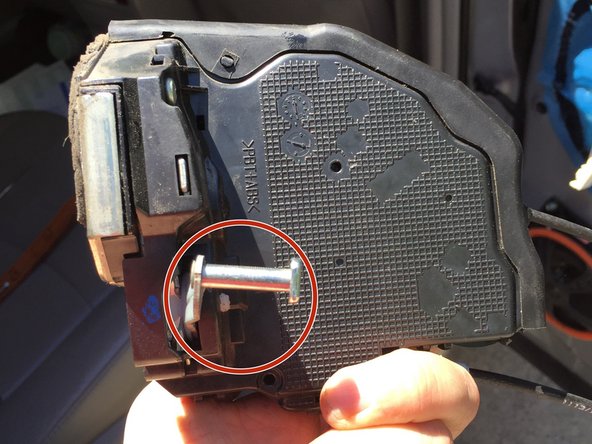
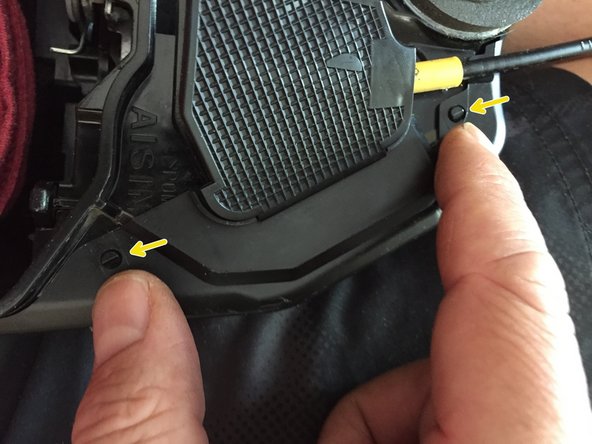
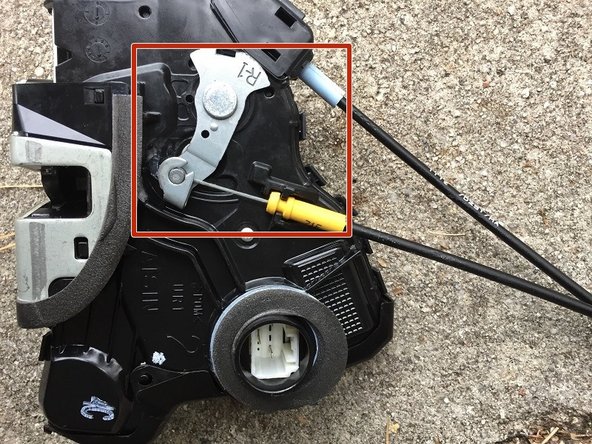
Remove two Phillips head fasteners as shown
-
One fastener is a bolt on the metal plate where the weatherstrip was just removed.
-
The other fastener is on the opposite side and is shown in the second two photos.
-
-
-
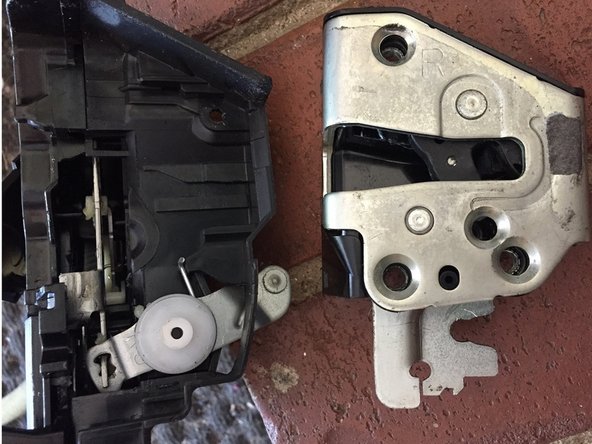
I this step we have to apply quite a bit of force to separate/release the latch mechanism containing the metal plate. The first photo shows white plastic part that is held tightly in the metal "V" notch has been released after pressing downward on the metal "shelf"
-
It took me quite a bit of wrestling to finally get this part separated from the rest of the actuator. In addition to the downward pressure, the insert needs to come outward.
-
Set the removed latch mechanism aside until reassembly.
-
-
-
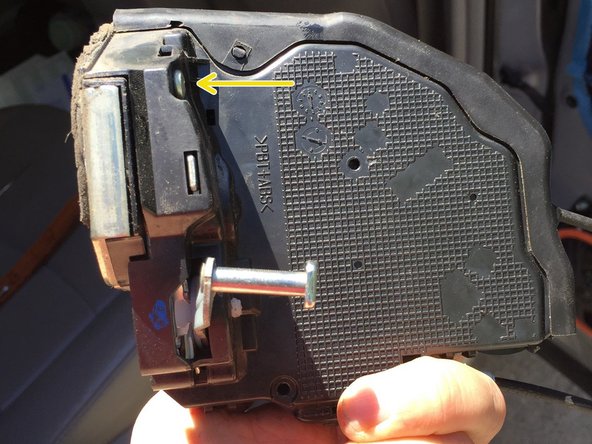
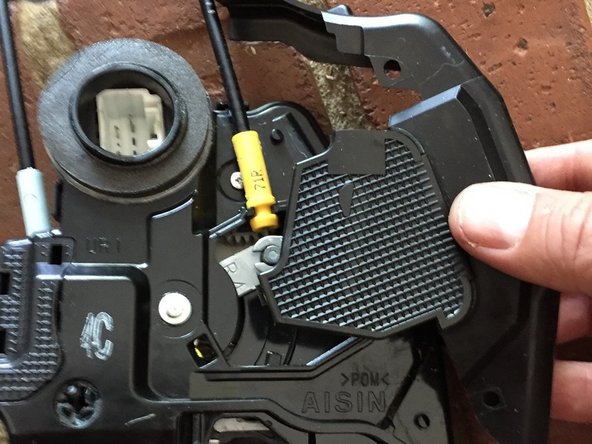
Remove the plastic cover on the edge of the actuator by slipping a flatblade screwdriver under the lip or lifting up at the lip of the cover where the holes are slipped over the plastic posts.
-
There are posts on both sides of the assembly.
-
There is also a flat plastic cover adjacent to the edge cover. Go ahead and pop that cover as well.
-
Set the plastic covers aside for reassembly.
-
-
-
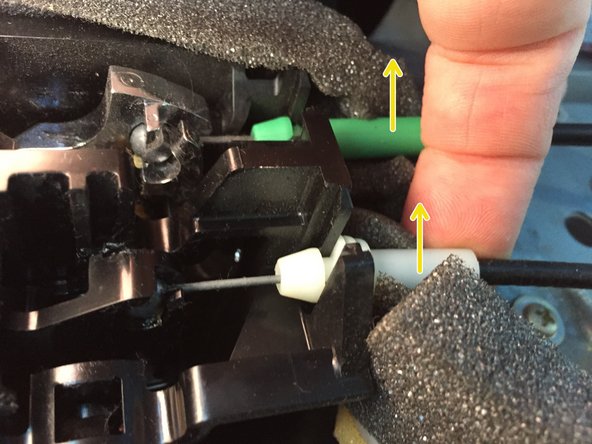
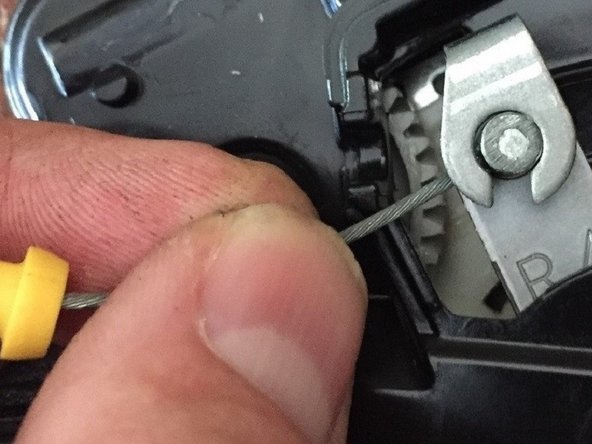
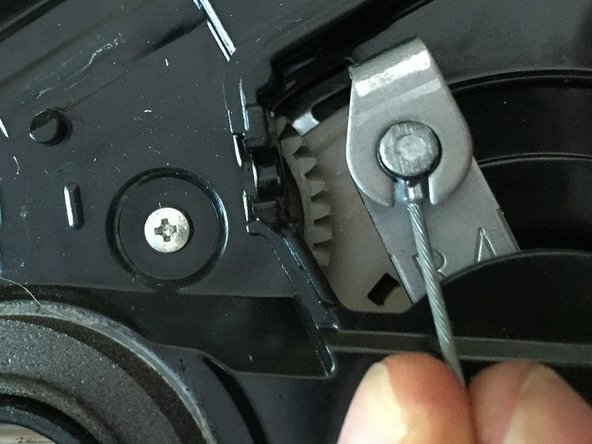
Lift the yellow cable barrel upward from the plastic holder where it enters the cavity that was protected by the removed flat plastic cover.
-
Rotate the braided cable towards the opening in the metal clamp and lift the cable up and out of the clamp and set it aside for reassembly.
-
-
-
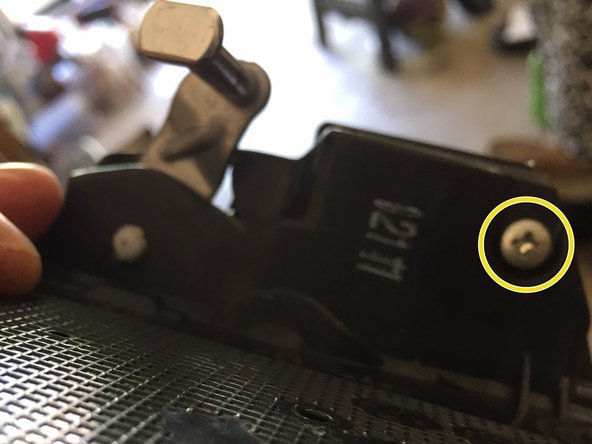
After removing the cable, remove the small screw located adjacent to the compartment. Set the screw aside for reassembly.
-
-
-
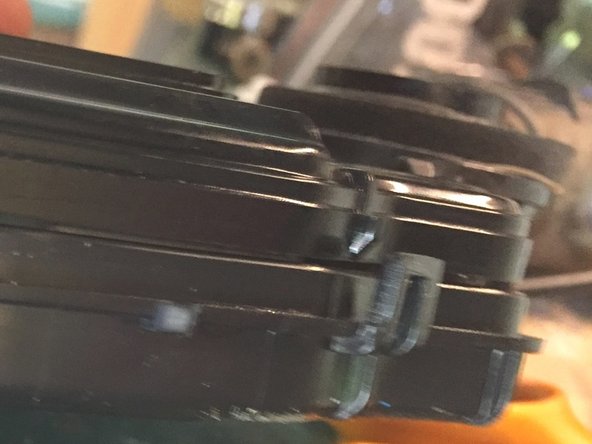
All along the edge of the assembly, there are plastic clips that are molded into the casing. Although these are quite tight, you can pry these clips carefully but firmly, one at a time, so that the case begins to open along this seam.
-
When I first started doing these I would use small nails to try to prop each clip to stay open as I moved from one to the next; however I found that it was ultimately not necessary as I was able to keep the previous clips open on their own.
-
There is one area along the case which has some additional plastic molding that gives some trouble releasing. Eventually with a bit of extra effort that area will also open up.
-
-
-
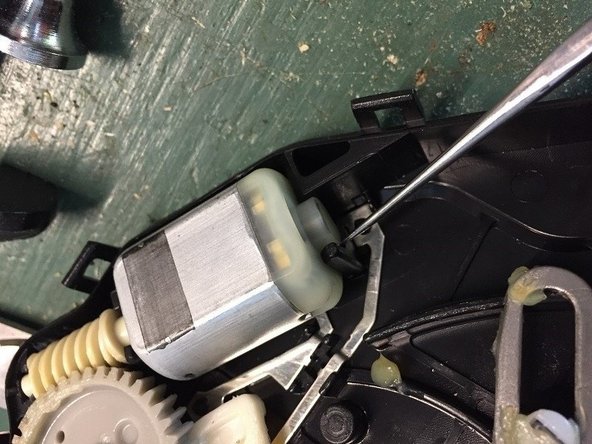
With the assembly case finally open, we can see the motor, gear and levers which drive the door lock actuator.
-
Take care not to disrupt the various levers , spring, etc. or else study the photo to ensure to get the parts back to their proper positions.
-
As it turns out, the motor is trivial to replace and all the effort has been spent simply getting access TO the motor!
-
Simply remove the motor by using a small screwdriver or pry tool to lift up on the rear of the housing.
-
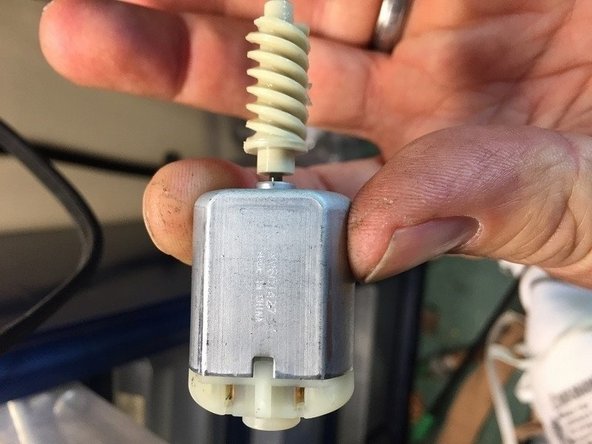
With the motor removed, slide the gear off of the shaft and slide it back onto on the NEW motor. The shaft and shaft gear have a common flat side that allows the gear to properly fit onto the shaft.
-
Place the new motor into the actuator case where the old one was just removed.
-
-
-
When closing the two parts of the case back, ensure that the levers are lined up/interlocked properly.
-
The two case pieces will press / snap back together but it can take a few minutes to get everything lined up, especially at that one area with the extra molded plastic.
-
With the case snapped back together you can proceed with putting the small screw back in and placing the yellow-barreled cable back into place.
-
Place the two plastic covers back on the assembly so that they are snapped and secure.
-
-
-
Slide the metal plate covered latch component back onto the assembly, making sure to engage that white round plastic portion from the main assembly into the notch in the latch component.
-
Secure the bolt back in through the metal plate and also install the remaining screw on the back side.
-
Re-install the weatherstrip around the latch mechanism edge where it was removed.
-
-
-
When installing the actuator back into the door cavity, it will take a bit of trial and error to get the actuator fitting into its proper placement.
-
As I mentioned previously, this particular assembly uses a "fork" on the inside of the door handle which slips onto a horizontal metal bar.
-
Once the actuator is in the general area that it needs to be, you'll have to start with the actuator below the door handle height and then feel for the fork and slide the actuator so that the fork slips over the bar as you bring it upwards and into position with latch metal plate torx bolt holes lined up.
-
-
-
Here are some photos of the similar actuator mechanism (Front doors, etc.). The instructions are essentially the same for removal and installation.
-
The plastic assembly case is larger and has several more plastic clips around the case. Also the case does not have the flat plastic cover over the one cable entry and also the latch mechanism (gear, levers, spring) is slightly more complex.
-
Finally, when re-installing this one back into the door panel, instead of feeling for the "fork" to slide onto the actuator latch bar, this door handle uses a metal rod which slips down into the actuator latch.
-


To reinstall the door lock actuator and door panel, reverse the removal steps.
To reinstall the door lock actuator and door panel, reverse the removal steps.
Rückgängig: Ich habe diese Anleitung nicht absolviert.
2 weitere Personen haben diese Anleitung absolviert.
Team
