Einleitung
This guide will walk you through how to replace the rear tail light assembly on your 2013-2017 Honda Accord Coupe. With a broken tail light assembly, the chances of an accident occurring or getting a traffic ticket increase significantly.
After following this guide, you will have your car road-ready again in no time. Instead of spending hundreds of dollars to have the replacement done at a repair shop, simply follow these steps to do it yourself!
Be sure to power off the ignition and engage the parking brake before beginning this repair.
Was du brauchst
-
-
Pull the trunk release lever or hold the trunk release button on the remote to open the trunk.
-
-
-
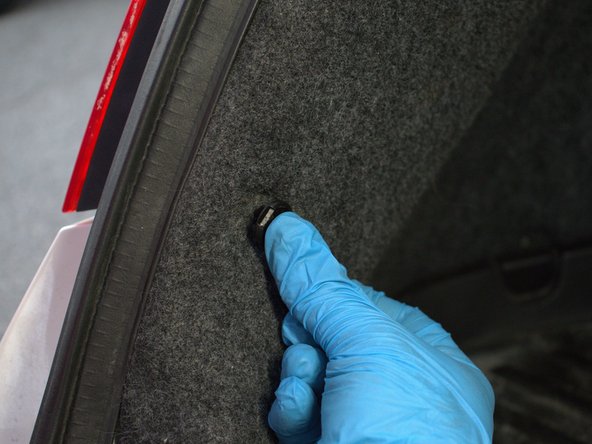
Remove the plastic fasteners for the trunk interior trim using the fastener removal tool.
-
Pull the clips out when the fastener has been loosened enough.
-
-
-
-
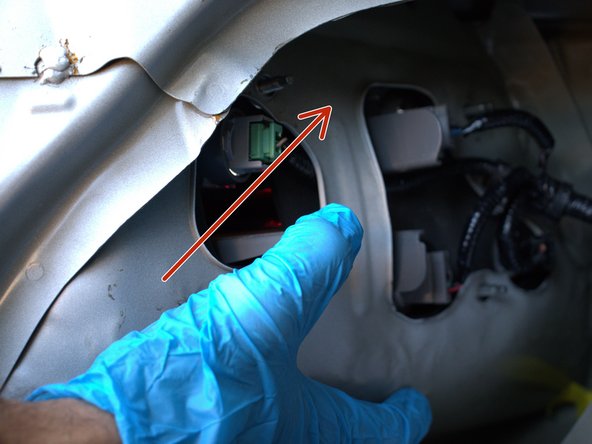
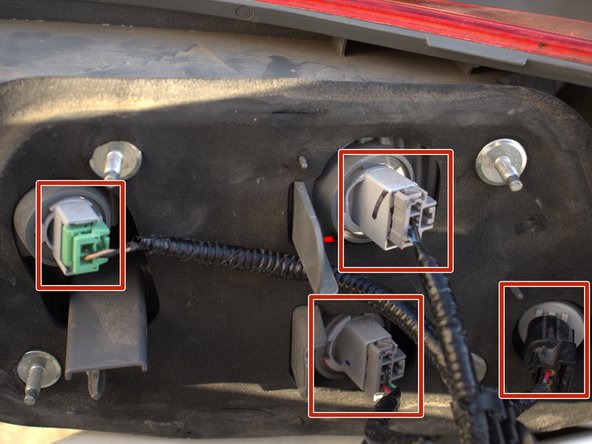
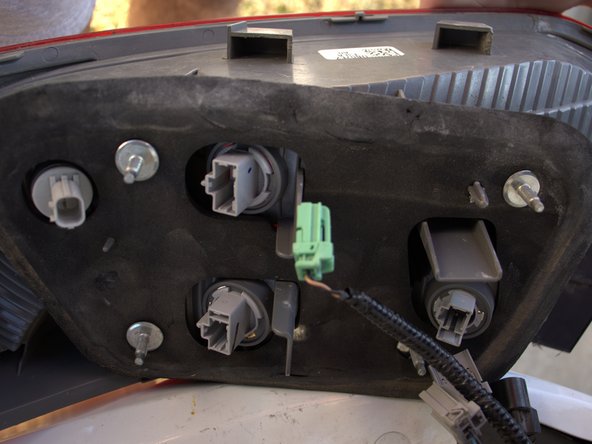
Plug the four connectors into their corresponding ports of the replacement tail light assembly.
-
-
-
Push the replacement tail light assembly into its original position until it clicks.
-
-
-
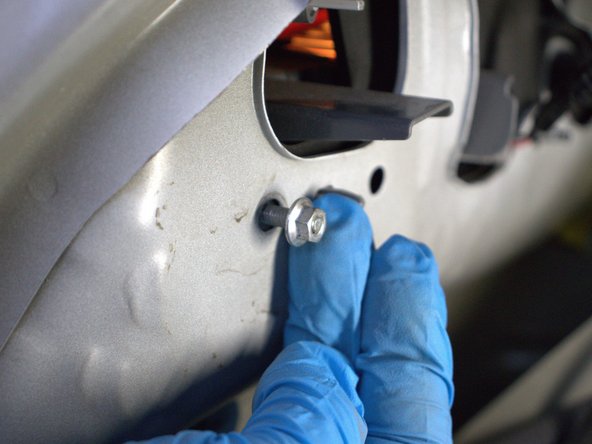
Tighten the 8mm nuts that were removed during Step 3 using the 8mm socket wrench.
-
-
-
Reattach the plastic fasteners that were removed from the trunk interior in Step 2.
-


To reassemble your device, follow these instructions in reverse order.
To reassemble your device, follow these instructions in reverse order.
Rückgängig: Ich habe diese Anleitung nicht absolviert.
Ein:e weitere:r Nutzer:in hat diese Anleitung absolviert.

Team

University of North Texas, Team 1-1, Raign Spring 2022 Mitglied von University of North Texas, Team 1-1, Raign Spring 2022
UNT-RAIGN-S22S1G1
2 Mitglieder
1 Anleitung geschrieben