Einleitung
The task of replacing a blown taillight bulb for a Chevrolet Camaro is an easy and simple one to do. The average cost of getting a taillight bulb replaced at the dealer can range up to $100.00 but completing this simple repair yourself costs a fifth of that price. This guide offers a simple and affordable way to replace your bulb. However, this guide is to only replace the bulb. You should verify that there is no electrical damage or wiring faults before attempting this guide.
Was du brauchst
-
-
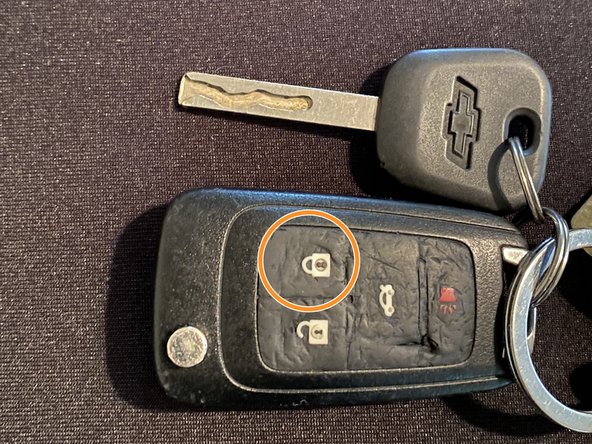
Open the trunk by either the button on the driver side door panel or the key fob.
-
-
-
Use your key fob or press on your brakes to identify which bulb needs to be replaced.
-
Identify which bulbs need to be replaced.
-
-
-
-
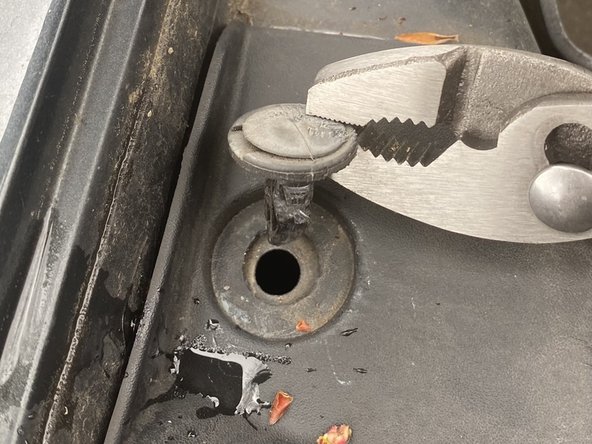
Unscrew the rubber screw by turning counter clockwise.
-
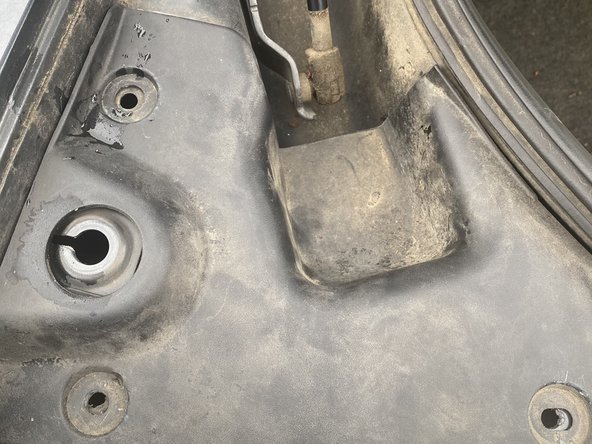
Gently pull these caps straight up to remove them.
-
-
-
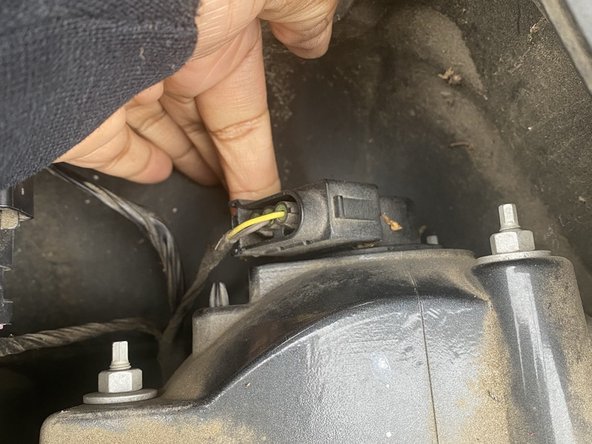
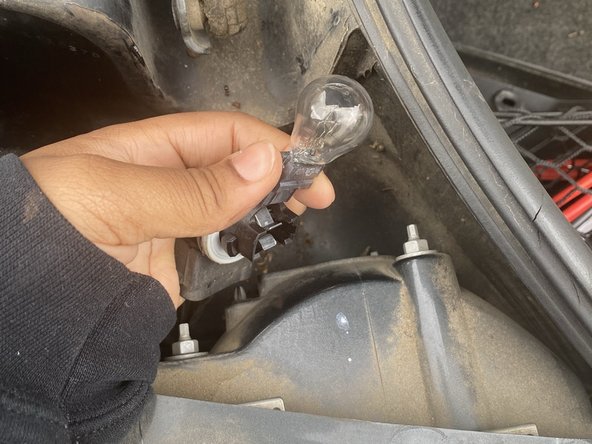
Rotate the entire socket a half turn clockwise. After this is done, gently pull the bulb socket from the taillight housing.
-
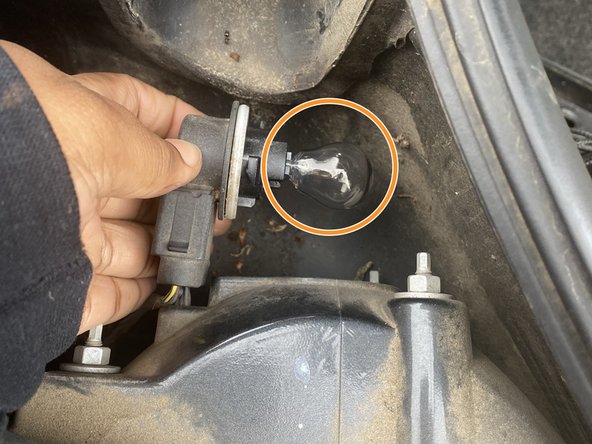
Remove and dispose of the blown bulb.
-
-
-
Before placing the plug back into the housing you should test the bulb to make sure it is in working order.
-
You can test the bulb by locking the door with your key fob or have someone press the brakes.
-
Repeat steps until all lights are in working order.
-


To reassemble, follow these steps in reverse order.
To reassemble, follow these steps in reverse order.
Rückgängig: Ich habe diese Anleitung nicht absolviert.
2 weitere Personen haben diese Anleitung absolviert.
Team

University of Memphis, Team S2-G1, Lane Spring 2021 Mitglied von University of Memphis, Team S2-G1, Lane Spring 2021
UM-LANE-S21S2G1
1 Mitglied
1 Anleitung geschrieben