Einleitung
Do you have a 2018 Yamaha YZ 250f that is in need of a chain replacement? If you answered yes to that question, then this is the guide is for you!
Riding a dirtbike that has a worn-out chain can be harmful to both the bike as well as the rider. It is important to properly maintain these components prior to use for safe operations. The chain on the bike is very important as it is what drives the rear wheel to spin. The chain is driven by a front and rear sprocket. The front sprocket is connected to the dirtbike transmission and the rear sprocket is connected to the rear wheel. Together the sprockets and chain must function cohesively. Also, ensure the dirtbike is clean to prevent debris from going into places it does not belong. Give yourself a clear work area to help the process go along smoothly.
In steps 5 and 12 of the guide, you will be required to use an angle grinder to cut rivets off of a chain. Using a grinder can be very dangerous if you have minimal experience so it is important to exercise caution when using this tool. When grinding clear your working area of anything that is flammable to prevent a fire from starting. Lastly, before beginning, ensure the dirtbike is turned off as you can suffer traumatic injuries to your hands if they are caught in the sprockets.
Once you have done the steps mentioned above, you are now ready to begin the process of replacing your chain!
*When replacing the chain on a dirtbike it is also important to replace both sprockets to ensure the longevity of the parts. The steps to replacing the sprockets are NOT provided in this guide.
Was du brauchst
-
-
Shift the gear lever into its neutral position so that the rear wheel spins freely.
-
-
-
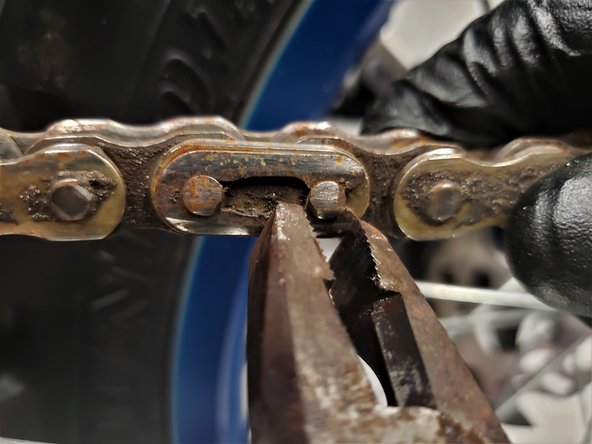
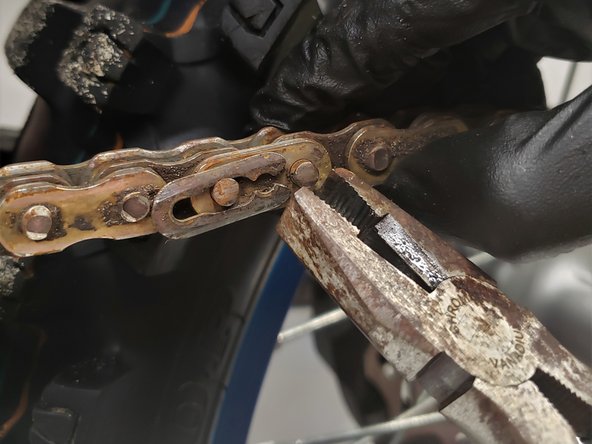
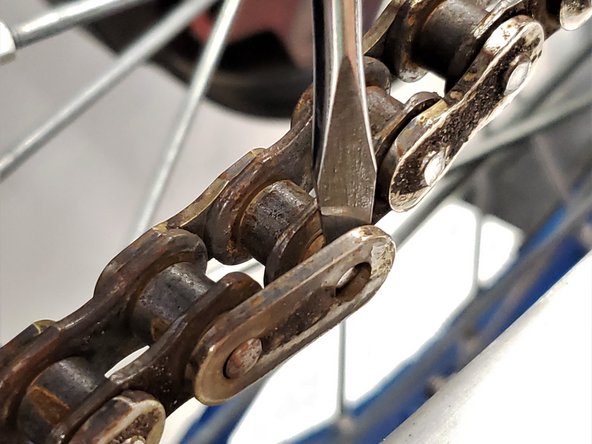
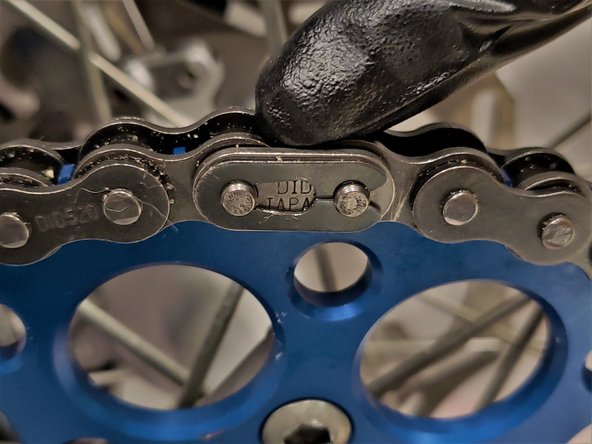
Use a mallet and flathead screw driver to pry off the master-link side plate.
-
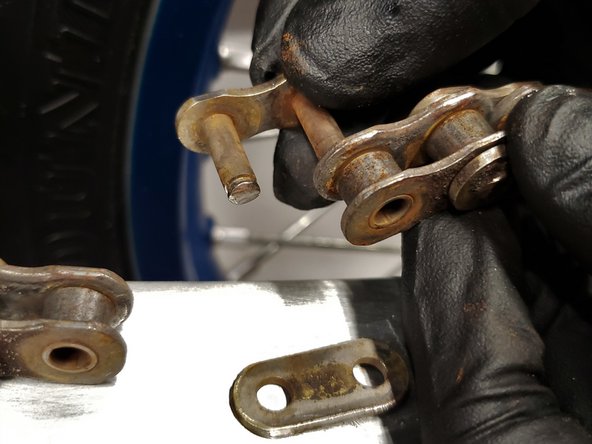
Remove the master link.
-
-
-
-
Roll the new chain onto the sprockets until both open ends rest on top of the rear sprocket.
-
Place a mark on the extra links which will be removed.
-
-
-
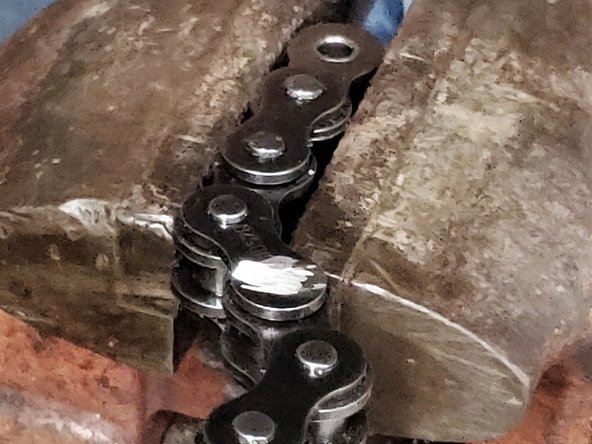
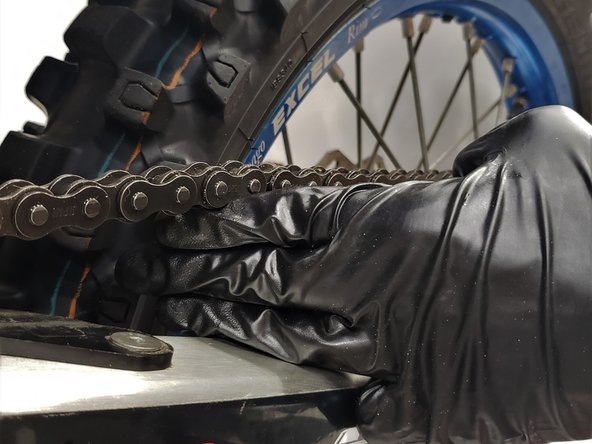
Take the chain off of the bike and use a grinder or chain-break to remove the extra unwanted links.
-
-
-
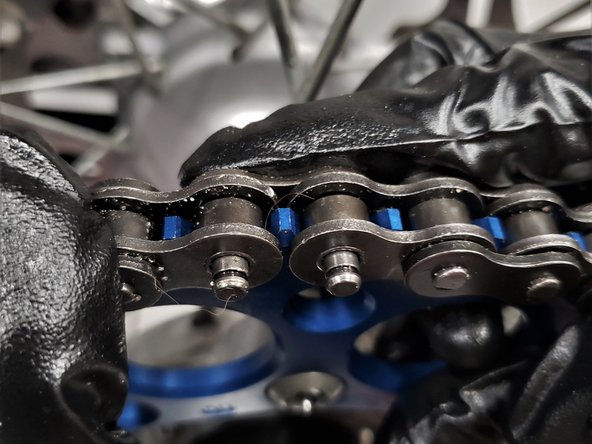
Place the chain back on the dirt bike and roll it until both open ends are on top of the rear sprocket.
-
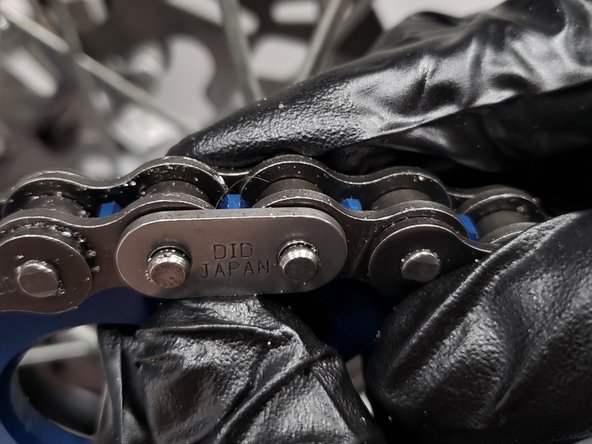
Insert master-link into the chain from the inside out.
-
Install side plate to master-link.
-
-
-
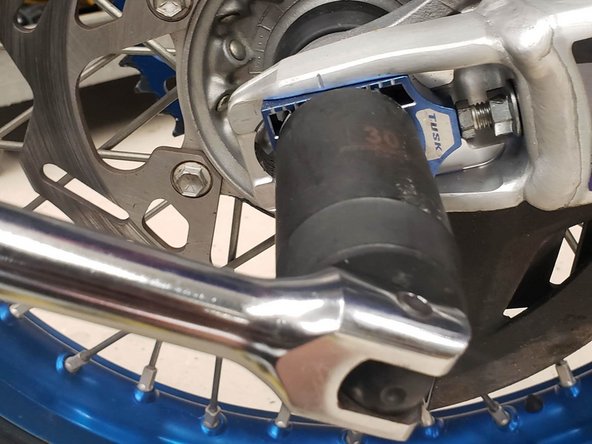
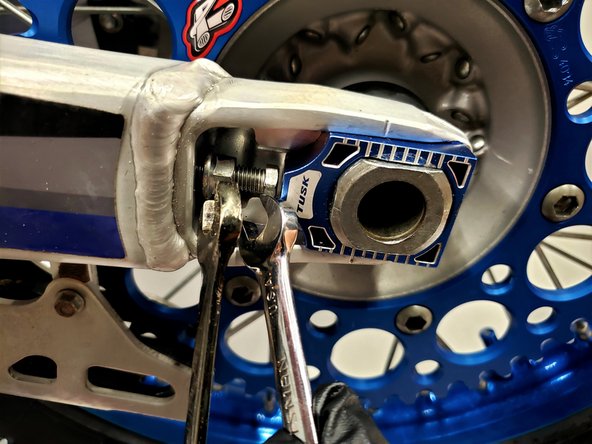
Once axle blocks are in the correct position, tighten the rear axle using the 30mm socket and breaker bar.
-
Use the 10mm and 12mm wrench to tighten the axle blocks.
-


By following the steps provided in this guide, you will have completed a chain replacement on a 2018 YZ 250f dirtbike.
By following the steps provided in this guide, you will have completed a chain replacement on a 2018 YZ 250f dirtbike.
Rückgängig: Ich habe diese Anleitung nicht absolviert.
2 weitere Personen haben diese Anleitung absolviert.

Team

Embry-Riddle Aeronautical University, Team S4-G7, Ives Fall 2019 Mitglied von Embry-Riddle Aeronautical University, Team S4-G7, Ives Fall 2019
ERAU-IVES-F19S4G7
3 Mitglieder
2 Anleitungen geschrieben