Einleitung
The front and rear cameras can sometimes break or malfunction, and must then be replaced to continue to be able to take pictures and video.
Was du brauchst
-
-
Remove screws.
-
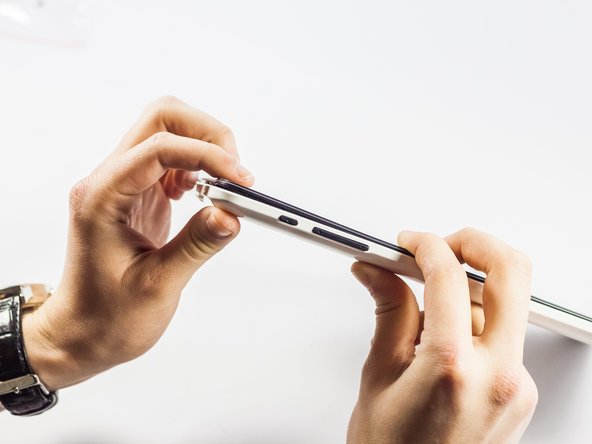
Insert spudger tool on the middle of the left side, between the white and black plastic.
-
Slide in a plastic opening tool and use it to further pull the back off.
-
Work your way around the edge of the tablet with the plastic opening tool and insert more as needed.
-
Pull off the back cover.
-
-
-
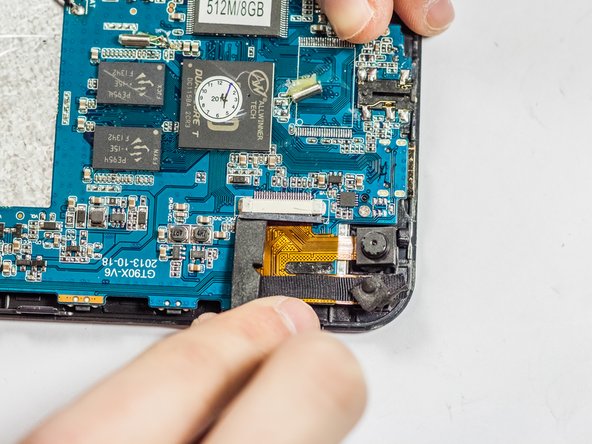
Locate the camera unit and note where it is attached to the motherboard.
-
Grasp the camera unit with tweezers or fingers, and pull firmly to remove it from the adhesive holding it to the motherboard.
-
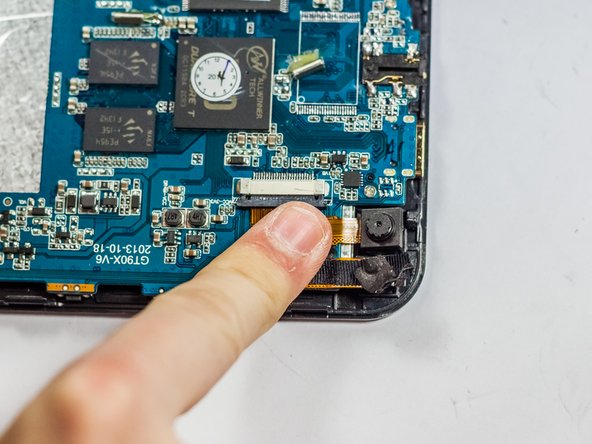
Using the spudger, carefully loosen the slot's plastic cover piece holding the ribbon cable in place.
-
Pull the ribbon cable out.
-
Remove the old adhesive with tweezers.
-
-
-
-
Apply a small square of new adhesive in the same spot as the old adhesive was previously.
-
Gently slide the new camera unit's ribbon cable into the slot.
-
Press the plastic cover piece back in place with the spudger.
-
Firmly press the new camera onto the adhesive, making sure to line it up correctly.
-
-
-
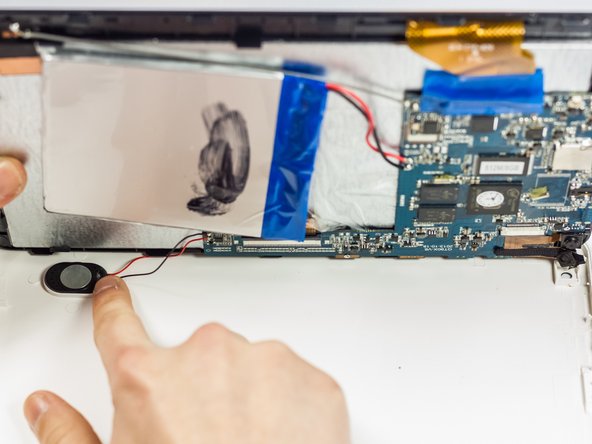
Replace the back cover with the new camera unit in place.
-
Gently press the speaker into place.
-
Replace the screws.
-


Rückgängig: Ich habe diese Anleitung nicht absolviert.
2 weitere Nutzer:innen haben diese Anleitung absolviert.
Team

UMass Dartmouth, Team 4-6, Vijaybhaskar Spring 2015 Mitglied von UMass Dartmouth, Team 4-6, Vijaybhaskar Spring 2015
UMASSD-VIJAYBHASKAR-S15S4G6
3 Mitglieder
6 Anleitungen geschrieben