Einleitung
If your laptop is having trouble with identifying external USB devices, you may have to replace the port. After ensuring that it is not a software issue, you can use these steps to remove the USB port board.
Was du brauchst
-
-
Place the laptop with the bottom side facing up. Have the front (where the touchpad is) facing toward you.
-
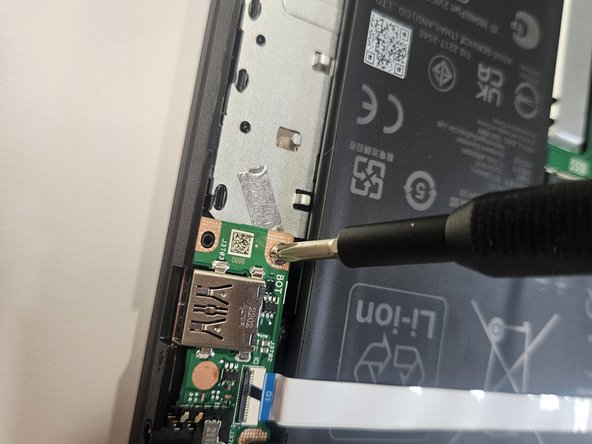
Start by removing the ten 7mm screws on the bottom of the laptop using a JIS #00 screwdriver.
-
-
-
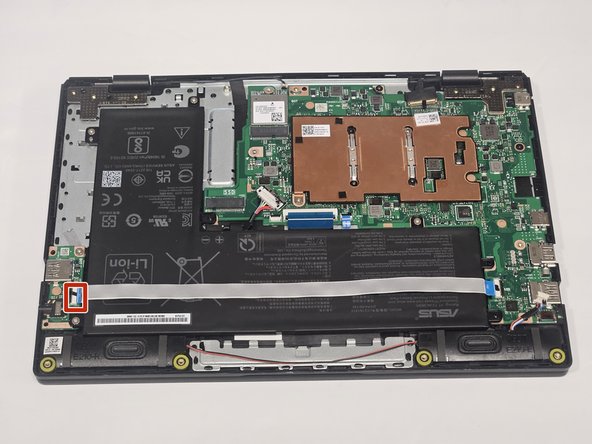
Double-check to make sure all of the screws are removed.
-
If you have a Jimmy or other flat, straight-edge object, slide it in the crack where the halves of the case meet.
-
When the parts are separated, pull them apart to expose the insides of the case.
-
-


To reassemble your device, follow these instructions in reverse order.
To reassemble your device, follow these instructions in reverse order.

Team

Gateway, Team 73-6, Gonzalez Spring 2023 Mitglied von Gateway, Team 73-6, Gonzalez Spring 2023
GCC-GONZALEZ-S23S73G6
5 Mitglieder
5 Anleitungen geschrieben