Einleitung
Use this guide to replace the Touchpad and Mouse Buttons of your ASUS EEE PC701SD-WHI004X. Be sure to disconnect the laptop from all sources of power before beginning. This guide should be followed if the mouse does not respond to movement from the trackpad, or if the buttons will not click or are unresponsive.
Was du brauchst
-
-
Flip the laptop over, you should see two battery tabs.
-
Slide the right tab towards the right. The orange dot should be visible. This tab will be locked open.
-
-
-
While holding the left tab towards the left. Gently slide the battery out of the laptop.
-
-
-
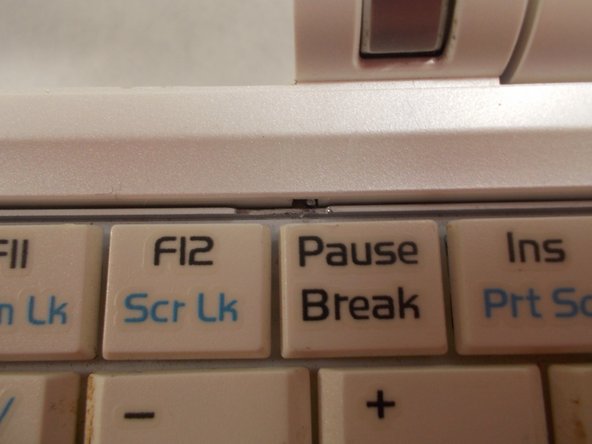
Push the 3 tabs at the top of the keyboard in and down one at a time using a nylon spudger.
-
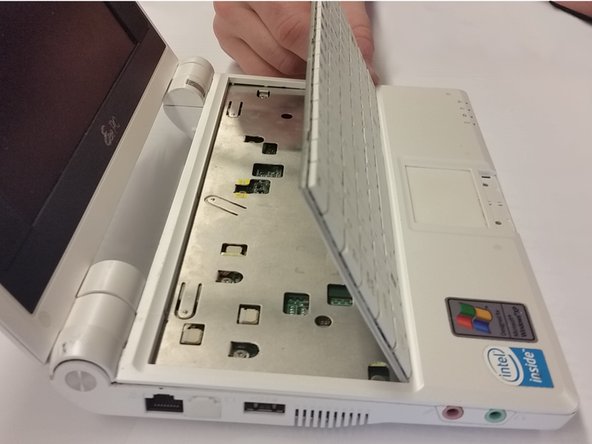
Once the three tabs have been pushed in, gently pry the top of the keyboard until it begins to hinge out of its slot.
-
-
-
-
Push the two sides of the ribbon cable connector away from yourself. This will unseat the ribbon cable.
-
Once the tabs are unseated, you can gently remove the ribbon cable by pulling it out of its slot. The keyboard can now be removed.
-
-
-
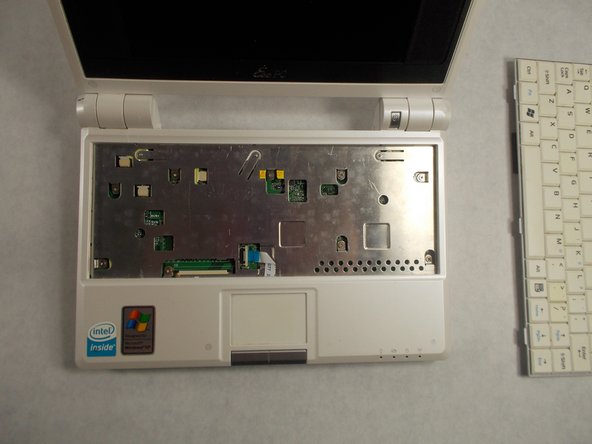
Remove all six 3.4mm Phillips #1 screws marked with red circles.
-
-
-
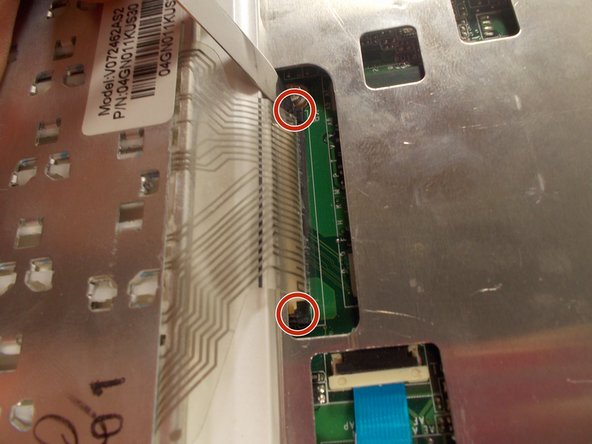
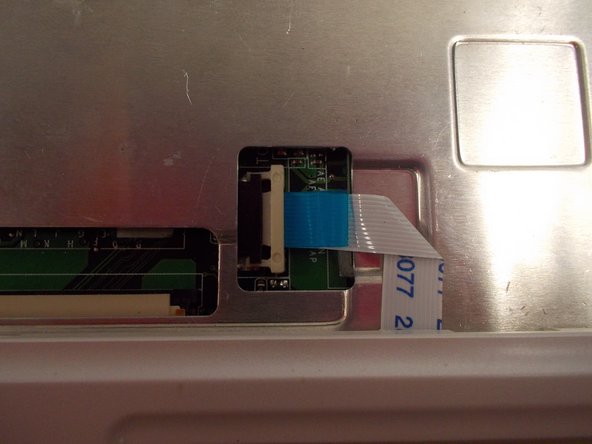
On either end of the ribbon cable clamp, carefully push the tab towards the right, using a nylon spudger.
-
The ribbon cable can now be pulled out using the blue tab attached to the cable.
-
-
-
Move the screen as far back as possible, and pry apart the plastic clips on the inside and outside of the hinges. They should be pushed upwards.
-
Use a spudger between the metal and white plastic, and carefully pry them apart to dislodge the clips.
-
-
-
Pry the top cover off of the laptop. This should come off easily if you have removed all the tabs.
-
-
-
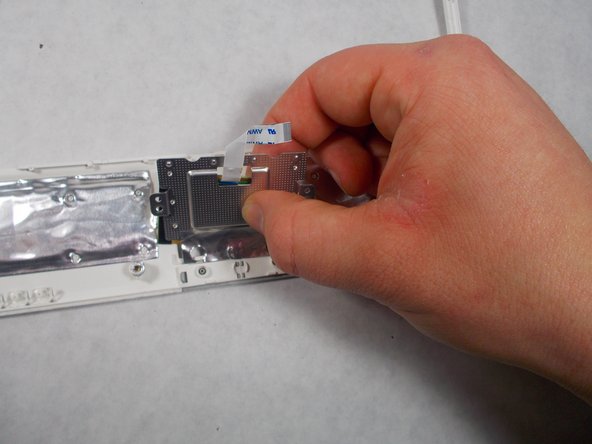
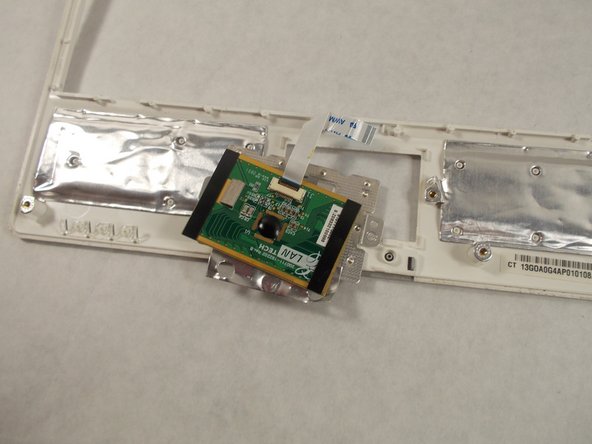
Flip over the top cover and unscrew the two 1.2mm Phillips #0 screws.
-
Remove the plate and the trackpad. They may come off separately.
-


To reassemble your device, follow these instructions in reverse order.
To reassemble your device, follow these instructions in reverse order.
Rückgängig: Ich habe diese Anleitung nicht absolviert.
Ein:e weitere:r Nutzer:in hat diese Anleitung absolviert.
Team

UMass Dartmouth, Team S2-G8, Isaacson Spring 2017 Mitglied von UMass Dartmouth, Team S2-G8, Isaacson Spring 2017
UMASSD-ISAACSON-S17S2G8
3 Mitglieder
10 Anleitungen geschrieben