Einleitung
This repair might be necessary for any type of faulty hard drive that may not be functioning correctly. In order to replace the hard drive, be prepared to use a few tools, and be cautious with small fragile parts when taking apart the device.
Was du brauchst
-
-
Remove the four 4.76 mm Philips screws on the back of the laptop using the Phillips J0 Screwdriver.
-
-
-
-
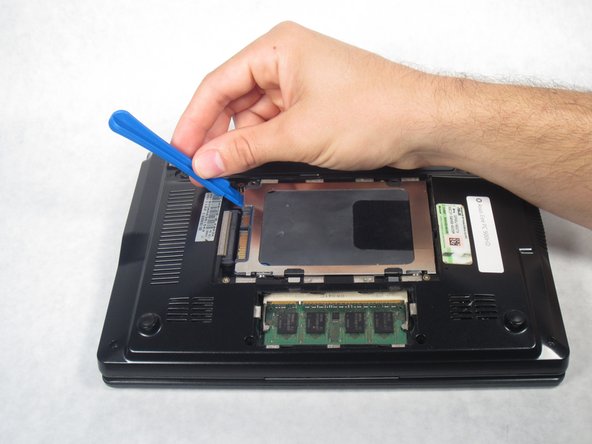
Starting from the left, use a plastic opening tool to slide the hard drive all the way to the right.
-
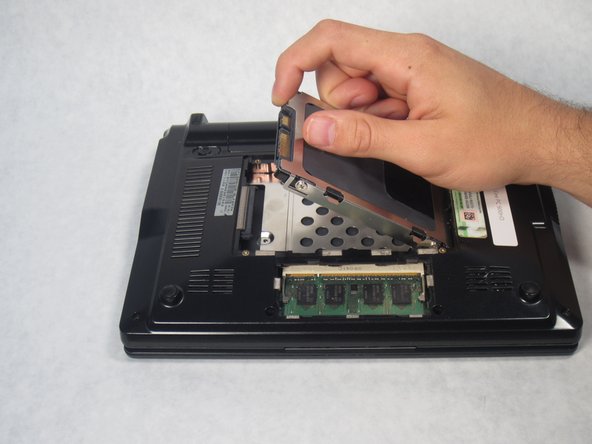
Once the hard drive is completely to the right, pull up on the hard drive to remove.
-


To reassemble your device, follow these instructions in reverse order.
To reassemble your device, follow these instructions in reverse order.
Rückgängig: Ich habe diese Anleitung nicht absolviert.
Eine weitere Person hat diese Anleitung absolviert.
Team

Sam Houston State, Team 1-6, Blackburne Fall 2015 Mitglied von Sam Houston State, Team 1-6, Blackburne Fall 2015
SHSU-BLACKBURNE-F15S1G6
4 Mitglieder
9 Anleitungen geschrieben