Einleitung
This guide will tell you how to open up your laptop and replace your RAM. It is relatively simple and only requires a screwdriver.
Was du brauchst
-
-
Slide the lock on the right side of the battery to the right. If done correctly the slider will stay in place and there will be a red indicator.
-
-
-
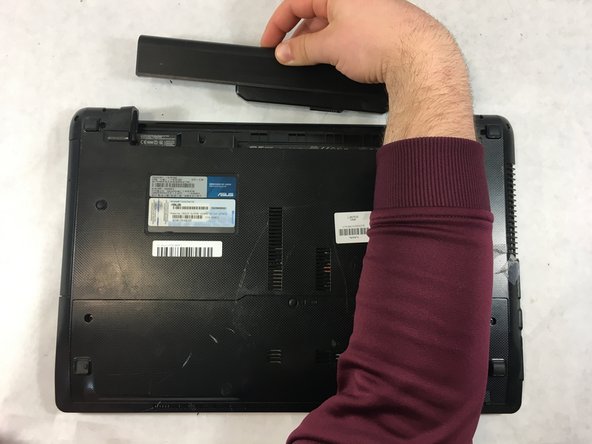
Slide the other sliding lock on the left side of the battery to the left, and with your other hand slide the battery out from the laptop.
-
-
-
-
Remove the two 4mm Phillips #0 screws located on the opposite ends of the laptop.
-
-
-
Slide the back panel backwards until it stops.
-
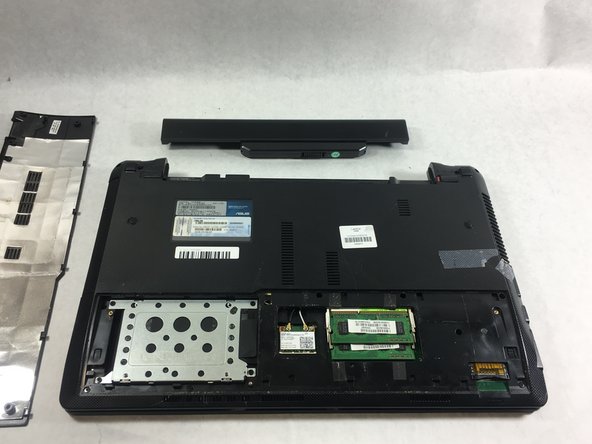
You can now lift the panel up and out of the laptop casing.
-
-
-
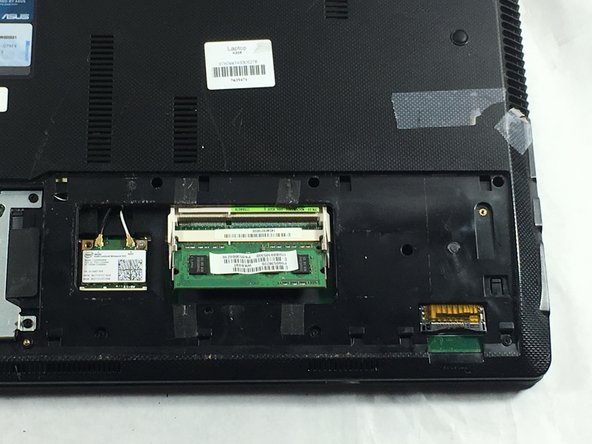
The RAM is now visible.
-
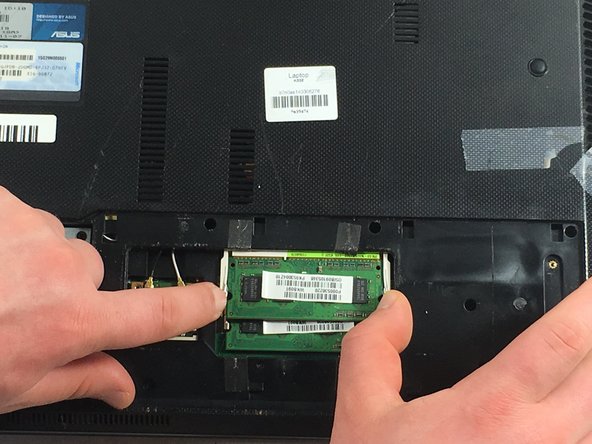
Remove the RAM by pressing out on both tabs visible on each side of the RAM.
-
To work the tabs, take your finger tips and press outwards from the indents on the RAM.
-
-
-
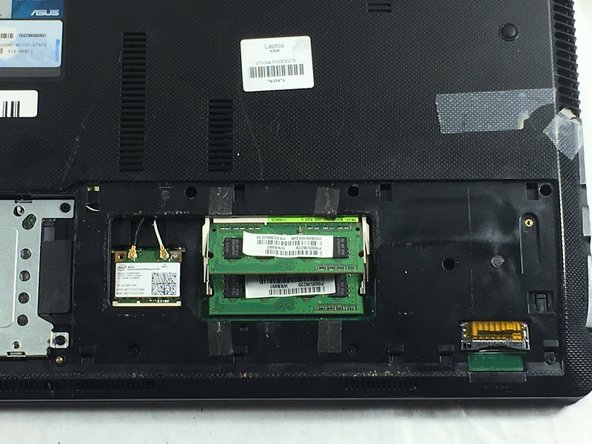
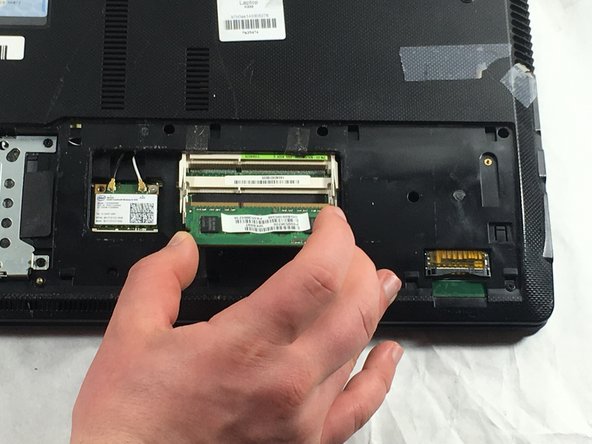
The RAM is now angled up and you can remove the RAM by pulling it out in the direction it is facing.
-
Gently Pull the RAM out of its connector without pushing down or pulling up.
-


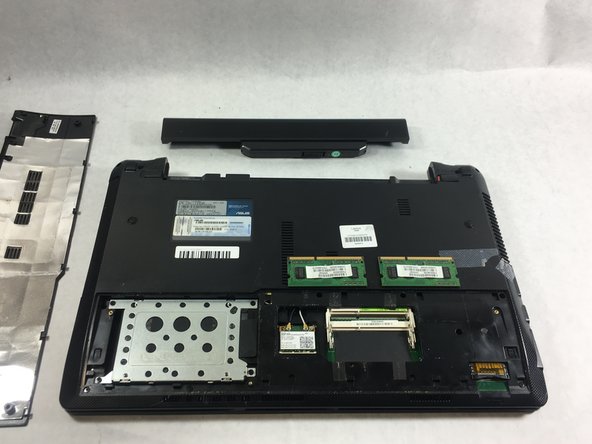
To reassemble your device, follow these instructions in reverse order.
To reassemble your device, follow these instructions in reverse order.
Team

UMass Dartmouth, Team S6-G4, Peak Spring 2019 Mitglied von UMass Dartmouth, Team S6-G4, Peak Spring 2019
UMASSD-PEAK-S19S6G4
3 Mitglieder
4 Anleitungen geschrieben