Einleitung
This guide will be helpful for repairing the speaker if the troubleshooting page recommends that you replace it. This is a necessary step when you have determined no other way to repair your current speaker.
Was du brauchst
-
-
Insert the plastic opening tool between the edge of the screen and the back cover.
-
Gently pry them apart. Use hands to pull them apart if necessary.
-
-
-
Remove the three pieces of tape that secure the battery and its wires. Peel gently so you don’t damage any wires.
-
-
-
-
Disconnect the ribbon from the motherboard by gently pulling with your fingers.
-
Using the opening tools, pry the battery off of the adhesive.
-
-
-
Use a Phillips #00 screwdriver to remove the three 2.5mm screws that secure the speaker case to the motherboard.
-
-
-
Use tweezers to remove the three pieces of tape that are covering the metal.
-
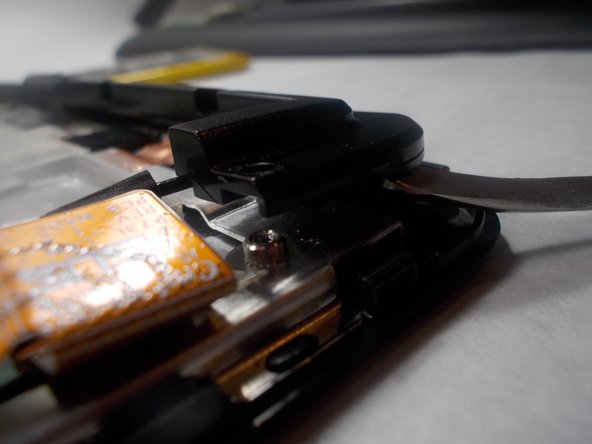
Insert the metal spudger beneath the speaker case and wedge it upwards to remove speaker case from the device body.
-


To reassemble your device, follow these instructions in reverse order.
To reassemble your device, follow these instructions in reverse order.
Team

UMass Dartmouth, Team S2-G7, Peak Fall 2018 Mitglied von UMass Dartmouth, Team S2-G7, Peak Fall 2018
UMASSD-PEAK-F18S2G7
3 Mitglieder
4 Anleitungen geschrieben