Einleitung
Batteries either get damaged due to electrical or physical damage, or they get old and simply need to be replaced. Therefore, a replacement battery will be needed, which can be purchased, after purchasing a replacement battery follow these steps to replace the old battery.
Was du brauchst
-
-
-
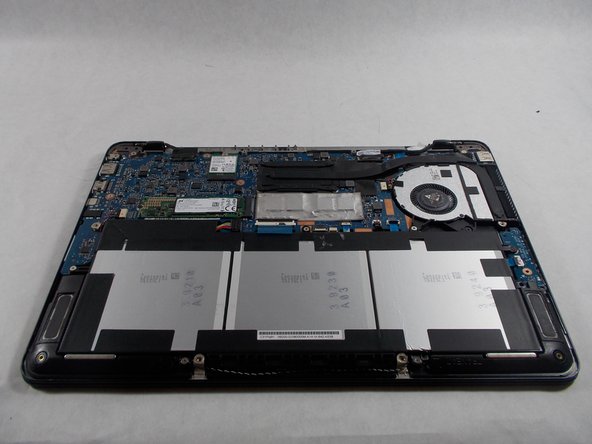
Next, lift up the battery connector from the laptop in the upper left side of the battery, using tweezers or spudger.
-
-
-
Remove the six screws holding in the battery with a Phillips #0 screwdriver.
-
Once battery is lifted out and removed, proper dispose of the old battery.
-


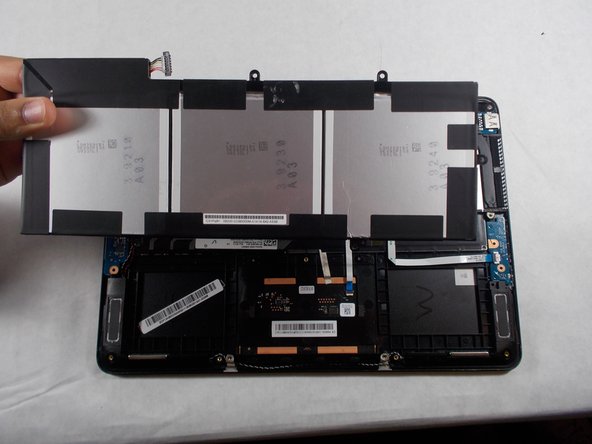
To reassemble your device, follow these instructions in reverse order.
To reassemble your device, follow these instructions in reverse order.
Team

UMass Dartmouth, Team S1-G1, Simcock Fall 2017 Mitglied von UMass Dartmouth, Team S1-G1, Simcock Fall 2017
UMASSD-SIMCOCK-F17S1G1
3 Mitglieder
5 Anleitungen geschrieben
3 Kommentare
The screws in this laptop are *not* all the same length. Unfortunately, I only kept track of some of them as I didn’t notice that they weren’t all the same until I had most of them out. I know that two of the longer screws go in the back between the back feet, but I’m not 100% sure of the others.
I removed the cover successfully (including noting where the long and short screws are located) but cannot get the #0 Phillips screwdriver to fit into those tiny cross shaped slots in the screws holding the battery in. It seems to be too big or the wrong shape, and I am really concerned about stripping the heads by tying to force it too much. Maybe a small regular flat head that will fit into the grooves?