Zum Hauptinhalt wechseln

ASUS X533SA-BHCLN10 LCD Screen Replacement

Was du brauchst

Einführungsvideo

  1. ASUS X533SA-BHCLN10 LCD Screen Replacement, LCD Screen: Schritt 1, Bild 1 von 2 ASUS X533SA-BHCLN10 LCD Screen Replacement, LCD Screen: Schritt 1, Bild 2 von 2
    • Power off laptop.

    • Flip over the laptop so the model stickers are pointing towards the ceiling, and the back of the laptop is facing you.

  2. ASUS X533SA-BHCLN10 LCD Screen Replacement: Schritt 2, Bild 1 von 3 ASUS X533SA-BHCLN10 LCD Screen Replacement: Schritt 2, Bild 2 von 3 ASUS X533SA-BHCLN10 LCD Screen Replacement: Schritt 2, Bild 3 von 3
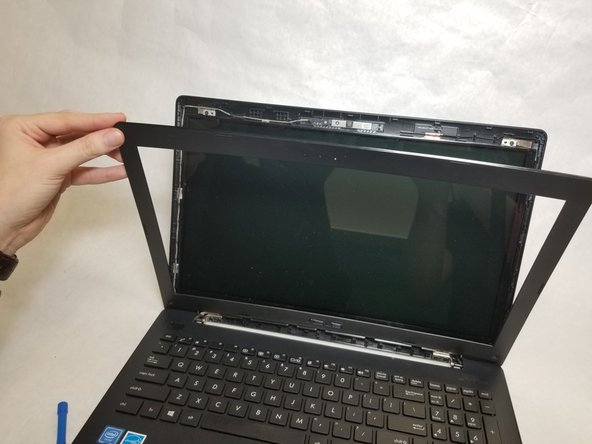
    • Carefully insert a plastic opening tool into the top edge of the plastic cover. Slowly run the tool along the top edge to allow several small plastic clips to release.

    • Lift the plastic cover off and set it aside.

  3. ASUS X533SA-BHCLN10 LCD Screen Replacement: Schritt 3, Bild 1 von 3 ASUS X533SA-BHCLN10 LCD Screen Replacement: Schritt 3, Bild 2 von 3 ASUS X533SA-BHCLN10 LCD Screen Replacement: Schritt 3, Bild 3 von 3
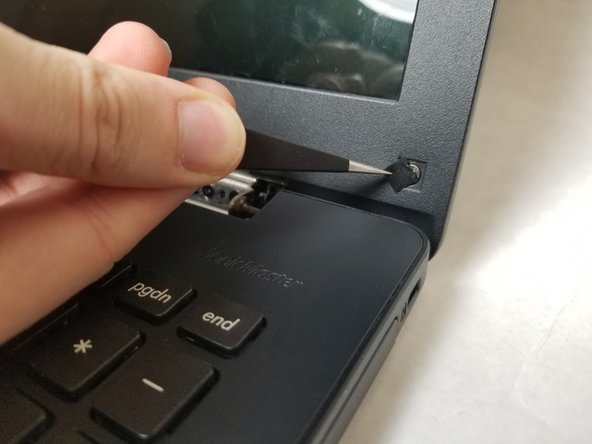
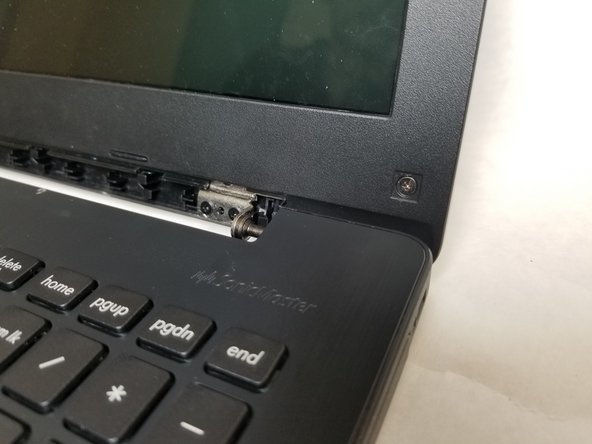
    • Using tweezers, remove the (2) two magnetic tabs covering the screws on the screen.

  4. ASUS X533SA-BHCLN10 LCD Screen Replacement: Schritt 4, Bild 1 von 3 ASUS X533SA-BHCLN10 LCD Screen Replacement: Schritt 4, Bild 2 von 3 ASUS X533SA-BHCLN10 LCD Screen Replacement: Schritt 4, Bild 3 von 3
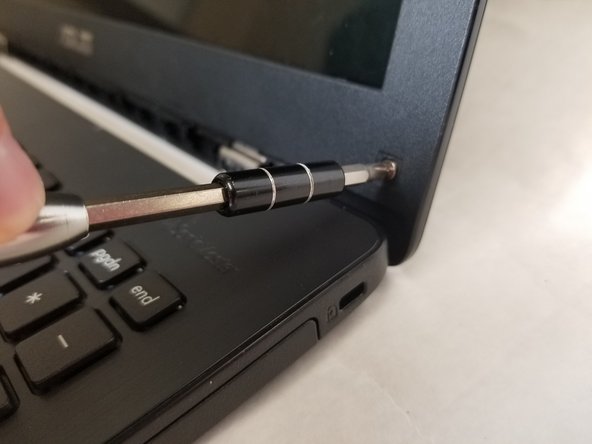
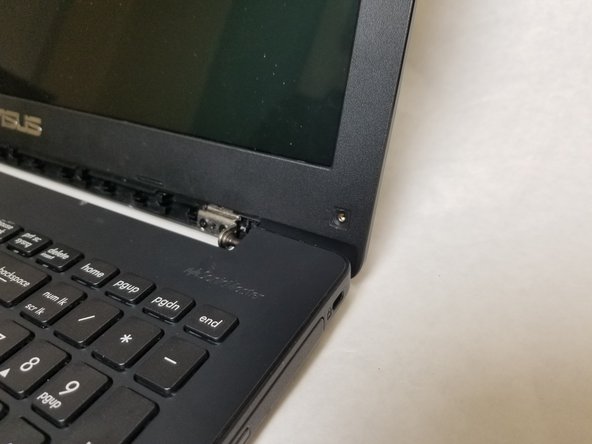
    • Use a JIS #0 screwdriver to remove the two 4.5mm screws.

  5. ASUS X533SA-BHCLN10 LCD Screen Replacement: Schritt 5, Bild 1 von 2 ASUS X533SA-BHCLN10 LCD Screen Replacement: Schritt 5, Bild 2 von 2
    • Insert a plastic opening tool under the edge of the laptop lid.

    • Carefully pop out the sides of the laptop by running the plastic opening tool along the edge.

  6. ASUS X533SA-BHCLN10 LCD Screen Replacement: Schritt 6, Bild 1 von 2 ASUS X533SA-BHCLN10 LCD Screen Replacement: Schritt 6, Bild 2 von 2
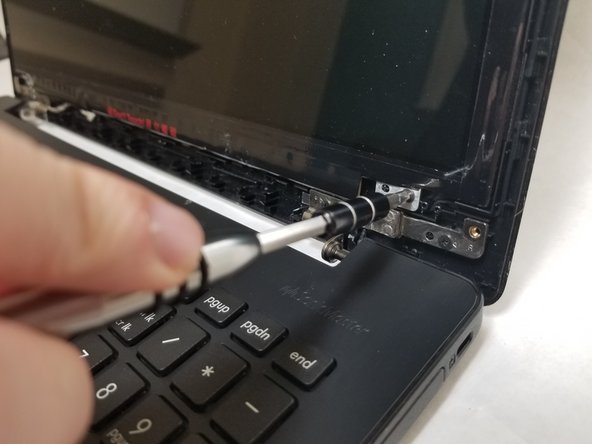
    • Use a JIS #0 screwdriver to unscrew the four 3.5mm screws.

  7. ASUS X533SA-BHCLN10 LCD Screen Replacement: Schritt 7, Bild 1 von 3 ASUS X533SA-BHCLN10 LCD Screen Replacement: Schritt 7, Bild 2 von 3 ASUS X533SA-BHCLN10 LCD Screen Replacement: Schritt 7, Bild 3 von 3
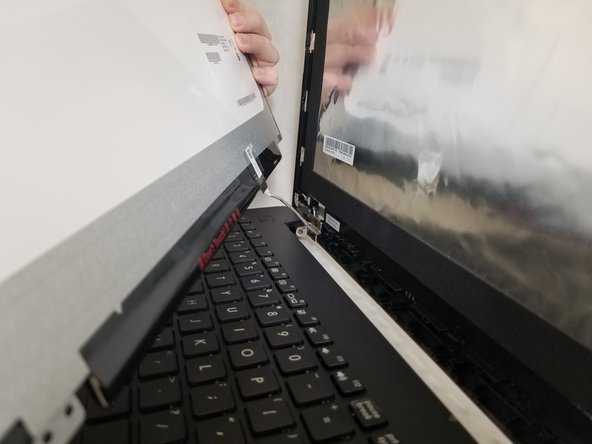
    • Carefully lift up the LCD screen.

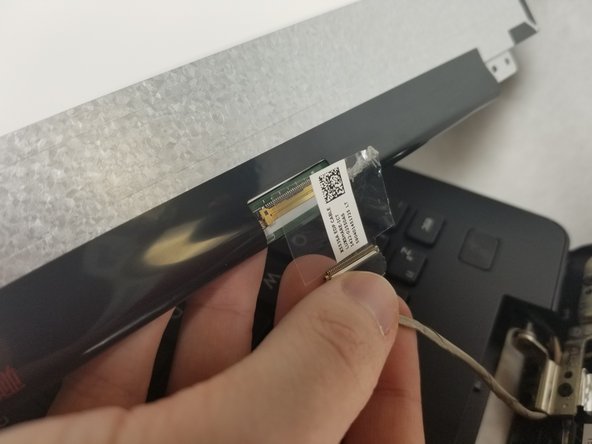
    • Carefully remove the cable connecting the LCD to the laptop by popping up the white clip on the laptop and sliding the connector out.

Abschluss

To reassemble your device, follow these instructions in reverse order.

Spencer Lee

Mitglied seit: 11/01/18

268 Reputation

2 Anleitungen geschrieben

Team

IUPUI, Team S2-G4, Harley Fall 2018 Mitglied von IUPUI, Team S2-G4, Harley Fall 2018

IUPUI-HARLEY-F18S2G4

3 Mitglieder

2 Anleitungen geschrieben

0 Kommentare

Kommentar hinzufügen

Seitenaufrufe:

Letzte 24 Stunden: 0

Letzte 7 Tage: 2

Letzte 30 Tage: 4

Insgesamt: 520