Zum Hauptinhalt wechseln

ASUS ZENFONE 3 Zoom Back Camera Replacement

Was du brauchst

  1. ASUS ZENFONE 3 Zoom Back Camera Replacement, Battery: Schritt 1, Bild 1 von 2 ASUS ZENFONE 3 Zoom Back Camera Replacement, Battery: Schritt 1, Bild 2 von 2
    • Using a pair of tweezers, pull put the SIM card tray and set it to the side.

  2. ASUS ZENFONE 3 Zoom Back Camera Replacement: Schritt 2, Bild 1 von 1
    • Remove the two 2 mm screws using a Torx T2 screwdriver.

  3. ASUS ZENFONE 3 Zoom Back Camera Replacement: Schritt 3, Bild 1 von 2 ASUS ZENFONE 3 Zoom Back Camera Replacement: Schritt 3, Bild 2 von 2
    • Insert a prying tool between the screen and the metal backing of the phone at the bottom to remove backing from phone.

    • There will be a thin film connecting the two pieces. You do not need to remove this. Just fold the two pieces apart with the inside facing up.

  4. ASUS ZENFONE 3 Zoom Back Camera Replacement: Schritt 4, Bild 1 von 1
    • Remove the two 3 mm screws, using the Phillips #00 screwdriver, on the silver band at the top of the battery and remove the band.

  5. ASUS ZENFONE 3 Zoom Back Camera Replacement: Schritt 5, Bild 1 von 1
    • Peel back the silver tape.

  6. ASUS ZENFONE 3 Zoom Back Camera Replacement: Schritt 6, Bild 1 von 1
    • Disconnect the battery connections.

  7. ASUS ZENFONE 3 Zoom Back Camera Replacement: Schritt 7, Bild 1 von 1
    • Pry and remove the battery.

    • The underside of the battery is adhesive so make sure to pry the battery off gently.

  8. ASUS ZENFONE 3 Zoom Back Camera Replacement, Back Camera: Schritt 8, Bild 1 von 3 ASUS ZENFONE 3 Zoom Back Camera Replacement, Back Camera: Schritt 8, Bild 2 von 3 ASUS ZENFONE 3 Zoom Back Camera Replacement, Back Camera: Schritt 8, Bild 3 von 3
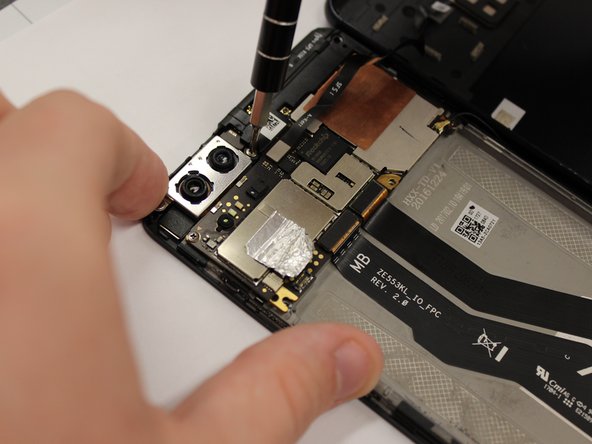
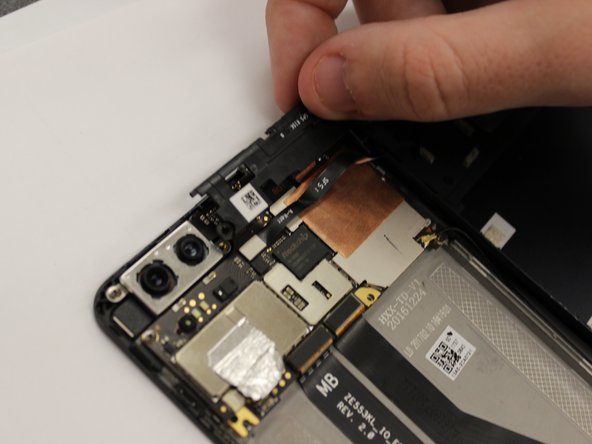
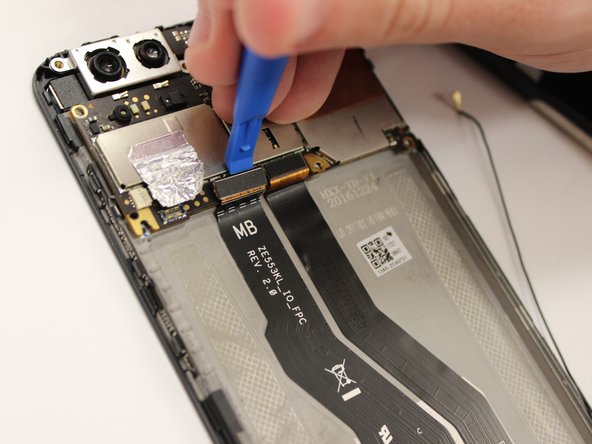
    • Remove the 3 mm screws, using the Phillips #00 screwdriver, from the black plastic piece at the top on the right side.

  9. ASUS ZENFONE 3 Zoom Back Camera Replacement: Schritt 9, Bild 1 von 1
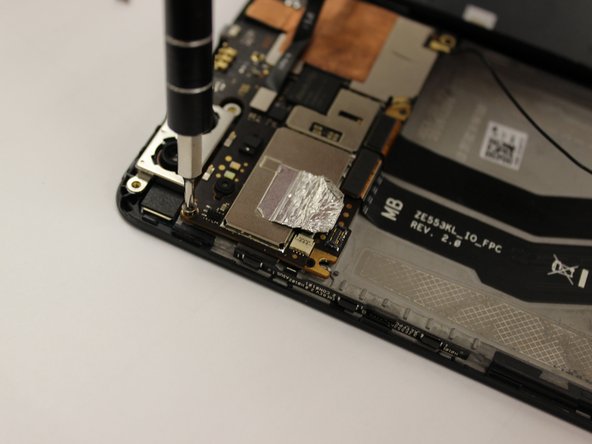
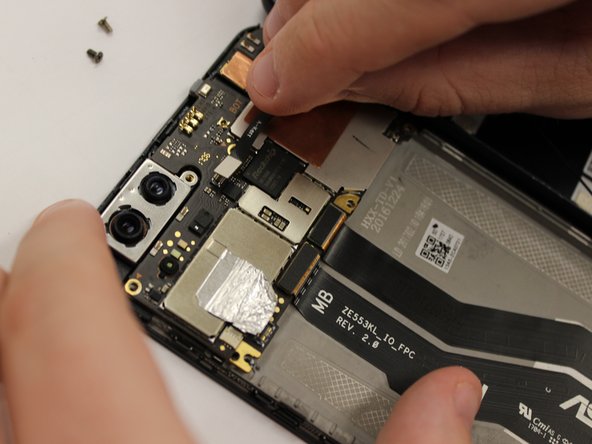
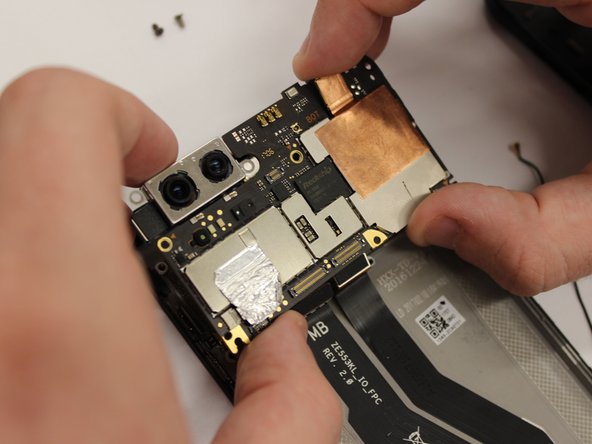
    • Remove the 3 mm screws, using the Phillips #00 screwdriver, from the metal piece around the camera.

  10. ASUS ZENFONE 3 Zoom Back Camera Replacement: Schritt 10, Bild 1 von 2 ASUS ZENFONE 3 Zoom Back Camera Replacement: Schritt 10, Bild 2 von 2
    • Remove the 3 mm circuit board screws, using the Phillips #00 screwdriver.

  11. ASUS ZENFONE 3 Zoom Back Camera Replacement: Schritt 11, Bild 1 von 3 ASUS ZENFONE 3 Zoom Back Camera Replacement: Schritt 11, Bild 2 von 3 ASUS ZENFONE 3 Zoom Back Camera Replacement: Schritt 11, Bild 3 von 3
    • Unplug the two wires at the bottom of the circuit board.

  12. ASUS ZENFONE 3 Zoom Back Camera Replacement: Schritt 12, Bild 1 von 1
    • Remove the circuit board.

  13. ASUS ZENFONE 3 Zoom Back Camera Replacement: Schritt 13, Bild 1 von 2 ASUS ZENFONE 3 Zoom Back Camera Replacement: Schritt 13, Bild 2 von 2
    • Unplug the camera.

Abschluss

To reassemble your device, follow these instructions in reverse order.

Henry Barrett

Mitglied seit: 09/10/18

546 Reputation

4 Anleitungen geschrieben

Team

University of Alabama, Team S2-G7, Bedsole Fall 2018 Mitglied von University of Alabama, Team S2-G7, Bedsole Fall 2018

UA-BEDSOLE-F18S2G7

4 Mitglieder

10 Anleitungen geschrieben

Ein Kommentar

Excellent article. Just one question; who is selling this camera?

Hazem Tawfik - Antwort

Kommentar hinzufügen

Seitenaufrufe:

Letzte 24 Stunden: 2

Letzte 7 Tage: 3

Letzte 30 Tage: 8

Insgesamt: 1,172