Einleitung
This guide will help you replace the hard drive on this device. Make sure the battery is removed before beginning. The hard drive is your secondary storage device. If you are experiencing hard drive problems, follow these steps to replace your hard drive.
Was du brauchst
-
-
Next to the battery is a switch with a lock symbol on it.
-
Unlock the switch by sliding it to reveal a red unlock symbol.
-
-
-
Pull the other switch completely while the red unlock symbol is still present. The battery pack should pop up a bit.
-
-
-
-
Remove the battery pack via the indentation at the top of the battery in between the two switches.
-
-
-
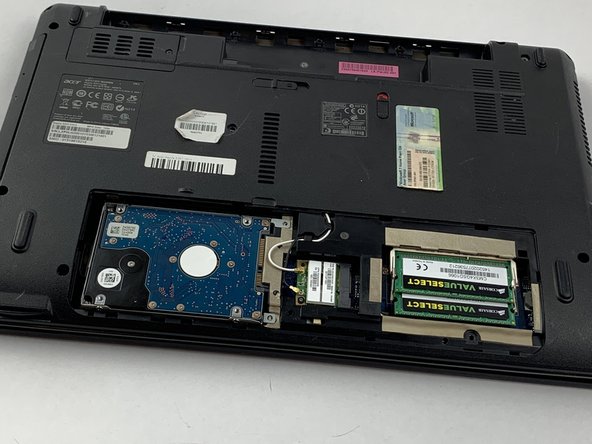
Use a spudger or plastic opening tool to lift the panel up. Then remove the panel entirely with your hands.
-
-
-
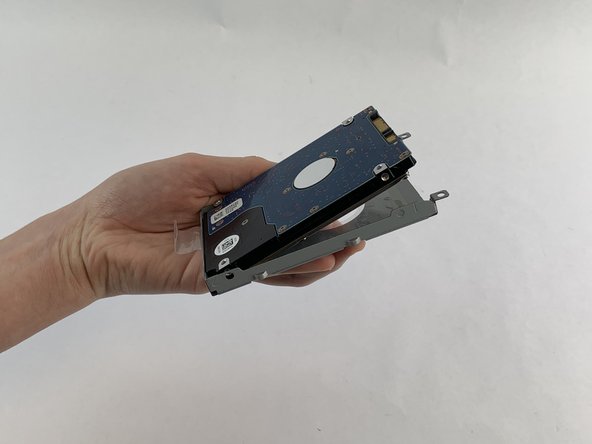
Slide the hard drive to the left until it clicks and then pull it out completely.
-
-
-
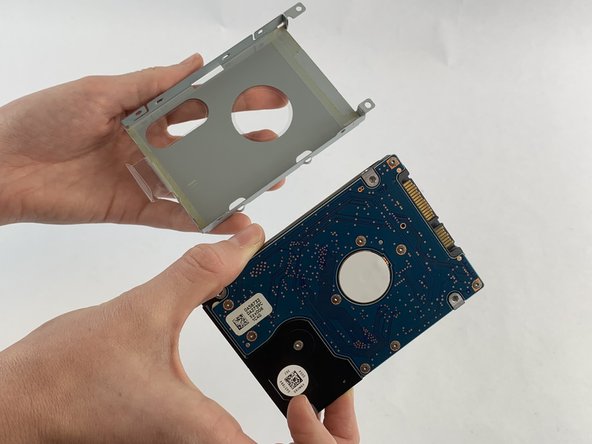
Unscrew the four 3.6 mm screws on either side of the casing with the Phillips #0 screwdriver.
-
Remove the hard drive out of its casing.
-


To reassemble your device, follow these instructions in reverse order.
To reassemble your device, follow these instructions in reverse order.
Rückgängig: Ich habe diese Anleitung nicht absolviert.
Ein:e weitere:r Nutzer:in hat diese Anleitung absolviert.

Team

USF Tampa, Team S1-G6, Leahy Spring 2019 Mitglied von USF Tampa, Team S1-G6, Leahy Spring 2019
USFT-LEAHY-S19S1G6
4 Mitglieder
5 Anleitungen geschrieben