Einleitung
The goal of this guide is to help replace the motherboard in your Acer Aspire 5750-6677. The motherboard is an essential component to any computer. The computer’s motherboard provides a platform for communication between the central processing unit (CPU) and memory, as well as providing connection points for any additional input and/or output components. Replacing the motherboard is considered to be difficult and will require approximately 1 hour to complete and the only tool you will need is a Phillips #0 screwdriver.
Was du brauchst
-
-
Flip the device over so the backside is facing up.
-
Remove the two screws with the Phillips #0 screwdriver.
-
-
-
-
Start by flipping the device over to expose the screws.
-
Remove ten screws with the Phillips #0 screwdriver.
-
-
-
Using a Phillips #0 screwdriver, remove the four screws found under the battery.
-
-
-
Flip the laptop back around so the Acer logo is facing upwards.
-
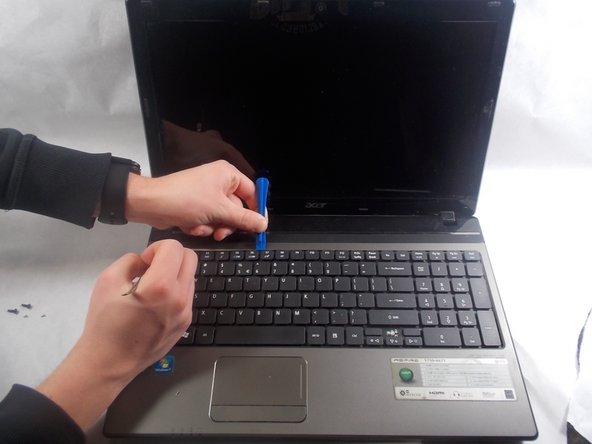
Open the laptop and using the iFixit opening tool, press the tabs in at the very top of the keyboard, in order to remove the keyboard.
-
-
-
Use the Phillips #0 screwdriver to remove six screws.
-
Pull the top off of the keyboard to expose the motherboard.
-
-
-
Remove the seven screws using the Phillips #0 screwdriver.
-
Detach any wires or cables that are attached to the motherboard.
-
Remove the motherboard.
-
To reassemble your device, follow these instructions in reverse order.
To reassemble your device, follow these instructions in reverse order.
Rückgängig: Ich habe diese Anleitung nicht absolviert.
2 weitere Nutzer:innen haben diese Anleitung absolviert.


