Einleitung
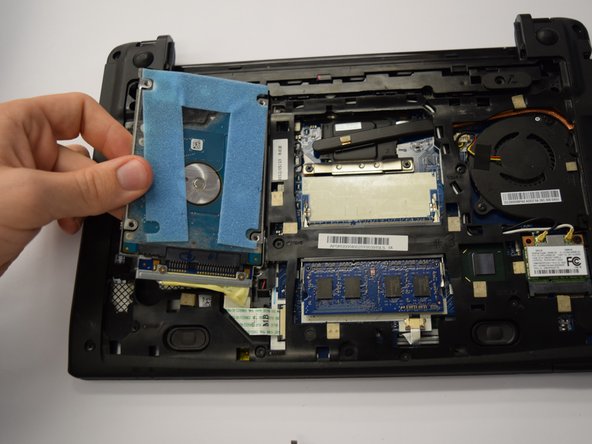
A dysfunctional hard drive can completely ruin the life of an otherwise functional computer; therefore, if any problems arise regarding the hard drive, it should be fixed or replaced. Removing the hard drive requires the battery and back cover to be removed and then only a few screws need to be removed to completely take out the hard drive.
Was du brauchst
-
-
Orient the ACER Aspire One to where the bottom of the laptop is facing upward as shown in the picture.
-
-
-
Insert a spudger and slide the tab to the right.
-
Hold the tab in the right-hand position and firmly push or pull the battery upward to remove it from the laptop.
-
-
-
-
Locate the single 6 mm Phillips screw in the lower middle of the back plate.
-
Remove the screw using a Phillips #0 Screwdriver.
-
-
-
Locate the four 6 mm Phillips screws pictured necessary to remove the hard drive.
-
Remove all four of the screws using a Phillips #0 Screwdriver.
-
-
-
Locate the two tabs that keep the hard drive ribbon cable connected to the laptop.
-
Using a spudger, gently push in the indicated tabs.
-
While holding down the tabs, slide the ribbon cable to the left to remove it from the laptop.
-
To reassemble your device, follow these instructions in reverse order.
To reassemble your device, follow these instructions in reverse order.
Rückgängig: Ich habe diese Anleitung nicht absolviert.
3 weitere Nutzer:innen haben diese Anleitung absolviert.


