Einleitung
If your hard drive is no longer working, this guide will help you replace it.
Was du brauchst
-
-
Locate the 4 mm Phillips #1 screw at the bottom of the back panel. Using the Phillips head screwdriver, remove the screw. Place the screw somewhere it will not be lost. Then remove the back panel by gently sliding it towards the front.
-
-
-
-
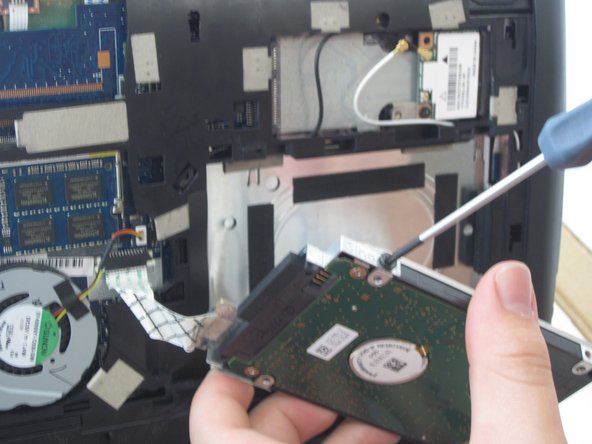
Locate the two 4 mm Philips #1 screws holding the hard drive into its bracket.
-
Remove the two screws and place them somewhere they will not be lost.
-


To reassemble your device, follow these instructions in reverse order.
To reassemble your device, follow these instructions in reverse order.
Team

University of Kentucky Louisville, Team 1-2, Rountree Winter 2015 Mitglied von University of Kentucky Louisville, Team 1-2, Rountree Winter 2015
LOUISVILLE-ROUNTREE-W15S1G2
3 Mitglieder
10 Anleitungen geschrieben
2 Kommentare
Was reviewing this to see if it was possible to reattach the drive connector if removed. (dealing with this in this model of laptop)