Einleitung
This guide shows you how to remove the motherboard from the back of the laptop.
Was du brauchst
-
-
Flip the laptop on to its front, so that the back is facing up
-
Unscrew the twelve 19.05 mm PH#0 screws.
-
-
-
At the left front corner of the laptop, under the intel sticker, press the sharp end of a metal spudger between the keyboard and the back cover to pry it apart.
-
-
-
Connect the clip of an anti-static wrist strap to any piece of metal on the computer.
-
-
-
-
Locate the large black rectangle at the bottom . This is your battery.
-
Remove the black electric tape that is on the rainbow colored cable at the top of the battery.
-
Gently pull on the cable to disconnect.
-
-
-
Remove the two 12.7 mm PH#0 screws. One of these screws is located on the top of the left side of the battery and the other is located in the top of the right side of the battery.
-
Remove the battery
-
-
-
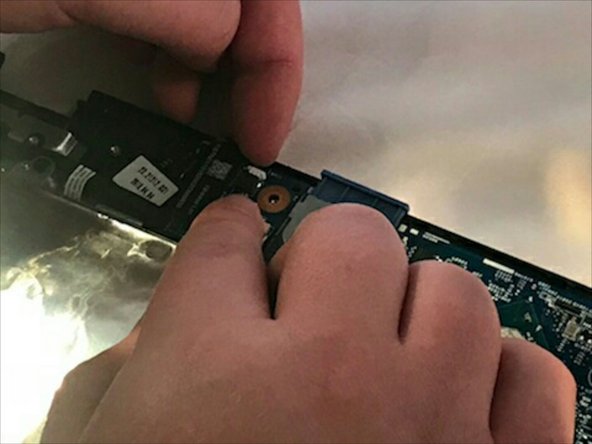
Locate the blue circuit board. This can be identified by locating the two USB ports.
-
-
-
Unclip and remove the three ribbon cables. The ribbon cables clip in with a white clip.
-
Disconnect the three wires from the blue circuit board.
-


To reassemble your device, follow these instructions in reverse order.
To reassemble your device, follow these instructions in reverse order.
Rückgängig: Ich habe diese Anleitung nicht absolviert.
2 weitere Nutzer:innen haben diese Anleitung absolviert.
Team

Eastern Washington University, Team S1-G2, Carnegie Fall 2017 Mitglied von Eastern Washington University, Team S1-G2, Carnegie Fall 2017
EWU-CARNEGIE-F17S1G2
4 Mitglieder
5 Anleitungen geschrieben