Zum Hauptinhalt wechseln

Acer Aspire S3-391-6046 Keyboard Replacement

Was du brauchst

  1. Acer Aspire S3-391-6046 Keyboard Replacement, Back Cover: Schritt 1, Bild 1 von 1
    • Place laptop upside down.

  2. Acer Aspire S3-391-6046 Keyboard Replacement: Schritt 2, Bild 1 von 2 Acer Aspire S3-391-6046 Keyboard Replacement: Schritt 2, Bild 2 von 2
    • Remove the twelve 5mm screws with a Phillips #1 screwdriver.

  3. Acer Aspire S3-391-6046 Keyboard Replacement: Schritt 3, Bild 1 von 1
    • Lift cover upwards away from you.

  4. Acer Aspire S3-391-6046 Keyboard Replacement, Keyboard: Schritt 4, Bild 1 von 3 Acer Aspire S3-391-6046 Keyboard Replacement, Keyboard: Schritt 4, Bild 2 von 3 Acer Aspire S3-391-6046 Keyboard Replacement, Keyboard: Schritt 4, Bild 3 von 3
    • Remove the four Phillips #0 screws that are connected to the left and right speakers.

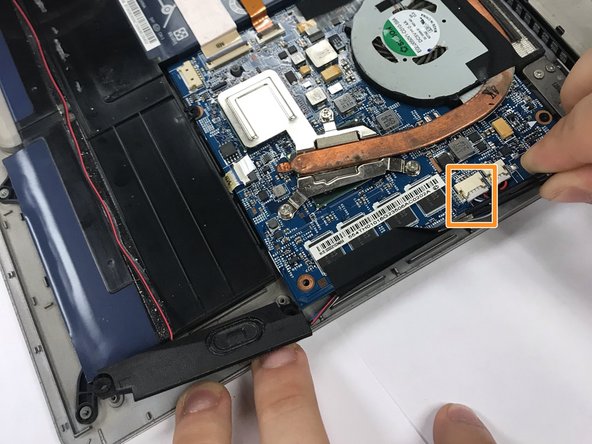
    • Carefully disconnect the wires that connect the speaker to the rest of the computer.

  5. Acer Aspire S3-391-6046 Keyboard Replacement: Schritt 5, Bild 1 von 1
    • Remove two Phillips #0 screws that are beside the ends of the gray wire.

  6. Acer Aspire S3-391-6046 Keyboard Replacement: Schritt 6, Bild 1 von 3 Acer Aspire S3-391-6046 Keyboard Replacement: Schritt 6, Bild 2 von 3 Acer Aspire S3-391-6046 Keyboard Replacement: Schritt 6, Bild 3 von 3
    • Remove the gray wire slowly with tweezers.

    • Carefully peel wire off.

  7. Acer Aspire S3-391-6046 Keyboard Replacement: Schritt 7, Bild 1 von 2 Acer Aspire S3-391-6046 Keyboard Replacement: Schritt 7, Bild 2 von 2
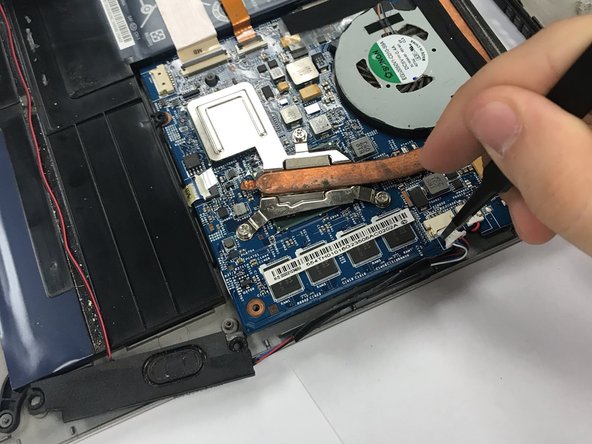
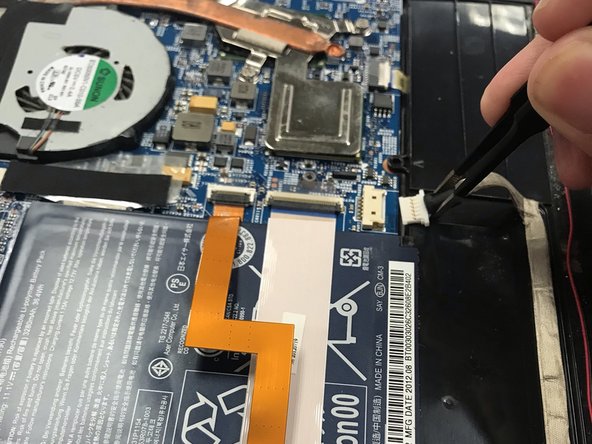
    • Slowly remove the two wires that are to the left of the battery with tweezers in an upward pulling motion.

  8. Acer Aspire S3-391-6046 Keyboard Replacement: Schritt 8, Bild 1 von 2 Acer Aspire S3-391-6046 Keyboard Replacement: Schritt 8, Bild 2 von 2
    • Completely remove the battery out of its position.

  9. Acer Aspire S3-391-6046 Keyboard Replacement: Schritt 9, Bild 1 von 2 Acer Aspire S3-391-6046 Keyboard Replacement: Schritt 9, Bild 2 von 2
    • Remove the five Phillips #0 screws that are on the border of the laptop.

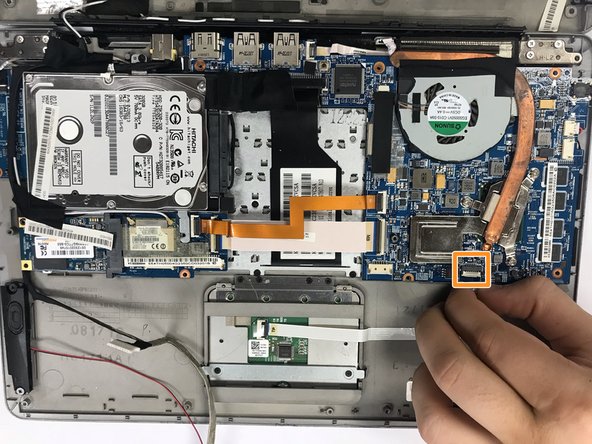
    • Disconnect the white wire that is below the fan.

  10. Acer Aspire S3-391-6046 Keyboard Replacement: Schritt 10, Bild 1 von 2 Acer Aspire S3-391-6046 Keyboard Replacement: Schritt 10, Bild 2 von 2
    • Flip all of the circuits upwards.

    • Remove all Phillips #0 screws.

    • Remove the keyboard.

Abschluss

To reassemble your device, follow these instructions in reverse order.

Brian Jimenez

Mitglied seit: 09/18/18

145 Reputation

1 Anleitung geschrieben

Team

0 Kommentare

Kommentar hinzufügen

Seitenaufrufe:

Letzte 24 Stunden: 0

Letzte 7 Tage: 4

Letzte 30 Tage: 6

Insgesamt: 826