Einleitung
The screen is a very important part of the laptop, as it allows users to access the internet and a variety of other resources. If your laptop screen is cracked or displays no image, then it may be damaged and will need to be replaced. The goal of this guide is to show how to replace a broken or damaged laptop screen. It is a relatively straightforward process, and does not even require you to open the bottom half of the device. In this guide, a plastic opening tool, a spudger, and a Phillips #0 screwdriver will be needed. The steps required for this guide will only take a few minutes to complete.
Was du brauchst
-
-
Use the plastic opening tool around the edges of the screen and remove the outer screen casing (the bezel).
-
-
-
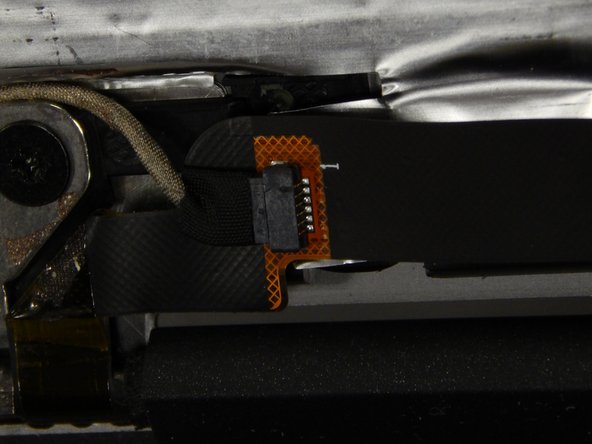
Locate the black strip at the bottom of the screen, just above the power button.
-
Use the spudger to disconnect this wire from the screen.
-
-
-
-
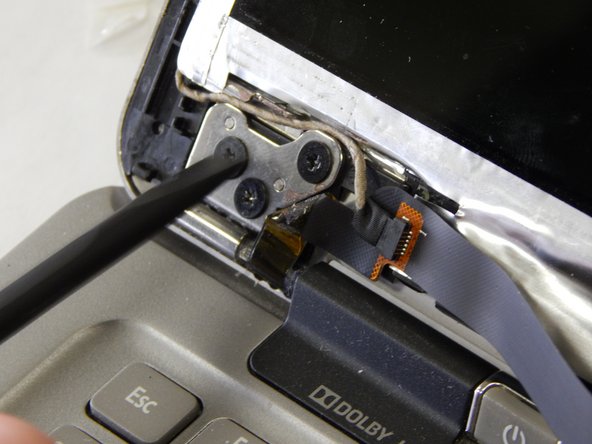
Disconnect the wire leading around the screen with a spudger or a plastic opening tool.
-
-
-
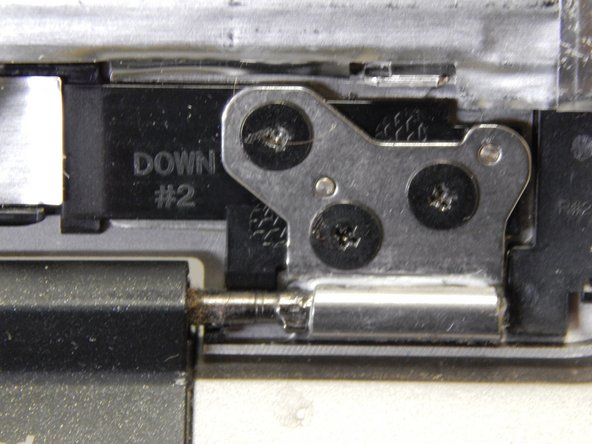
Locate the six 3 mm screws (there are three on each side of the screen). Remove them with the Phillips #0 screwdriver.
-


To reassemble your device, follow these instructions in reverse order.
To reassemble your device, follow these instructions in reverse order.
Rückgängig: Ich habe diese Anleitung nicht absolviert.
Eine weitere Person hat diese Anleitung absolviert.

Team

UW Tacoma, Team S1-G1, Rose Fall 2018 Mitglied von UW Tacoma, Team S1-G1, Rose Fall 2018
UWT-ROSE-F18S1G1
4 Mitglieder
5 Anleitungen geschrieben