Einleitung
If you've exhausted every option when trying to get your device to retain charge or turn on, the motherboard may be the culprit. Use this guide to remove and replace it.
Was du brauchst
-
-
Wedge your plastic opening tool into the crevice between the volume button and casing to create space.
-
Slide the plastic opening tool along this crevice to pry apart the backing of the tablet.
-
-
-
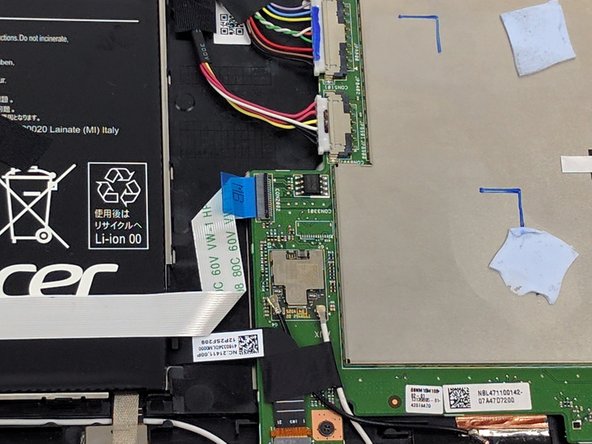
There are four zero insertion force connectors that need to be removed.
-
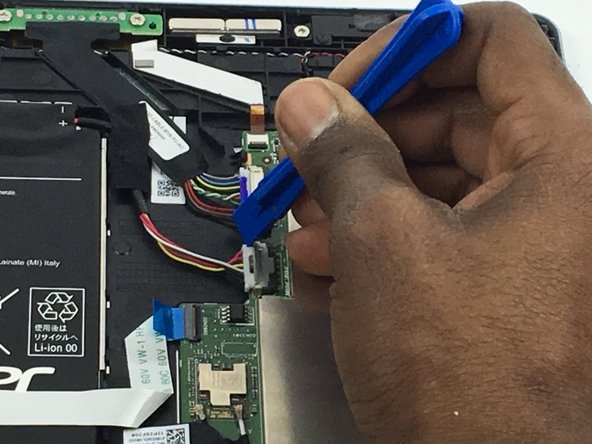
Use your plastic opening tool to flip up the black clips that secure the ribbon cables to the motherboard.
-
Once the clips are flipped up, the ribbon cables will be safe to remove.
-
-
-
-
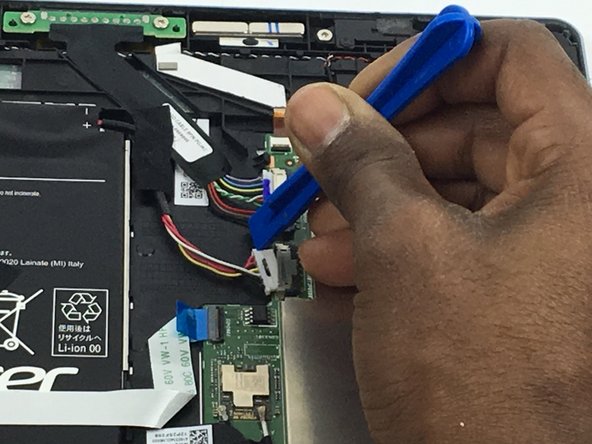
Use your plastic opening tool to pry up and lift the antenna cables from the motherboard.
-
-
-
To remove the four bundle cable connectors, push against the edges of the connector to loosen it up.
-
Pull the cable away from the connector.
-
-
-
Use your screwdriver with the Phillips PH000 attachment to remove the three 4mm screws.
-
Remove the motherboard from the tablet.
-


To reassemble your device, follow these instructions in reverse order.
To reassemble your device, follow these instructions in reverse order.
Rückgängig: Ich habe diese Anleitung nicht absolviert.
9 weitere Nutzer:innen haben diese Anleitung absolviert.
Team

USF Tampa, Team 3-4, Passmore Fall 2016 Mitglied von USF Tampa, Team 3-4, Passmore Fall 2016
USFT-PASSMORE-F16S3G4
4 Mitglieder
4 Anleitungen geschrieben