Diese Version enthält möglicherweise inkorrekte Änderungen. Wechsle zur letzten geprüften Version.
Was du brauchst
-
Dieser Schritt ist noch nicht übersetzt. Hilf mit, ihn zu übersetzen!
-
Flip the computer over so that the back is facing up.
-
Remove the twelve 6mm Phillips #1 screws from the bottom of the laptop.
-
-
Dieser Schritt ist noch nicht übersetzt. Hilf mit, ihn zu übersetzen!
-
Use the iFixit opening tools as wedges to pry the back of the laptop off.
-
-
-
Dieser Schritt ist noch nicht übersetzt. Hilf mit, ihn zu übersetzen!
-
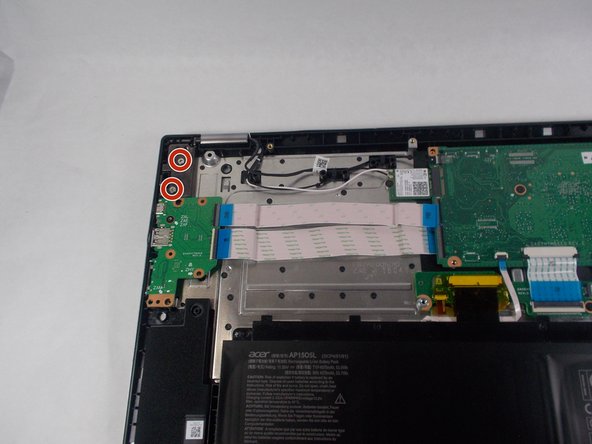
Remove the five 6mm Phillips #1 screws from the hinges on either side of the laptop.
-
-
Dieser Schritt ist noch nicht übersetzt. Hilf mit, ihn zu übersetzen!
-
Unplug the camera/microphone ribbon cable from the circuit board.
-
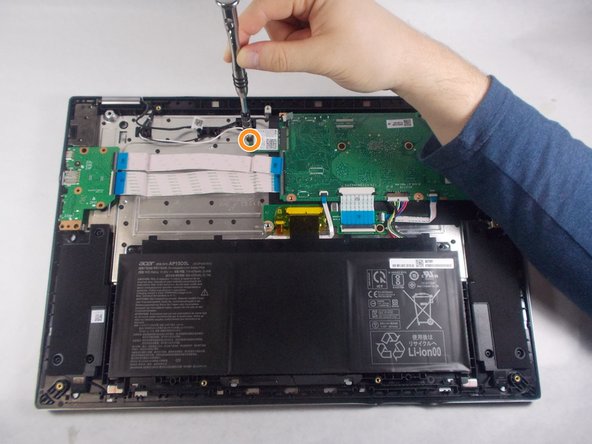
Remove the single 3mm Phillips #1 screw from the Intel core.
-
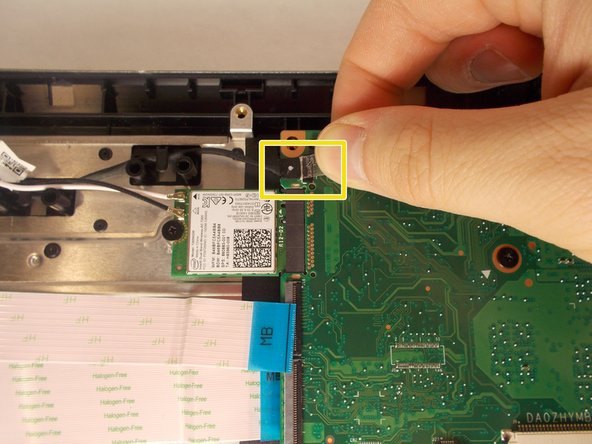
Unplug the cable from the circuit board.
-
-
Dieser Schritt ist noch nicht übersetzt. Hilf mit, ihn zu übersetzen!
-
Use the plastic opening tool, create a gap between the back and front of the display.
-
Lift the front out with your hands.
-


Rückgängig: Ich habe diese Anleitung nicht absolviert.
3 weitere Nutzer:innen haben diese Anleitung absolviert.

Team

UMass Dartmouth, Team S4-G1, Saloman Fall 2019 Mitglied von UMass Dartmouth, Team S4-G1, Saloman Fall 2019
UMASSD-SALOMAN-F19S4G1
3 Mitglieder
5 Anleitungen geschrieben
2 Kommentare
I just want to say that I’ve used this guide several times. My kid dropped the laptop and broke the hinge which is located inside the top cover behind the LCD panel. When this happened, it caused the grommets to come out of the plastic. But for about $45 we replaced the hinge and the top cover and I was able to fix it and put it all back together. I appreciate having this guide to remind me. Thank you!
Thank you so much for these instructions! The connections were the hardest part for me and the pictures were a great help.