Einleitung
The I/O Board is a crucial component responsible for making external connections to your Acer Chromebook Spin 511 (C741L) N20Q8, ensuring easy interaction with peripherals such as USB drives, audio ports and eternals displays. If you encounter problems with these, you most likely have an issue with the I/O circuit board.
Disconnect all external devices and power down the device, then follow this guide to restore functionality.
Was du brauchst
-
-
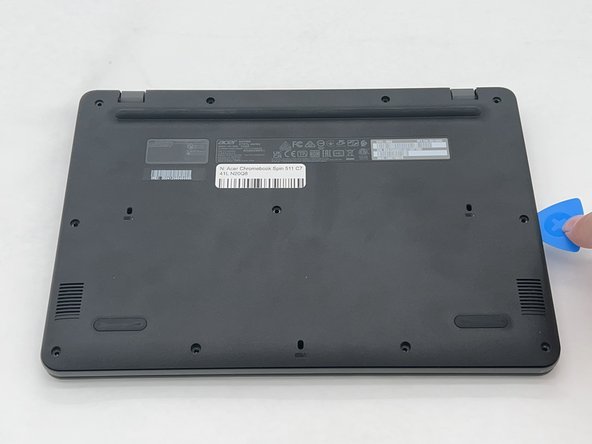
Remove the eleven 2.4 mm screws securing the back plate and internals of the Chromebook using a Phillips #1 screwdriver.
-
-
-
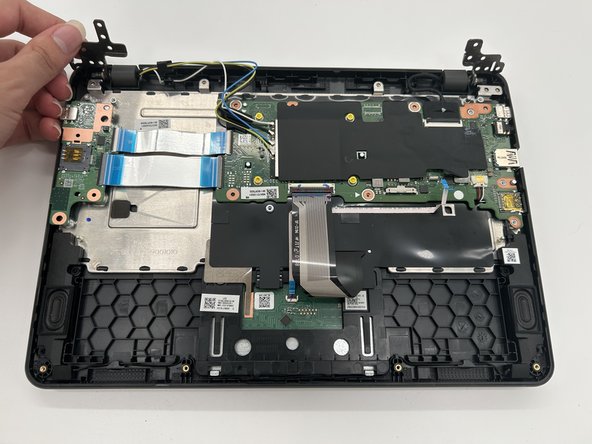
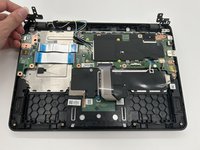
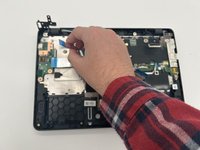
Use an opening pick to remove the backplate of the laptop revealing the internals of the Chromebook.
-
-
-
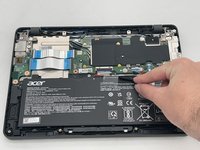
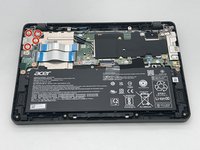
Gently remove the electrical tape from the battery.
-
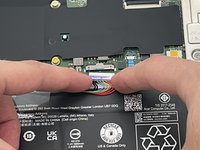
Detach the colored wires from the wire connector on the motherboard.
-
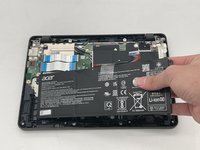
Remove the battery from the laptop.
-
-
-
-
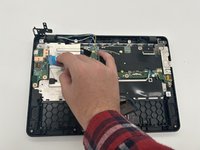
Remove the four 2.4 mm screws from the hinge in the upper left corner using a Phillips #1 screwdriver.
-
Flip the gray hinges up.
-


To reassemble your device, follow these instructions in reverse order.
To reassemble your device, follow these instructions in reverse order.

Team

University of North Texas, Team 4-3, Harold Fall 2024 Mitglied von University of North Texas, Team 4-3, Harold Fall 2024
UNT-HAROLD-F24S4G3
4 Mitglieder
5 Anleitungen geschrieben