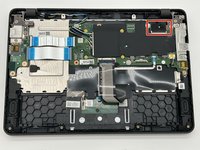
Zum Hauptinhalt wechseln

Acer Chromebook Spin 511 (C741L) N20Q8 Motherboard Replacement

Was du brauchst

  1. Acer Chromebook Spin 511 (C741L) N20Q8 Motherboard Replacement, Back Cover: Schritt 1, Bild 1 von 2 Acer Chromebook Spin 511 (C741L) N20Q8 Motherboard Replacement, Back Cover: Schritt 1, Bild 2 von 2
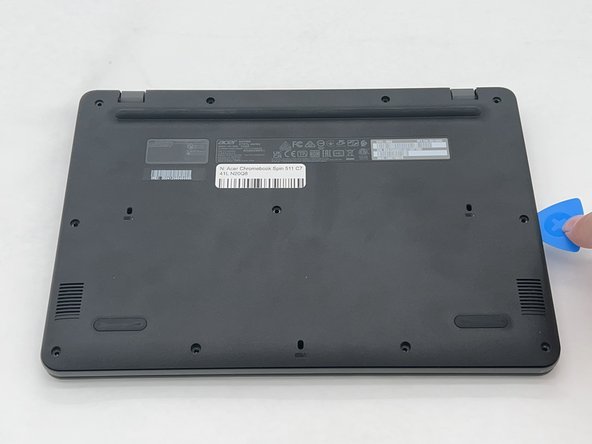
    • Remove the eleven 2.4 mm screws securing the back plate and internals of the Chromebook using a Phillips #1 screwdriver.

  2. Acer Chromebook Spin 511 (C741L) N20Q8 Motherboard Replacement: Schritt 2, Bild 1 von 2 Acer Chromebook Spin 511 (C741L) N20Q8 Motherboard Replacement: Schritt 2, Bild 2 von 2
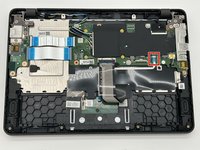
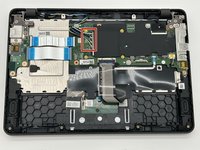
    • Use an opening pick to remove the backplate of the laptop revealing the internals of the Chromebook.

  3. Acer Chromebook Spin 511 (C741L) N20Q8 Motherboard Replacement, Battery: Schritt 3, Bild 1 von 3 Acer Chromebook Spin 511 (C741L) N20Q8 Motherboard Replacement, Battery: Schritt 3, Bild 2 von 3 Acer Chromebook Spin 511 (C741L) N20Q8 Motherboard Replacement, Battery: Schritt 3, Bild 3 von 3
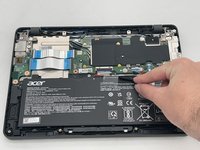
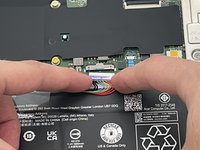
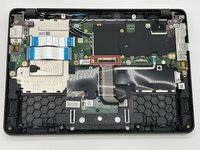
    • Gently remove the electrical tape from the battery.

    • Detach the colored wires from the wire connector on the motherboard.

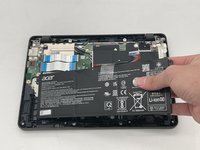
    • Remove the battery from the laptop.

  4. Acer Chromebook Spin 511 (C741L) N20Q8 Motherboard Replacement, Motherboard: Schritt 4, Bild 1 von 3 Acer Chromebook Spin 511 (C741L) N20Q8 Motherboard Replacement, Motherboard: Schritt 4, Bild 2 von 3 Acer Chromebook Spin 511 (C741L) N20Q8 Motherboard Replacement, Motherboard: Schritt 4, Bild 3 von 3
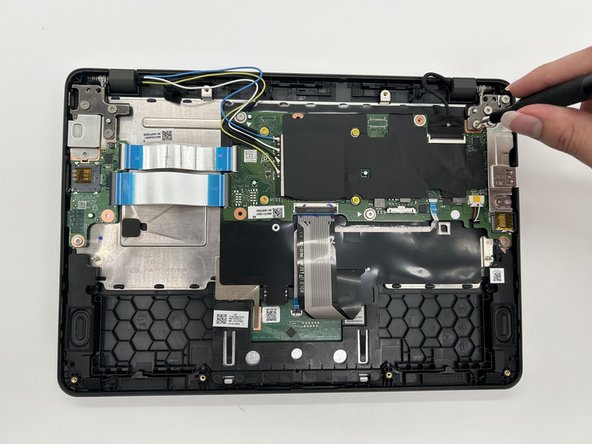
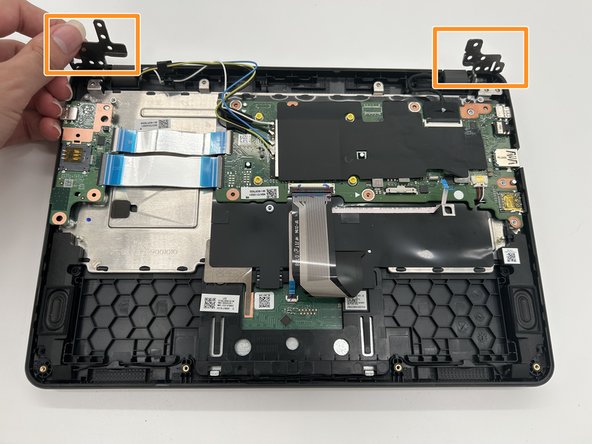
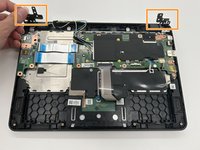
    • Remove the six 2.4 mm screws from the hinges using a Phillips #1 screwdriver.

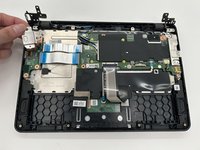
    • Flip the gray hinges up.

  5. Acer Chromebook Spin 511 (C741L) N20Q8 Motherboard Replacement: Schritt 5, Bild 1 von 2 Acer Chromebook Spin 511 (C741L) N20Q8 Motherboard Replacement: Schritt 5, Bild 2 von 2
    • Remove the two metal plates that were previously held down by each hinge.

  6. Acer Chromebook Spin 511 (C741L) N20Q8 Motherboard Replacement: Schritt 6, Bild 1 von 2 Acer Chromebook Spin 511 (C741L) N20Q8 Motherboard Replacement: Schritt 6, Bild 2 von 2
    • Detach the connector from the motherboard.

  7. Acer Chromebook Spin 511 (C741L) N20Q8 Motherboard Replacement: Schritt 7, Bild 1 von 2 Acer Chromebook Spin 511 (C741L) N20Q8 Motherboard Replacement: Schritt 7, Bild 2 von 2
    • Gently remove the blue, yellow, and black wires from their connectors.

  8. Acer Chromebook Spin 511 (C741L) N20Q8 Motherboard Replacement: Schritt 8, Bild 1 von 2 Acer Chromebook Spin 511 (C741L) N20Q8 Motherboard Replacement: Schritt 8, Bild 2 von 2
    • Remove the tape from the black connector and gently remove it from the socket.

  9. Acer Chromebook Spin 511 (C741L) N20Q8 Motherboard Replacement: Schritt 9, Bild 1 von 2 Acer Chromebook Spin 511 (C741L) N20Q8 Motherboard Replacement: Schritt 9, Bild 2 von 2
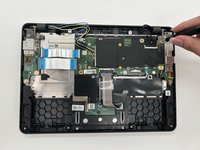
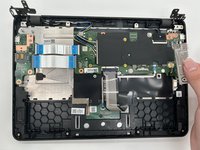
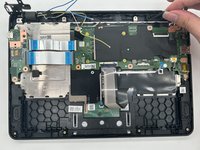
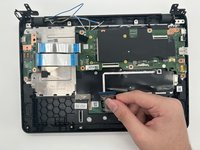
    • Carefully remove the pin connector containing the black, white, and red wires from its socket.

  10. Acer Chromebook Spin 511 (C741L) N20Q8 Motherboard Replacement: Schritt 10, Bild 1 von 3 Acer Chromebook Spin 511 (C741L) N20Q8 Motherboard Replacement: Schritt 10, Bild 2 von 3 Acer Chromebook Spin 511 (C741L) N20Q8 Motherboard Replacement: Schritt 10, Bild 3 von 3
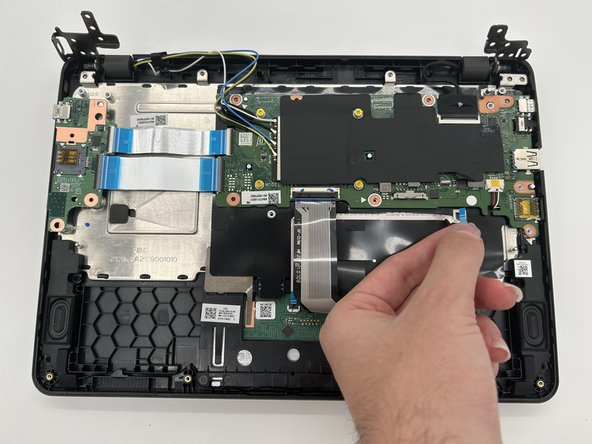
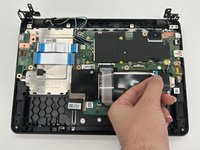
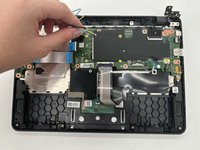
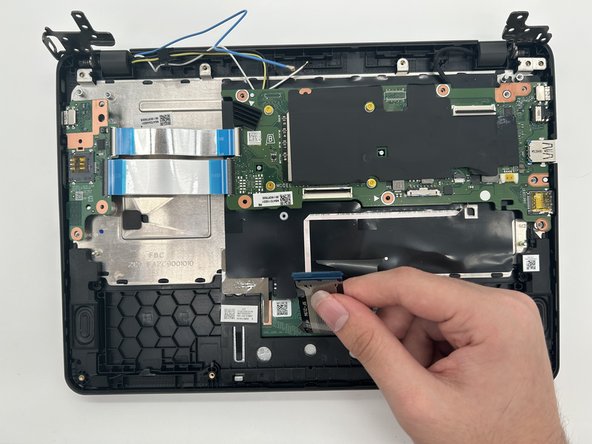
    • Detach the long connector from the socket.

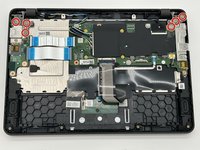
    • Remove the motherboard from the device.

Abschluss

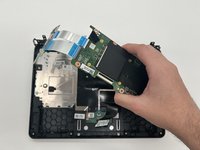
To reassemble your device, follow these instructions in reverse order.

Lauryn F

Mitglied seit: 09/26/24

710 Reputation

5 Anleitungen geschrieben

Team

0 Kommentare

Kommentar hinzufügen

Seitenaufrufe:

Letzte 24 Stunden: 1

Letzte 7 Tage: 4

Letzte 30 Tage: 21

Insgesamt: 97