Zum Hauptinhalt wechseln

Acer Iconia One 10 B3-A30 Repair Camera Replacement

Was du brauchst

  1. Acer Iconia One 10 B3-A30 Repair Camera Replacement, Camera: Schritt 1, Bild 1 von 2 Acer Iconia One 10 B3-A30 Repair Camera Replacement, Camera: Schritt 1, Bild 2 von 2
    • Make sure the device is powered off.

    • Pry open media port cover at the top of the tablet.

    • Use the Phillips 00 screwdriver to remove the 1 mm screw.

  2. Acer Iconia One 10 B3-A30 Repair Camera Replacement: Schritt 2, Bild 1 von 3 Acer Iconia One 10 B3-A30 Repair Camera Replacement: Schritt 2, Bild 2 von 3 Acer Iconia One 10 B3-A30 Repair Camera Replacement: Schritt 2, Bild 3 von 3
    • Using the metal spudger, carefully pry open the back cover.

  3. Acer Iconia One 10 B3-A30 Repair Camera Replacement: Schritt 3, Bild 1 von 3 Acer Iconia One 10 B3-A30 Repair Camera Replacement: Schritt 3, Bild 2 von 3 Acer Iconia One 10 B3-A30 Repair Camera Replacement: Schritt 3, Bild 3 von 3
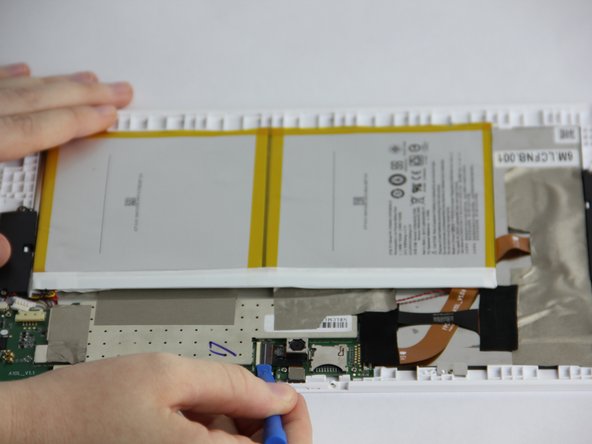
    • Using the plastic opening tool gently place the tip of it under the connection and pry up. It will pop out.

  4. Acer Iconia One 10 B3-A30 Repair Camera Replacement: Schritt 4, Bild 1 von 2 Acer Iconia One 10 B3-A30 Repair Camera Replacement: Schritt 4, Bild 2 von 2
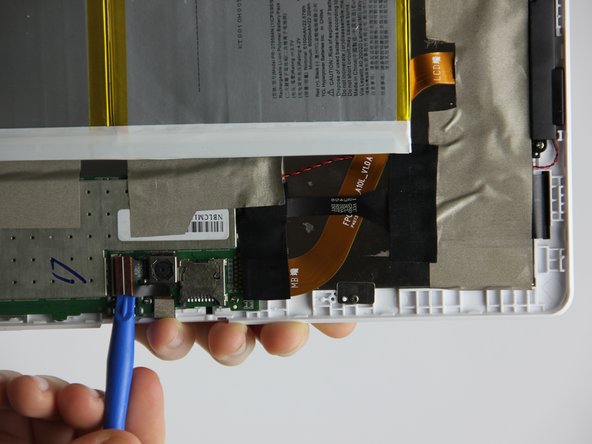
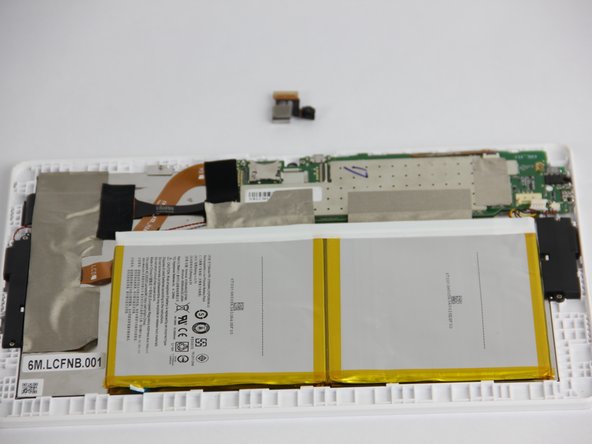
    • Use the plastic opening tool to pry up the rear facing camera. Once removed the front facing camera will come out as well.

Abschluss

To reassemble your device, follow these instructions in reverse order.

Team

USF Tampa, Team S1-G5, Nance Fall 2017 Mitglied von USF Tampa, Team S1-G5, Nance Fall 2017

USFT-NANCE-F17S1G5

4 Mitglieder

5 Anleitungen geschrieben

0 Kommentare

Kommentar hinzufügen

Seitenaufrufe:

Letzte 24 Stunden: 0

Letzte 7 Tage: 0

Letzte 30 Tage: 0

Insgesamt: 638