Einleitung
The speaker is an essential part of the Acer Iconia One 7 enabling it to give auditory notifications and playback to the users. The speaker appears sturdy but it is in fact a delicate part requiring careful attention to detail and a light touch during replacement.
Was du brauchst
-
-
Begin at any side of the tablet.
-
With a plastic opening tool, begin taking apart the back cover from the tablet by working along the edges.
-
-
-
Using a plastic opening tool, separate the back cover from the main device.
-
Open each side continuously to ensure all sides have been separated.
-
-
-
-
Turn the tablet over to locate the speaker.
-
The speaker is on the bottom of the inside.
-
-
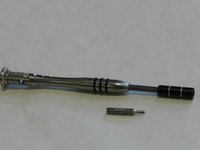
In diesem Schritt verwendetes Werkzeug:Tweezers$4.99
-
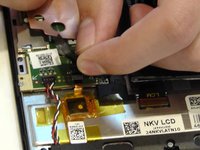
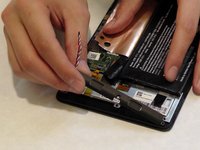
Peel back tape.
-
Using tweezers, detach connection from motherboard.
-
-
-
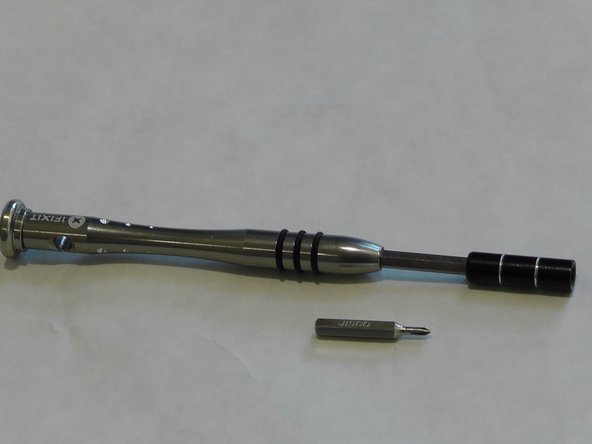
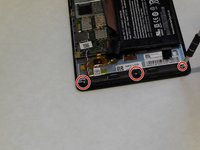
Unscrew screws with a JIS screwdriver with a #00 screw bit.
-
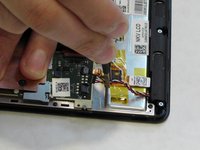
Dislodge the speaker unit.
-


To reassemble your device, follow these instructions in reverse order.
To reassemble your device, follow these instructions in reverse order.
Team

USF Tampa, Team 8-5, Eyestone Fall 2015 Mitglied von USF Tampa, Team 8-5, Eyestone Fall 2015
USFT-EYESTONE-F15S8G5
3 Mitglieder
5 Anleitungen geschrieben