Einleitung
This guide has step-by-step information for replacing an Acer Iconia tablet A100 screen's cover glass. The guide provides necessary tools for the replacement of the tablet. If anyone is inquiring on how to fix a screen,this is the place to go.
Was du brauchst
-
-
Remove the four side pieces of the tablet.
-
Start with either side and work your way around the tablet.
-
-
-
-
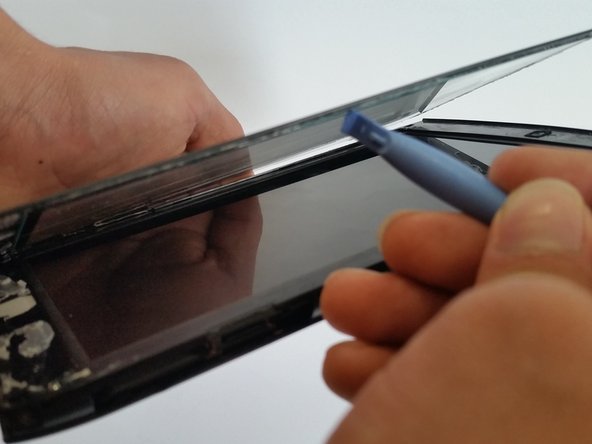
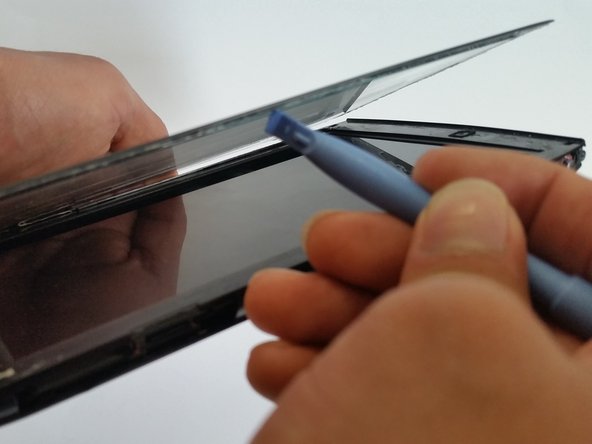
Separate the screen from the device with a plastic opening tool (four sides in total).
-
Start with a plastic opening tool along the top perimeter of the tablet, the thin line, and remove the screen.
-
-
-
Grab the new screen, and place on top of the tablet.
-
Position it to where everything is aligned correctly.
-


To reassemble your device, follow these instructions in reverse order.
To reassemble your device, follow these instructions in reverse order.
Rückgängig: Ich habe diese Anleitung nicht absolviert.
2 weitere Nutzer:innen haben diese Anleitung absolviert.
Team

Sam Houston State, Team 13-3, Blackburne Winter 2015 Mitglied von Sam Houston State, Team 13-3, Blackburne Winter 2015
SHSU-BLACKBURNE-W15S13G3
1 Mitglied
3 Anleitungen geschrieben