Zum Hauptinhalt wechseln

Acer Nitro 5 AN515-53-55G9 Speaker Replacement

Was du brauchst

  1. Acer Nitro 5 AN515-53-55G9 Speaker Replacement, Battery: Schritt 1, Bild 1 von 3 Acer Nitro 5 AN515-53-55G9 Speaker Replacement, Battery: Schritt 1, Bild 2 von 3 Acer Nitro 5 AN515-53-55G9 Speaker Replacement, Battery: Schritt 1, Bild 3 von 3
    • Make sure laptop is off and unplugged before beginning replacement.

    • Flip the laptop upside down so that the bottom is facing up.

    • Identify the RAM tray on the bottom of the laptop.

  2. Acer Nitro 5 AN515-53-55G9 Speaker Replacement: Schritt 2, Bild 1 von 3 Acer Nitro 5 AN515-53-55G9 Speaker Replacement: Schritt 2, Bild 2 von 3 Acer Nitro 5 AN515-53-55G9 Speaker Replacement: Schritt 2, Bild 3 von 3
    • Use the Phillips #0 screwdriver to remove the 9mm screw in the bottom left corner of the RAM tray covering.

    • Remove the RAM tray cover by prying up with a spudger.

  3. Acer Nitro 5 AN515-53-55G9 Speaker Replacement: Schritt 3, Bild 1 von 3 Acer Nitro 5 AN515-53-55G9 Speaker Replacement: Schritt 3, Bild 2 von 3 Acer Nitro 5 AN515-53-55G9 Speaker Replacement: Schritt 3, Bild 3 von 3
    • Identify the Hard Drive tray to the left side of the laptop.

    • Remove screw with a #0 Philips screwdriver.

    • Lift up the Slot covering using a spunger.

  4. Acer Nitro 5 AN515-53-55G9 Speaker Replacement: Schritt 4, Bild 1 von 1
    • Use the Phillips #0 screwdriver to remove the 9mm screws holding the back cover in place.

    • Remove the screws from the hard drive and remove it from the device.

  5. Acer Nitro 5 AN515-53-55G9 Speaker Replacement: Schritt 5, Bild 1 von 3 Acer Nitro 5 AN515-53-55G9 Speaker Replacement: Schritt 5, Bild 2 von 3 Acer Nitro 5 AN515-53-55G9 Speaker Replacement: Schritt 5, Bild 3 von 3
    • Be sure you removed the hard drive. when you open the back shell and hard drive is built in this may cause damage to cable and other components.

    • Carefully remove the back shell from the device working your way around all the edges.

    • Do not forcefully try to separate the shell as you may cause harm to the shell.

  6. Acer Nitro 5 AN515-53-55G9 Speaker Replacement: Schritt 6, Bild 1 von 2 Acer Nitro 5 AN515-53-55G9 Speaker Replacement: Schritt 6, Bild 2 von 2
    • Removing the back shell of the computer and it will look like this.

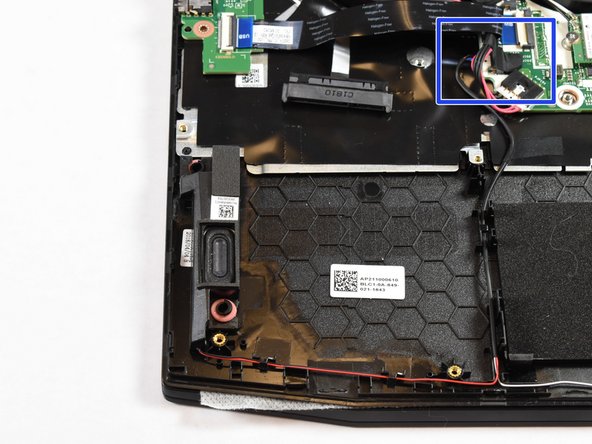
    • The battery for the device is located at the bottom middle of the laptop at this orientation.

  7. Acer Nitro 5 AN515-53-55G9 Speaker Replacement: Schritt 7, Bild 1 von 3 Acer Nitro 5 AN515-53-55G9 Speaker Replacement: Schritt 7, Bild 2 von 3 Acer Nitro 5 AN515-53-55G9 Speaker Replacement: Schritt 7, Bild 3 von 3
    • Locate the connector of the battery to the motherboard.

    • Using your fingers, slide out the connector.

  8. Acer Nitro 5 AN515-53-55G9 Speaker Replacement: Schritt 8, Bild 1 von 1
    • Remove battery from device.

  9. Acer Nitro 5 AN515-53-55G9 Speaker Replacement, Speaker: Schritt 9, Bild 1 von 3 Acer Nitro 5 AN515-53-55G9 Speaker Replacement, Speaker: Schritt 9, Bild 2 von 3 Acer Nitro 5 AN515-53-55G9 Speaker Replacement, Speaker: Schritt 9, Bild 3 von 3
    • Once the battery is removed your device should look similar to this.

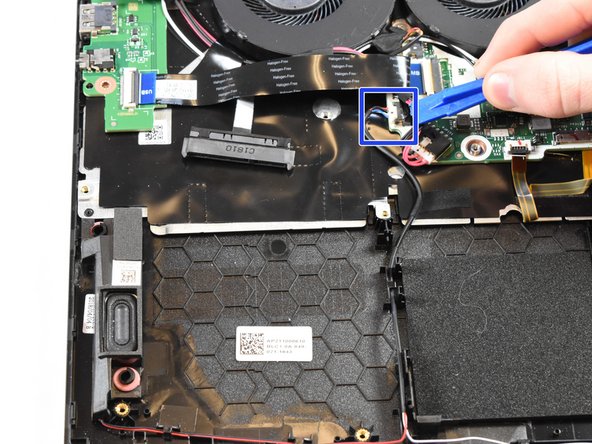
    • Locate the plug for the speakers located at the red circle.

  10. Acer Nitro 5 AN515-53-55G9 Speaker Replacement: Schritt 10, Bild 1 von 2 Acer Nitro 5 AN515-53-55G9 Speaker Replacement: Schritt 10, Bild 2 von 2
    • Unplug the cable from the motherboard as shown.

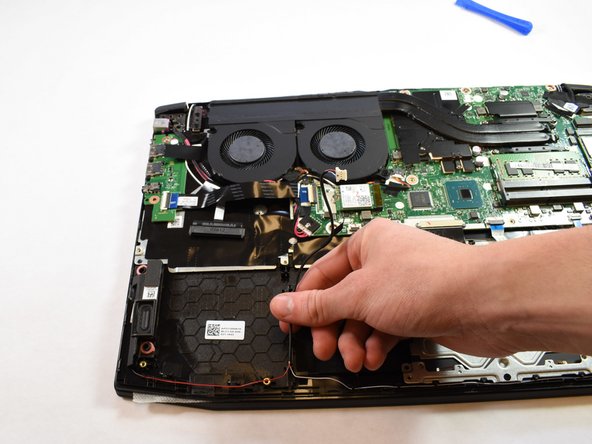
    • Carefully unroute the cables starting from the main plug.

    • Do not forcefully pull on the cable as it might break the cable.

  11. Acer Nitro 5 AN515-53-55G9 Speaker Replacement: Schritt 11, Bild 1 von 2 Acer Nitro 5 AN515-53-55G9 Speaker Replacement: Schritt 11, Bild 2 von 2
    • Pull up on the left speaker as shown here to remove the speaker from the device.

    • the rubber grommets from the speaker my pop off. These can easily be placed back on.

  12. Acer Nitro 5 AN515-53-55G9 Speaker Replacement: Schritt 12, Bild 1 von 2 Acer Nitro 5 AN515-53-55G9 Speaker Replacement: Schritt 12, Bild 2 von 2
    • Continue unrouting the cable from the device and following it to the right speaker.

    • Do not pull on the wire forcefully or it might break the cable.

  13. Acer Nitro 5 AN515-53-55G9 Speaker Replacement: Schritt 13, Bild 1 von 2 Acer Nitro 5 AN515-53-55G9 Speaker Replacement: Schritt 13, Bild 2 von 2
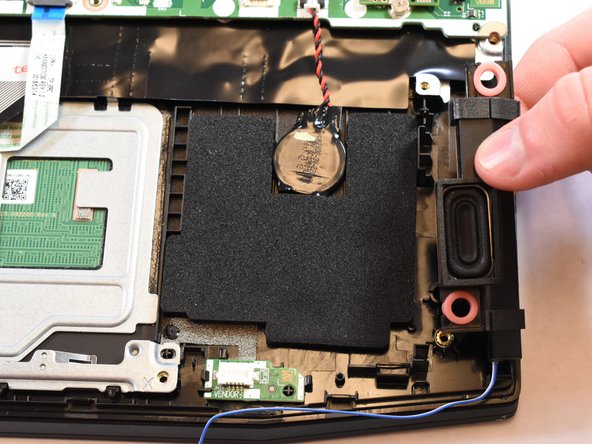
    • Locate the Right Speaker on the device.

    • Pull up on the speaker to remove from the device.

    • Rubber grommets from the speaker my pop off. These can easily be placed back on.

Abschluss

To reassemble your device, follow these instructions in reverse order.

6 weitere Nutzer:innen haben diese Anleitung absolviert.

Ein Kommentar

Do you have an Android application?

DERDOURI TOUFIK - Antwort

Kommentar hinzufügen

Seitenaufrufe:

Letzte 24 Stunden: 1

Letzte 7 Tage: 9

Letzte 30 Tage: 56

Insgesamt: 6,803